Last updated on August 28, 2024
Before diving into the steps on how to change an AWS ACM-generated SSL Certificate, it’s important to understand the basics and benefits of this service. Having a solid understanding will provide context for the actions we are about to take and help us appreciate the value AWS Certificate Manager (ACM) brings to the table.
What is the AWS Certificate Manager (ACM)?
AWS Certificate Manager (ACM) is a service designed to streamline the provisioning, management, and deployment of public and private SSL/TLS certificates. These certificates are essential for securing network communications and verifying the identity of websites on the Internet, as well as resources on private networks.
Validating the AWS ACM Certificate Domain Ownership
Before the Amazon certificate authority (CA) can issue a certificate to your site, AWS Certificate Manager (ACM) must verify that you own or control all of the domain names listed in your request. When requesting a certificate, you have the option of proving your ownership using Domain Name System (DNS) validation or email validation.
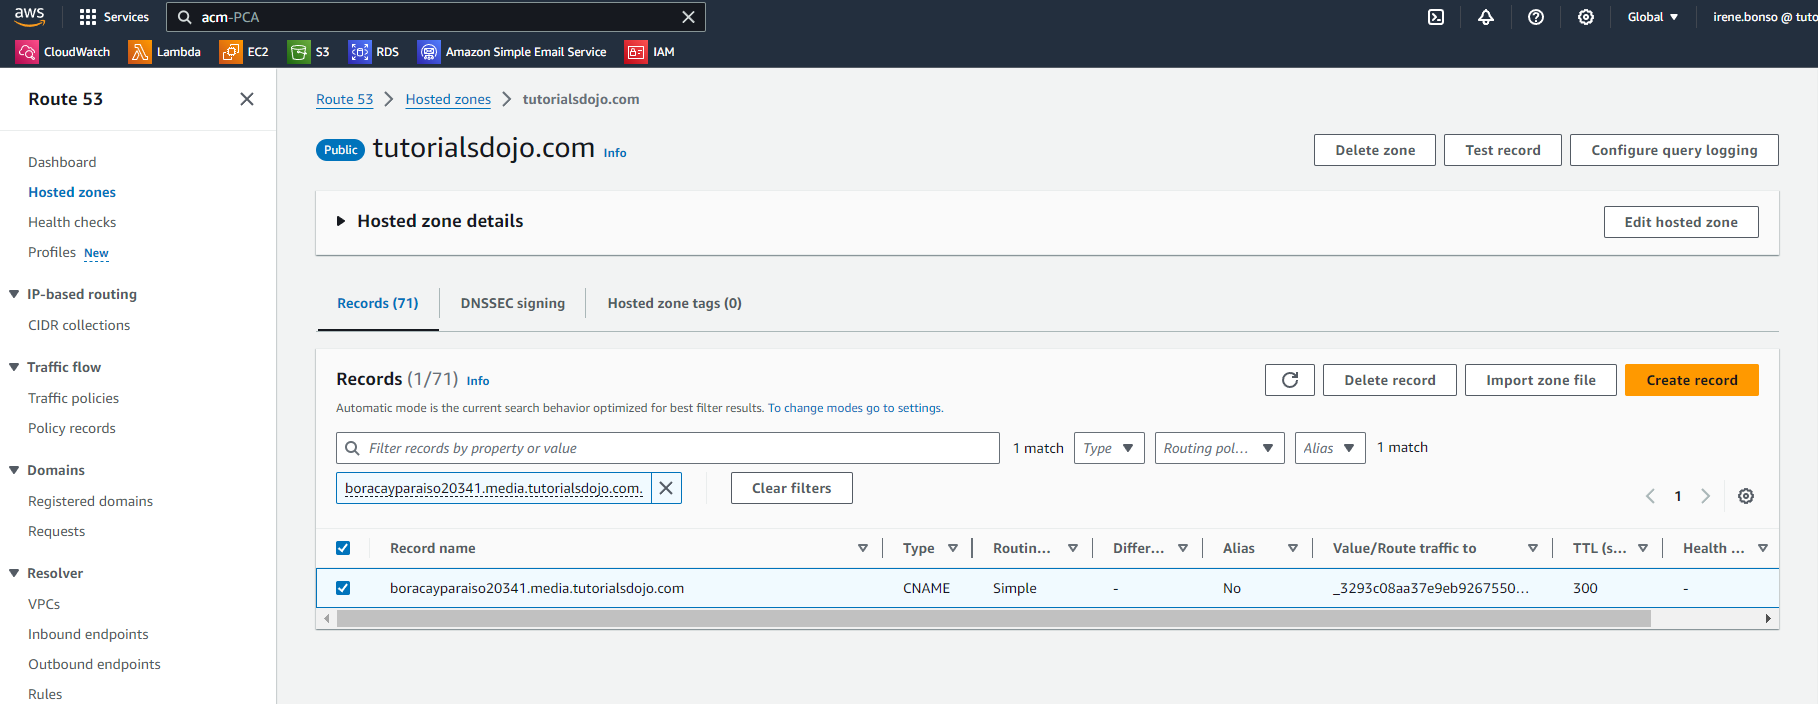
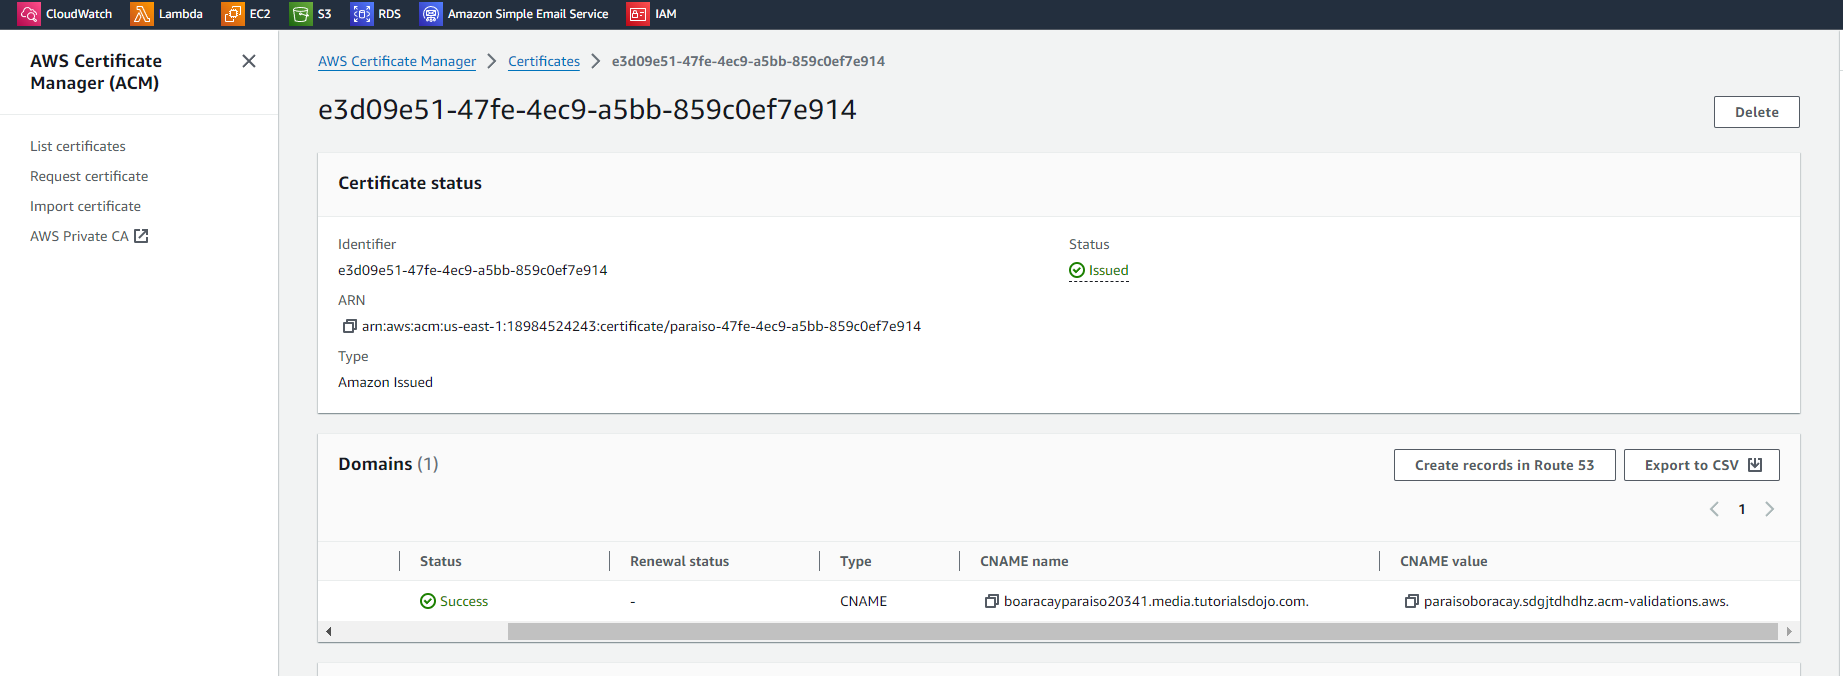
- DNS Validation – This validation is recommended especially if using Amazon Route 53. ACM can automatically renew DNS-validated certificates.
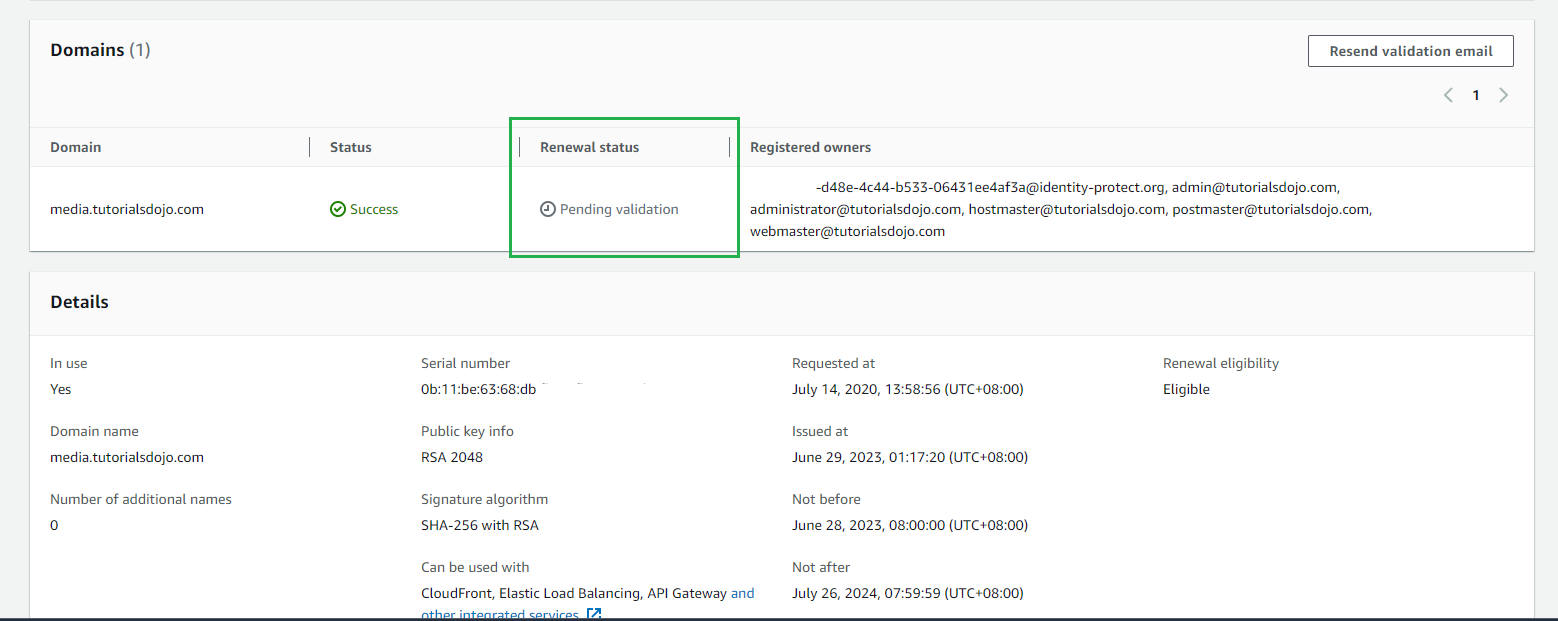
- Email Validation – This validation type will require manual action for renewal. Notices are sent 45 days before expiration to WHOIS and common administrator addresses. You can also view the AWS Updates for this notice. Please note that the AWS Certificate Manager is immutable, this means that once you have created an email validation type, you cannot switch or change it to validate it with a DNS-based certificate. In this case, we have an email-based SSL validation, this existing SSL certificate cannot be changed to a DNS-based one.
Changing the AWS ACM Certificate on Amazon CloudFront Distribution
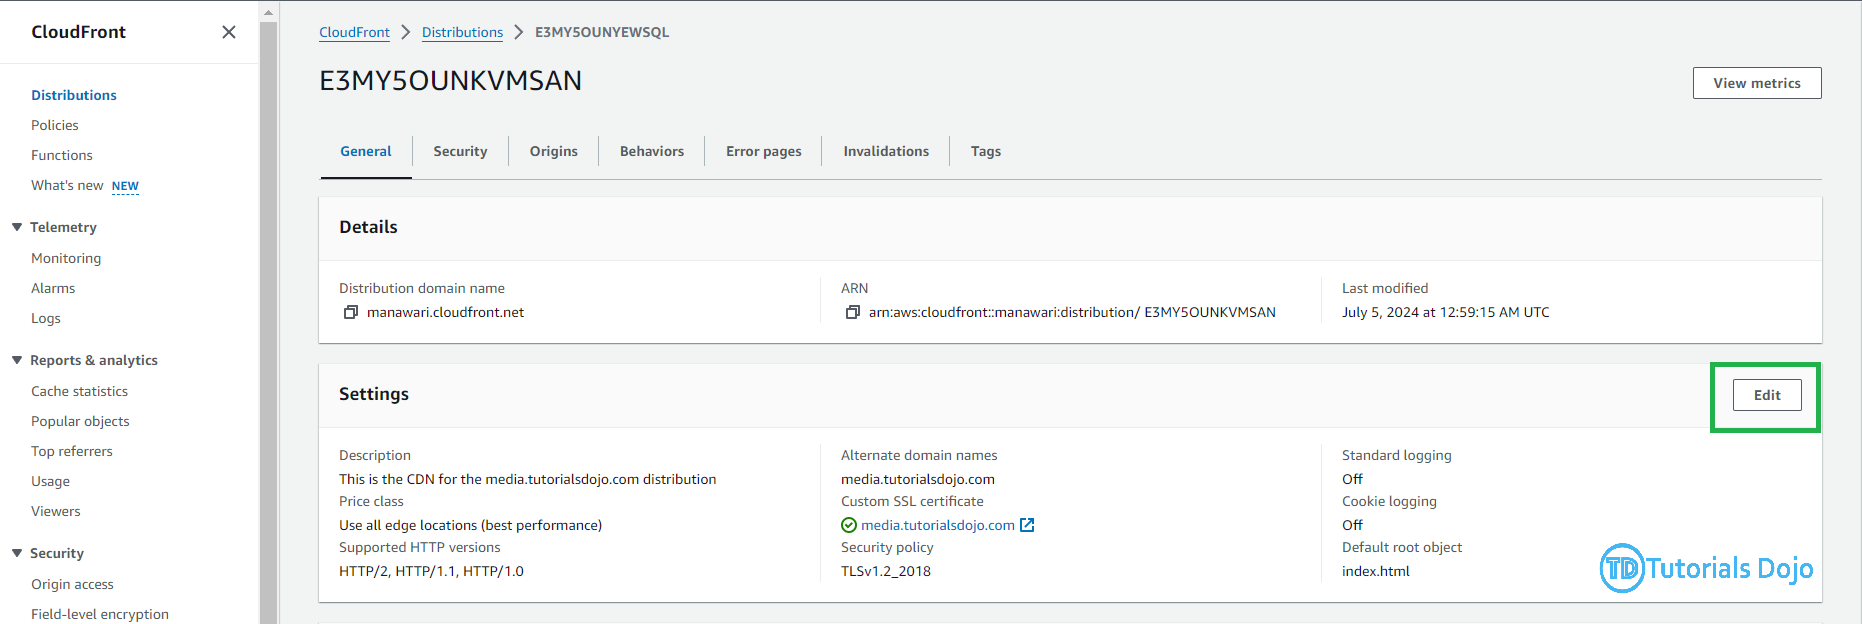
Step 1: Navigate to AWS CloudFront, then click Distributions.
Step 2: Choose the distribution that contains the respective SSL Certificate that you want to change and select Edit.
Step 3: Select the dropdown and choose the newly created DNS Certificate
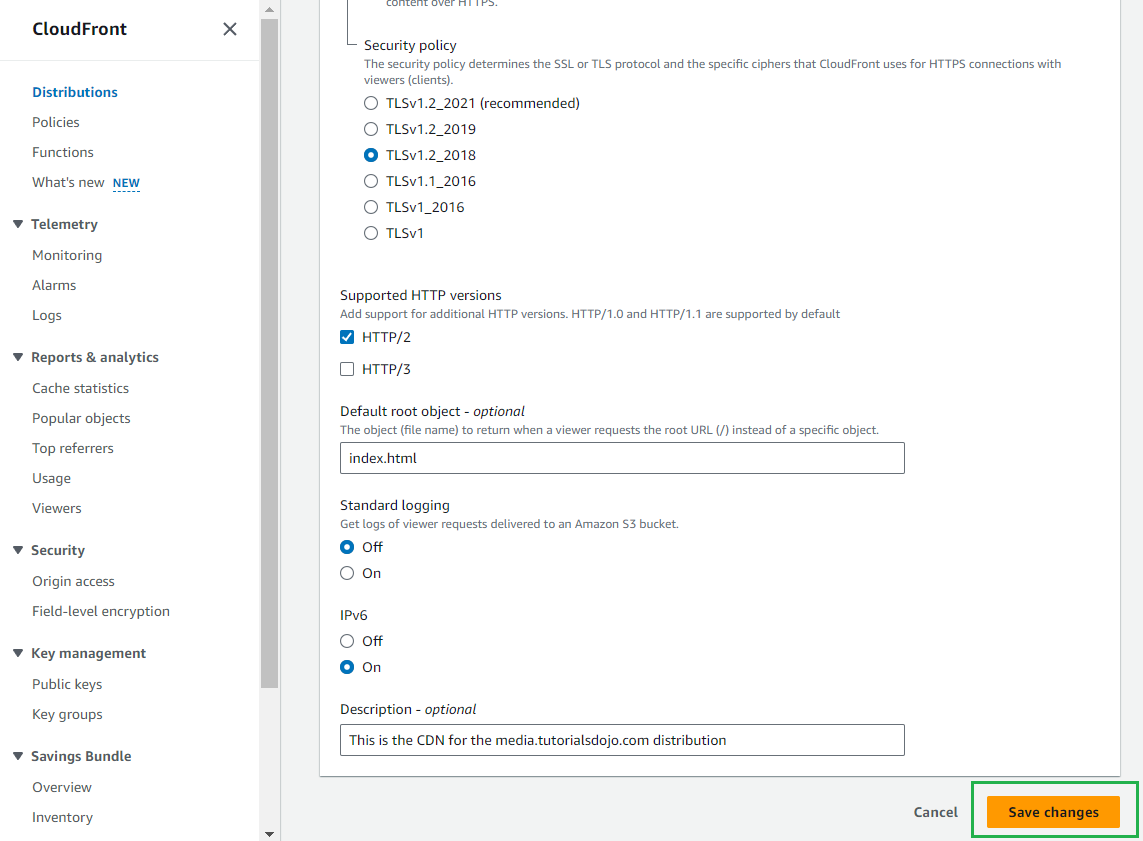
Step 4: Click Save Changes.
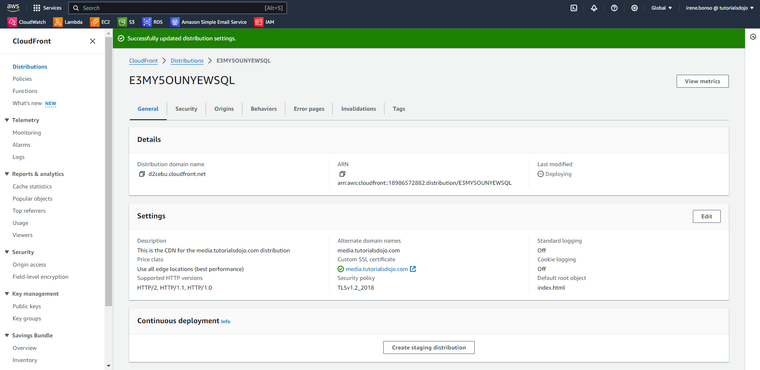
We have successfully updated the distribution settings
Verifying the New AWS ACM Certificate
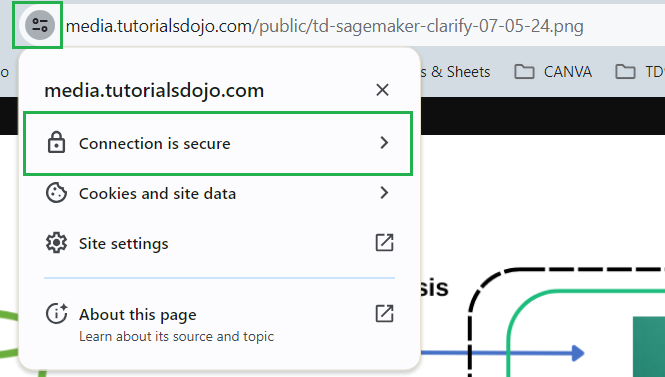
Step 1: Navigate to the domain. ie. media.tutorialsdojo.com
Step 2: Click the left icon beside the domain and select Connection is secure after that select Certification is valid.
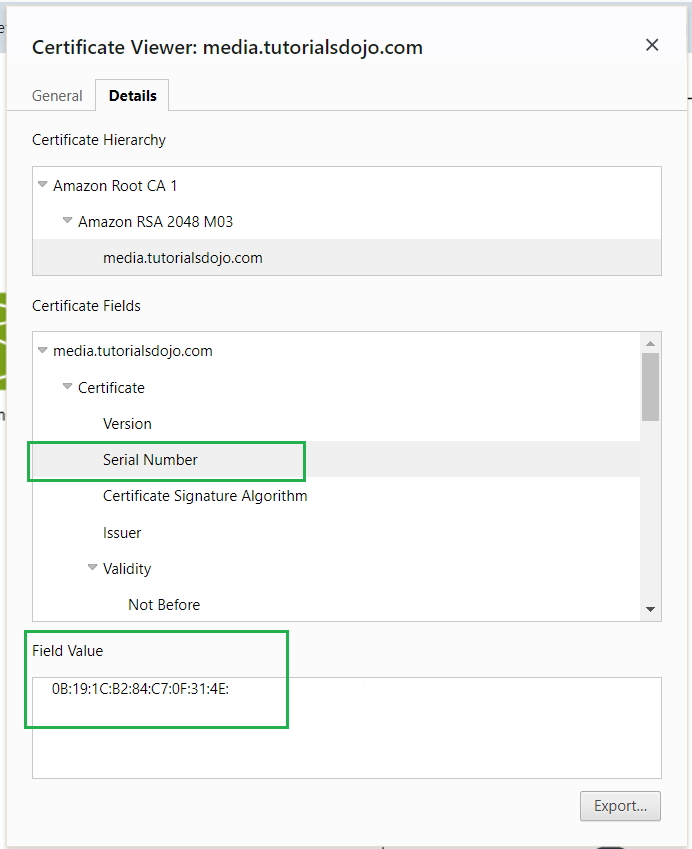
Step 3: Navigate to Details tab to view the serial number
Step 4: Since we now have the serial number, lets navigate to DNS Certificate to check if the serial number match
In conclusion, we have successfully demonstrated how to change an AWS ACM-generated SSL Certificate for a CloudFront distribution. We began by explaining the role of AWS Certificate Manager (ACM) in simplifying the provisioning, management, and deployment of SSL/TLS certificates, highlighting their importance in securing network communications and establishing the identity of websites and resources.
We explored the two methods of validating domain ownership: DNS validation, which is recommended for its ease of automatic renewal, especially with Amazon Route 53, and email validation, which requires manual renewal and cannot be switched to DNS validation once set.
We then provided a detailed, step-by-step guide on updating the SSL certificate in AWS CloudFront. Finally, we covered the verification process to ensure the new certificate is correctly applied by checking the certificate details and matching the serial number with the DNS certificate. By following these steps, the SSL certificate for the AWS CloudFront distribution is successfully updated and verified, ensuring secure and authenticated network communications for the domain.


