Last updated on April 27, 2023
What is Amazon Route 53?
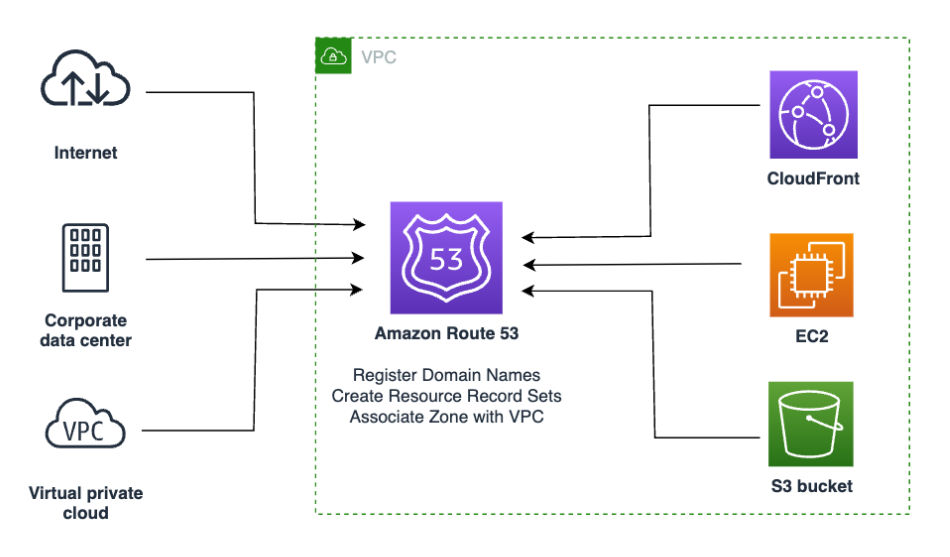
Amazon Route 53 is a highly available and scalable Domain Name System (DNS) service. This allows you to do Split-view DNS or Split-horizon DNS implementation for your applications. It offers additional features that are not present from third-party domain registrars. Route 53 allows you to register domain names, route internet traffic to specific resources under your domain name using different routing policies and check the health status of your resources. Route 53 is highly integrated with other AWS services, especially resources under a Virtual Private Cloud (VPC).
The main function of Route 53 is for DNS resolution. Once your domain is registered and configured on Route 53, users on the public internet can query Route 53 to resolve your domain name so they can be redirected to the corresponding resources. In this article, we will learn how to implement Split-view DNS or Split-horizon DNS for your website and custom applications.
Split-view DNS Basics
Split-view DNS is a process wherein the DNS server gives out a different response to the same DNS query, based on where the query came from. The following are just some of the scenarios where you may want to use this setup:
-
You have a service that is used on both internal and external networks. For optimal routing, you can route the internal traffic to the private IP addresses while the external networks use the public IP addresses (or endpoints).
-
You have a canary release or blue-green deployment so you want your internal applications to redirect to the newer version before updating the public endpoint.
-
You want your internal application to resolve “internal-only” DNS records such as test.tutorialsdojo.com but you don’t want the public internet to resolve the DNS name.
Using Amazon Route 53, we can create a split-view DNS scenario for an internal and external version of the same website or application. To do this, you have to maintain both a private and public hosted zone with the same domain name. In the following steps, we assume that you have a domain name registered on Route 53, the queries for the public hosted zone are from the public internet and the queries for the private hosted zone are from the Amazon VPC.
1. On Amazon VPC, ensure that DNS resolution and DNS hostnames are enabled for the source Amazon VPC. This is the default setting when creating a new VPC using the AWS web console.
2. On Amazon Route 53, create a public hosted zone for your domain name. Ensure that the Route 53 registrar NS record matches the NS entries from this record. Any DNS queries from the public internet will use this hosted zone.
3. Add records on this public hosted zone for the public endpoints and IP addresses.
4. Next, create a private hosted zone with the same name as a public hosted zone. Associate the VPC to this hosted zone. DNS queries from inside the VPC will be using this private zone.
5. Add records on this private hosted zone for the private endpoints and IP addresses.
With the above setup, Route 53 will respond to DNS queries on the source of the request. From within the Amazon VPC, answers come from the private hosted zone, while public queries return answers from the public hosted zone.
Now we can try to query from the public internet and we will get the public IP address.

While querying from inside the VPC, you will get the private IP address.
And that’s a wrap! We have successfully setup the Split-view DNS or Split-horizon DNS in Amazon Route 53. This is quite helpful for your testing and hybrid DNS architecture.
References:
https://docs.aws.amazon.com/Route53/latest/DeveloperGuide/Welcome.html
https://aws.amazon.com/premiumsupport/knowledge-center/internal-version-website/


