Last updated on August 22, 2025
What if you could launch your own virtual machine in less than a second… right from your laptop without Docker, without the cloud, and without frying your CPU?
So you’ve heard of virtual machines, but what if I told you there’s one that starts in milliseconds and barely uses resources?
Meet Firecracker, the same tech AWS uses to power Lambda and Fargate.
But guess what? You don’t need to work at AWS to use it. It’s small, it’s fast, and you can run it right now without a cloud account.
In this guide, I’ll show you how to run your first microVM using Firecracker in less than 15 minutes with just a few terminal commands.
What’s Inside This Tutorial
- What Firecracker is
- How to run a microVM on Linux, macOS, or Windows
- A fully working demo using a lightweight Linux image
- No AWS account, no heavy VM software — just your laptop and curiosity
Step 0: What’s Firecracker?
Firecracker is a lightweight virtual machine (microVM) manager originally built by AWS.
It’s the tech behind AWS Lambda and Fargate, letting cloud providers run thousands of tiny, isolated workloads in milliseconds.
That’s why big cloud platforms use it to run thousands of tiny, isolated apps at the same time.
Think of it as:
-
VM, but faster
-
VM, but lighter
-
VM, but made for the cloud
And here’s the best part: you can run it right on your laptop without an AWS account.
Why it’s perfect for students:
-
It’s free and open-source, so you can run it on your laptop.
-
Learn real-world cloud concepts without spending on cloud services.
-
Great for projects, demos, or just geeking out over fast tech.

Step 1: Pick Your Setup (Based on Your OS)
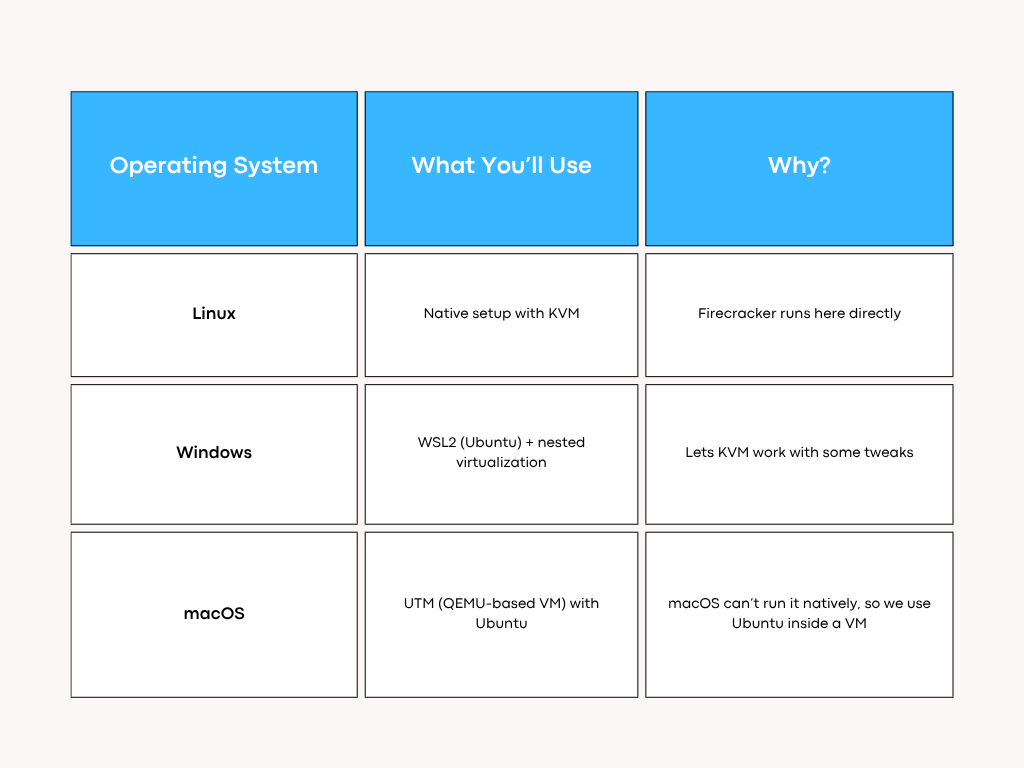
Linux (Ubuntu/Debian)
You’re already close to running it. Check if KVM is ready:
ls /dev/kvm
If /dev/kvm appears, skip to Step 2.
Windows 10/11 (WSL2)
We’ll run Ubuntu inside WSL2 (Windows Subsystem for Linux 2):
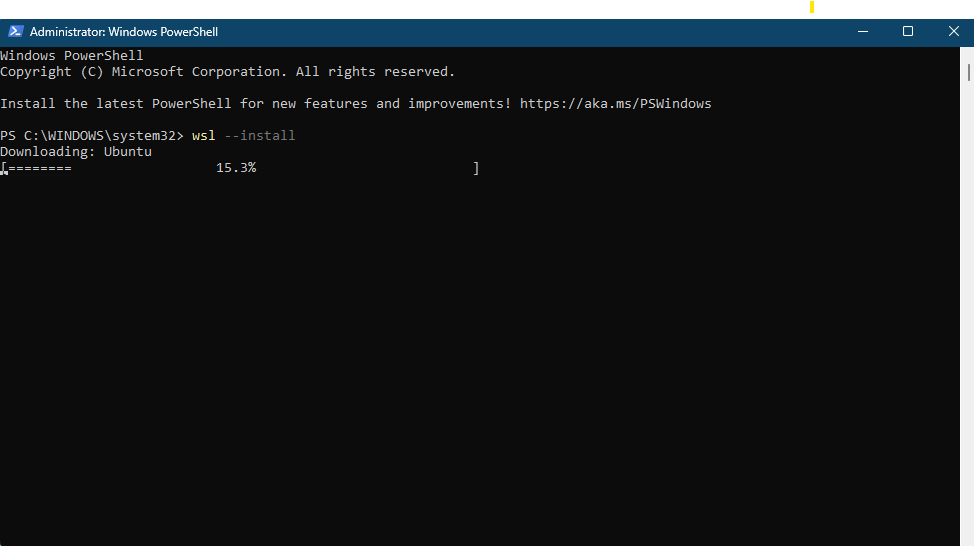
Install WSL2
-
Open PowerShell as Administrator.
-
Run:
wsl --install

3. Restart your computer when prompted.
4. After reboot, Ubuntu will install automatically.
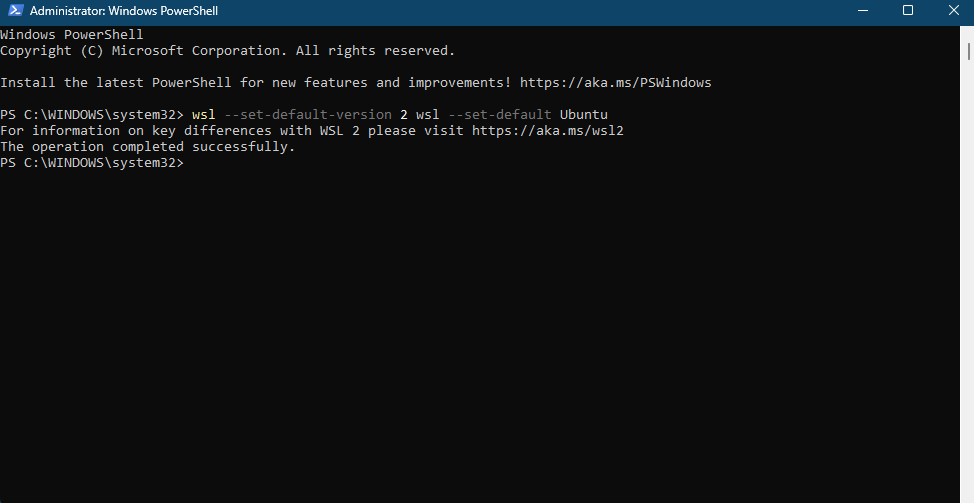
Set Ubuntu as default (if needed)
wsl --set-default-version 2 wsl --set-default Ubuntu
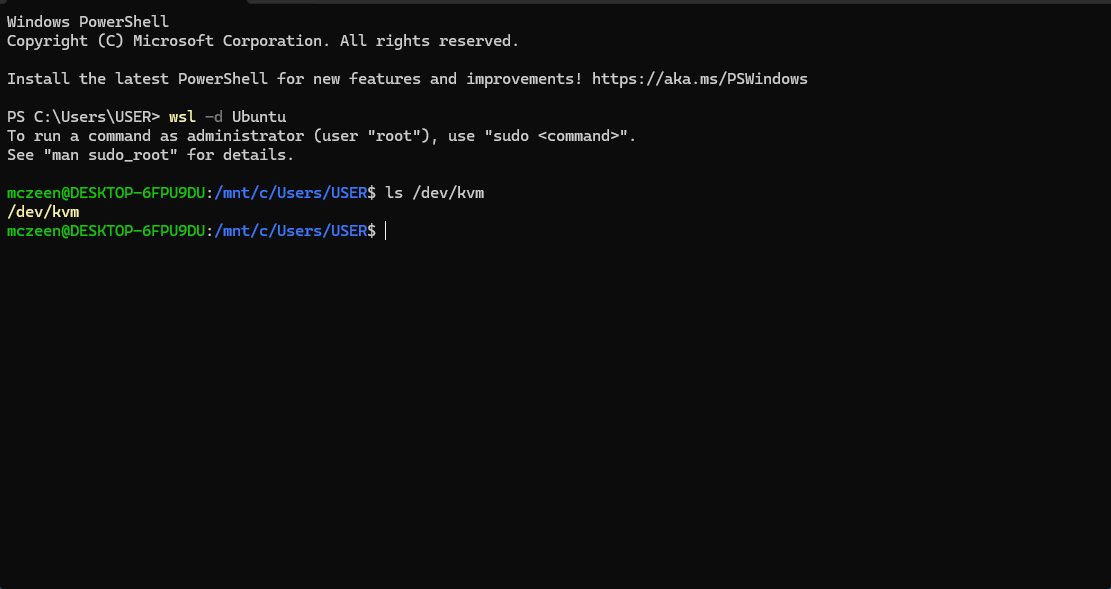
Launch Ubuntu inside WSL2
wsl -d Ubuntu
Check for KVM access
ls /dev/kvm
-
If it lists
/dev/kvm, you’re good. -
If not, your CPU or firmware may not support nested virtualization — use a full Linux VM instead (VirtualBox, Hyper-V, VMware).
Inside Ubuntu:
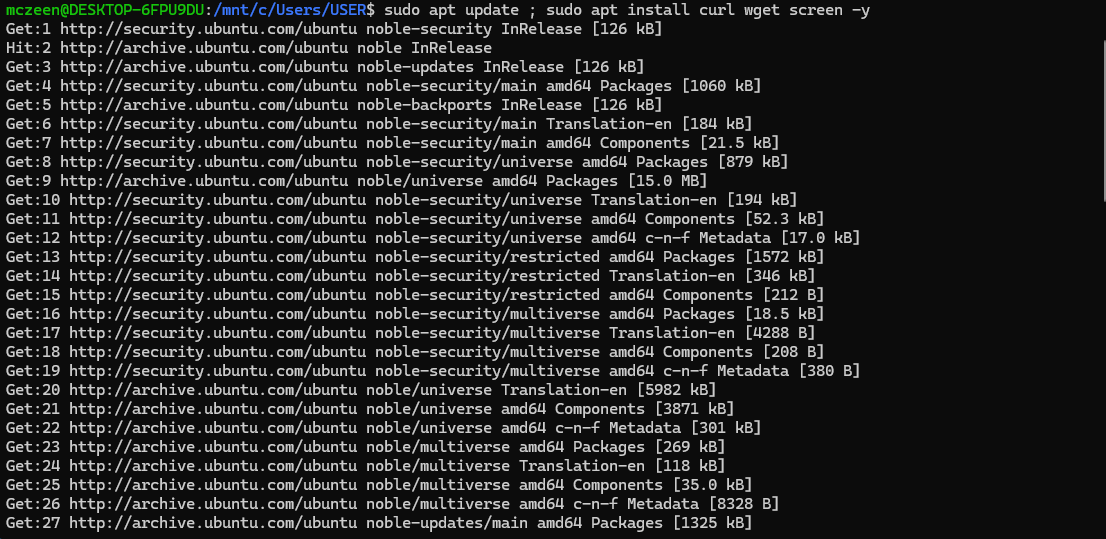
sudo apt update ; sudo apt install curl wget screen -y
macOS (Intel or Apple Silicon)
We’ll run Ubuntu inside UTM (because macOS doesn’t support KVM natively).
Install UTM
-
Download UTM
-
Drag it into your Applications folder.
Get Ubuntu
-
Download the latest LTS version (Server or Minimal ISO).
-
Intel Macs → download x86_64 ISO.
-
Apple Silicon → download ARM64 ISO.
-
Create an Ubuntu VM in UTM
-
Open UTM → click Create a New Virtual Machine.
-
Choose Virtualize (faster than Emulate).
-
Pick Linux as the OS.
-
When asked for installation media, click Browse and select the Ubuntu
.isoyou downloaded.
Set VM resources
-
Architecture:
-
x86_64→ Intel Macs. -
ARM64→ Apple Silicon Macs (Firecracker runs better on x86_64, but ARM64 works).
-
-
Memory: 2–4 GB (
4096 MBrecommended). -
CPU Cores: 2 or more.
-
Storage: Add a virtual hard disk (20 GB or larger).
Install Ubuntu
-
Start the VM — it should boot into the Ubuntu installer.
-
Follow the prompts:
-
Language, keyboard, and network → default is fine.
-
Storage → Use Entire Disk.
-
Create your username & password.
-
Skip optional snaps for now.
-
-
When installation finishes, reboot.
-
In UTM, remove the ISO from the virtual CD drive before booting again.
Inside Ubuntu:
sudo apt update
sudo apt install curl wget screen
Step 2: Install Firecracker (Inside Ubuntu)
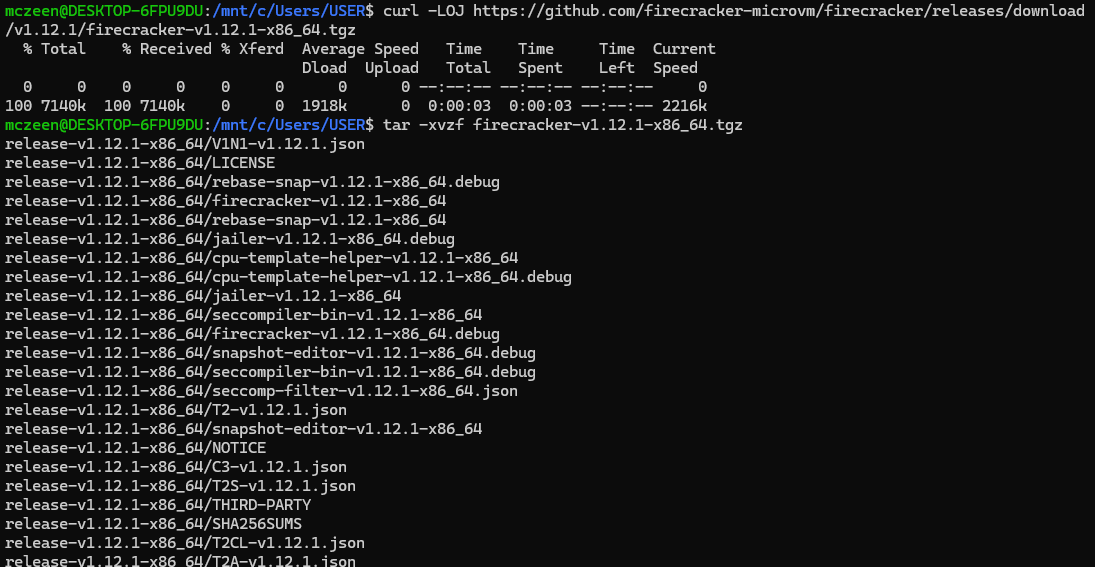
Download Firecracker:
curl -LOJ https://github.com/firecracker-microvm/firecracker/releases/download/v1.12.1/firecracker-v1.12.1-x86_64.tgz
tar -xvzf firecracker-v1.12.1-x86_64.tgz
chmod +x release-v1.12.1-x86_64/firecracker-v1.12.1-x86_64
sudo mv release-v1.12.1-x86_64/firecracker-v1.12.1-x86_64 /usr/local/bin/firecracker

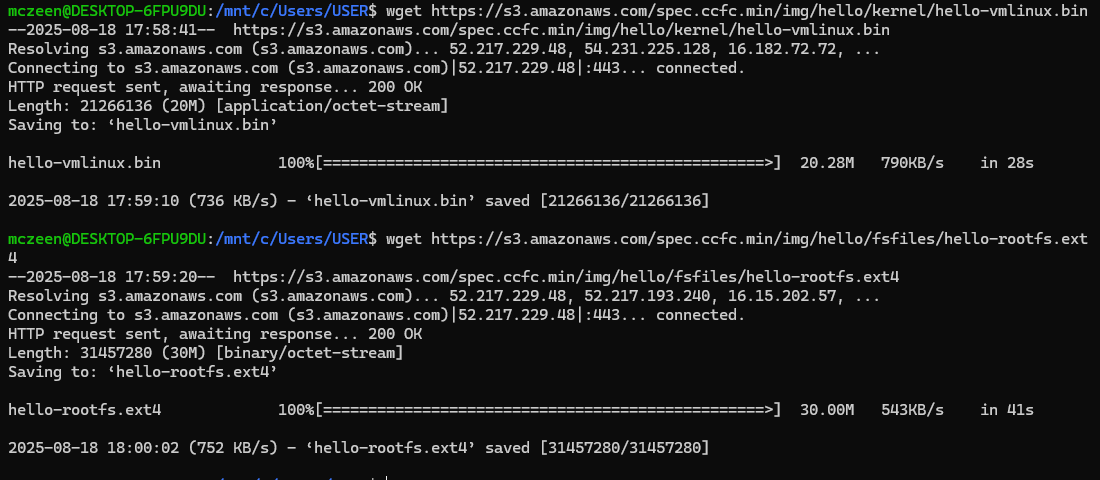
Get the demo kernel & root filesystem:
wget https://s3.amazonaws.com/spec.ccfc.min/img/hello/kernel/hello-vmlinux.bin
wget https://s3.amazonaws.com/spec.ccfc.min/img/hello/fsfiles/hello-rootfs.ext4
Step 3: Launch Firecracker
Create the API socket:
mkdir -p /tmp/firecracker
rm -f /tmp/firecracker/firecracker.socket
Run Firecracker in screen session:
screen -S firecracker
sudo firecracker --api-sock /tmp/firecracker/firecracker.socket

Detach the screen (Ctrl + A, then D).
Step 4: Configure & Start the MicroVM

In a new terminal,
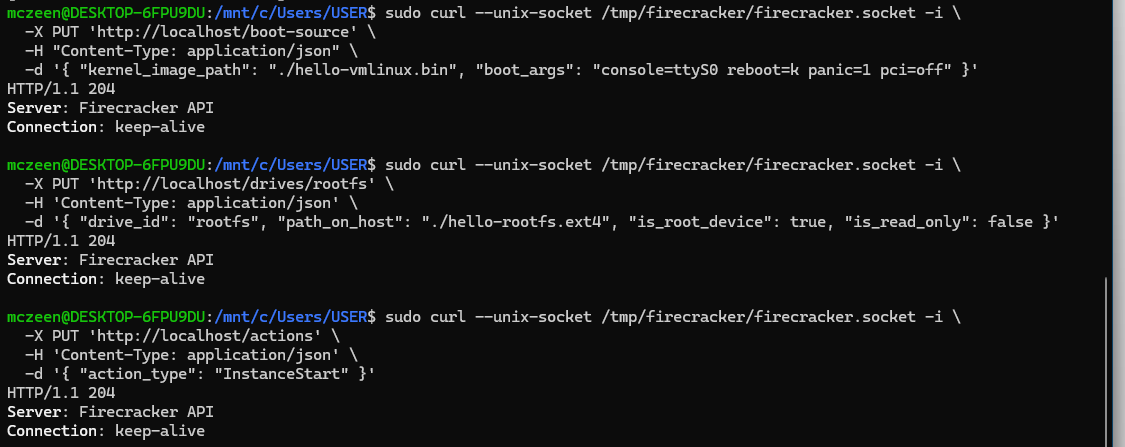
Configure the Kernel:
 sudo curl --unix-socket /tmp/firecracker.socket -i \
-X PUT 'http://localhost/boot-source' \
-H "Content-Type: application/json" \
-d '{ "kernel_image_path": "./hello-vmlinux.bin", "boot_args": "console=ttyS0 reboot=k panic=1 pci=off" }'
Root filesystem:
 sudo curl --unix-socket /tmp/firecracker.socket -i \
-X PUT 'http://localhost/drives/rootfs' \
-H 'Content-Type: application/json' \
-d '{ "drive_id": "rootfs", "path_on_host": "./hello-rootfs.ext4", "is_root_device": true, "is_read_only": false }'
Start the microVM:
 sudo curl --unix-socket /tmp/firecracker.socket -i \
-X PUT 'http://localhost/actions' \
-H 'Content-Type: application/json' \
-d '{ "action_type": "InstanceStart" }'
Step 5: Check It’s Running
After the third curl command succeeds, switch back to your first terminal or your screen session where you ran the firecracker command. You should now see the boot output and the “Welcome to Alpine Linux” message.
To go back to your screen session:
screen -r firecracker
You should see:

So… What Was the Point?
You just spun up a real microVM using Firecracker which is the same tech behind AWS Lambda and Fargate—right on your laptop.
Unlike traditional VMs, Firecracker boots in milliseconds, uses minimal resources, and mimics real-world serverless/cloud environments. And the best part? You didn’t need Docker, a cloud account, or even a big beefy machine.
Why This Matters
-
For students & devs: Firecracker helps you understand cloud-native infrastructure locally.
-
For tinkerers: It’s a safe playground for testing Linux, automation, and networking concepts.
-
For builders: This is your first step toward building lean, fast, production-like environments.
What You Can Try Next?
-
Replace the default Alpine rootfs with your own Linux distro
-
Automate the setup with a shell script or Vagrantfile
-
Experiment with isolation: run multiple microVMs at once
-
Try deploying the same Firecracker setup on a real cloud VM
Final Thoughts
You now have a microVM running with almost no overhead that is fast, isolated, and cloud-like.
From portfolio projects to exploring the real mechanics of serverless, this setup delivers the kind of practical edge others tend to miss.
References:
-
Firecracker official documentation:
https://firecracker-microvm.github.io -
Firecracker GitHub (installation, releases, project details):
https://github.com/firecracker-microvm/firecracker -
Firecracker as the tech behind AWS Lambda and Fargate (AWS Blog):
https://aws.amazon.com/blogs/aws/firecracker-lightweight-virtualization-for-serverless-computing/ -
AWS Firecracker overview:
https://www.qumulus.io/aws-firecracker/
💸 Get $5 Credits on your next purchase for Every $30 Worth of Purchase

Turn Your Team Into Cloud-Ready Professionals Today

Learn AWS with our PlayCloud Hands-On Labs

$2.99 AWS and Azure Exam Study Guide eBooks

New Claude Certified Architect Foundations CCA-F

Learn GCP By Doing! Try Our GCP PlayCloud

Learn Azure with our Azure PlayCloud

FREE AI and AWS Digital Courses

FREE AWS, Azure, GCP Practice Test Samplers


Subscribe to our YouTube Channel

Follow Us On Linkedin


