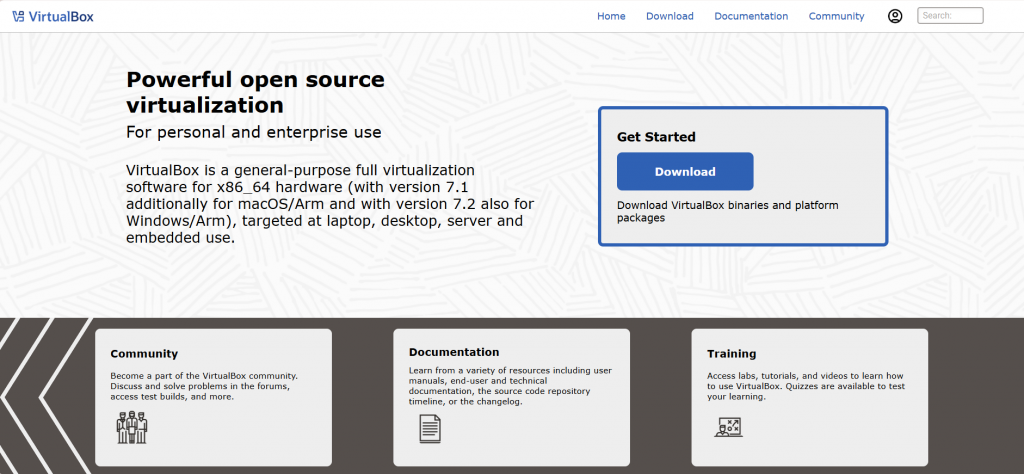
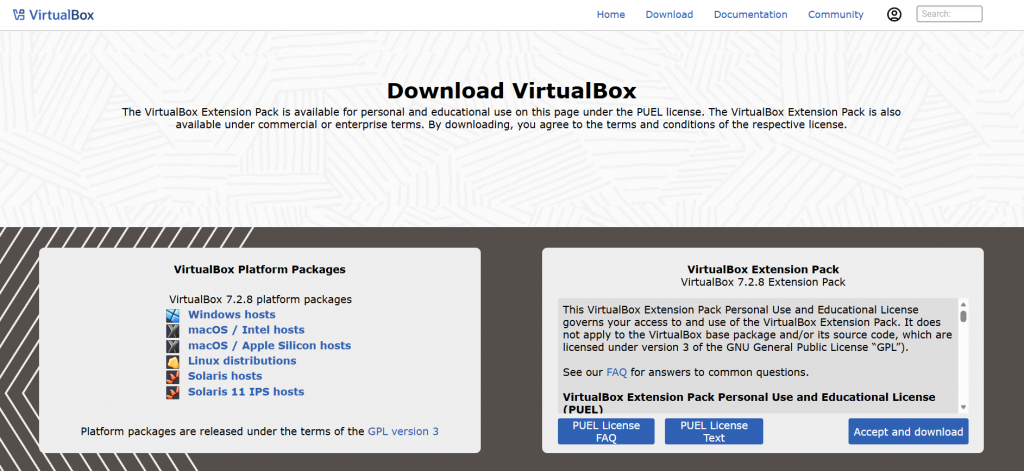
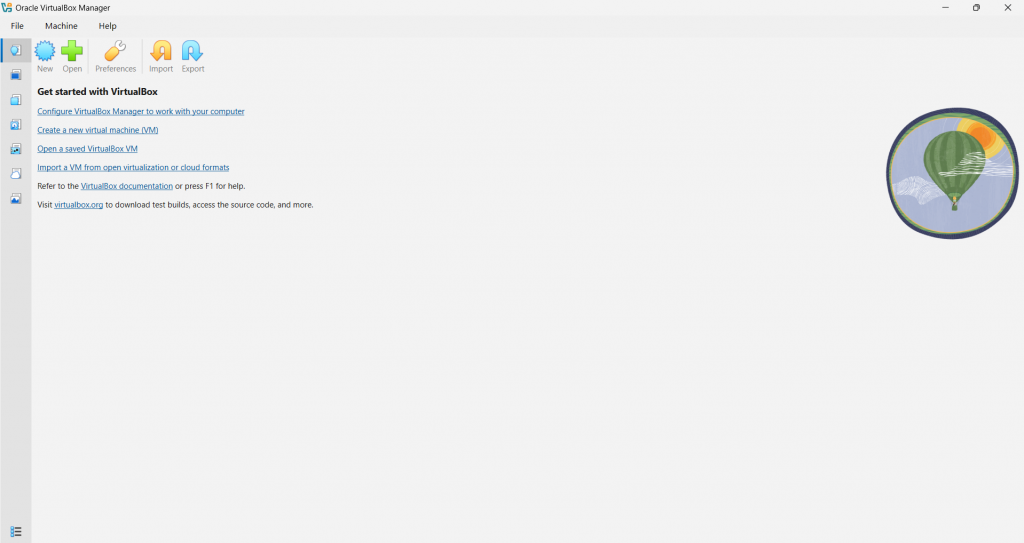
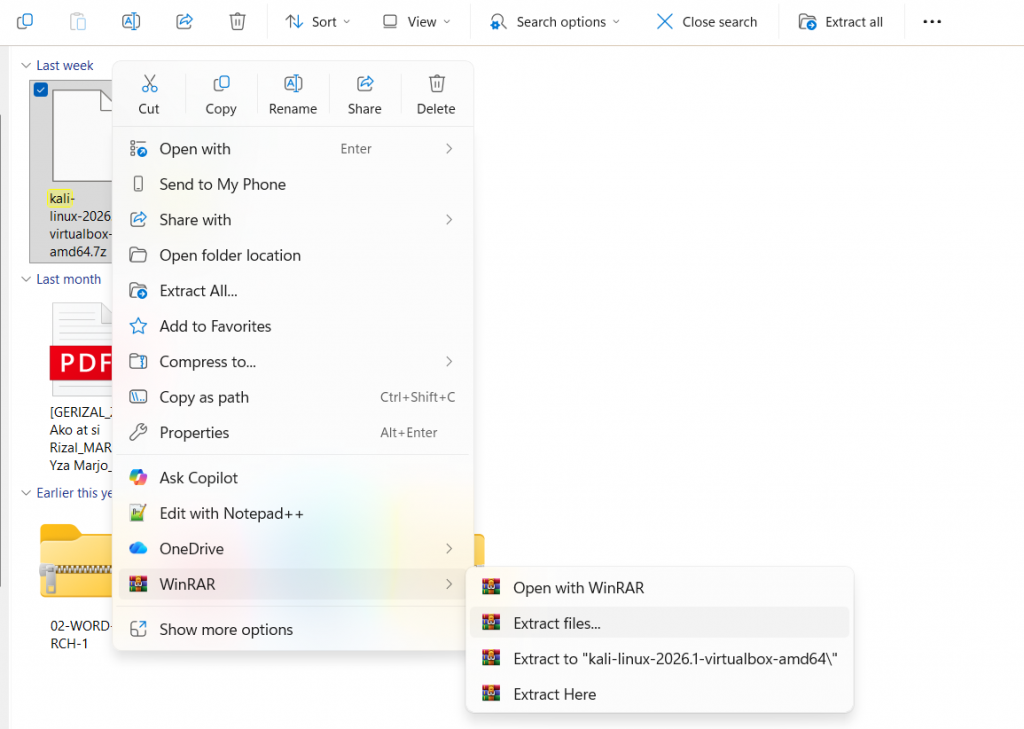
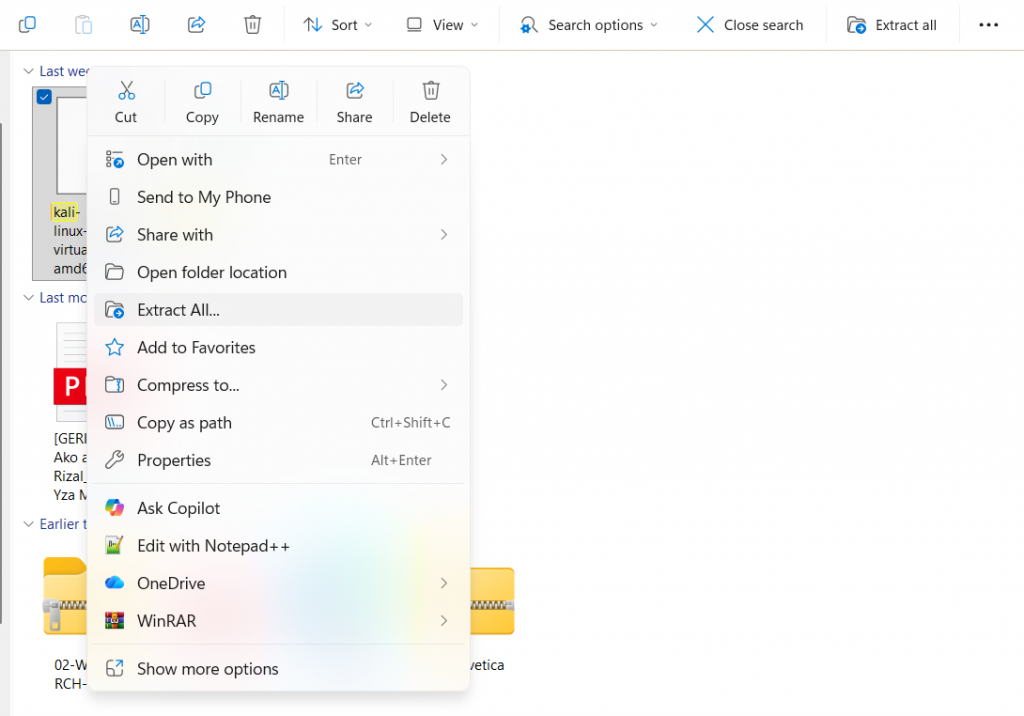
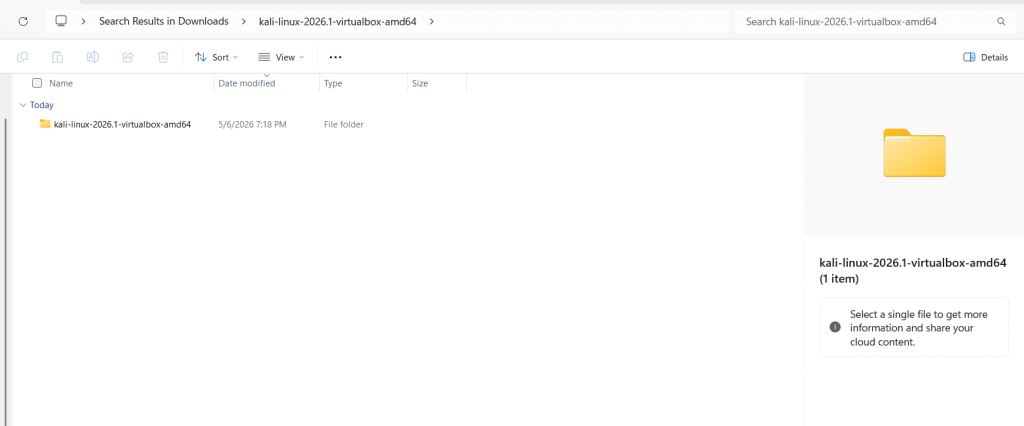
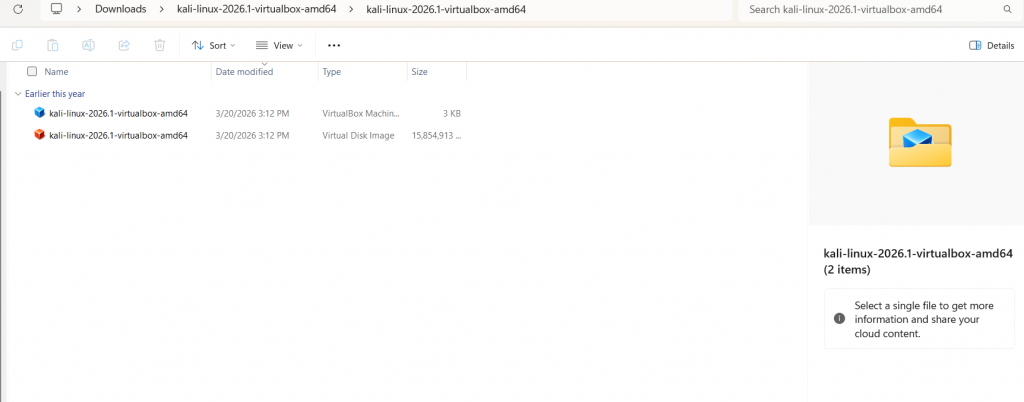
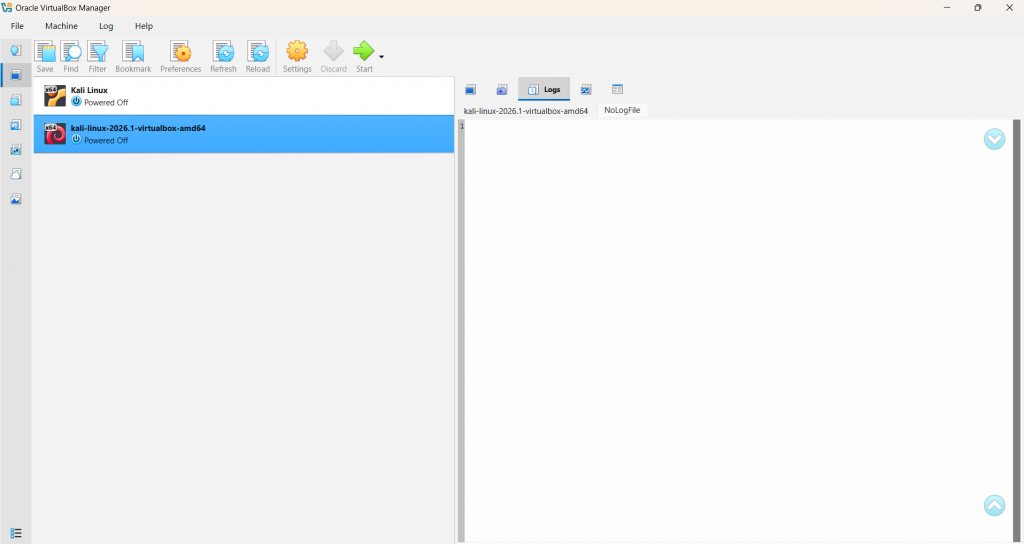
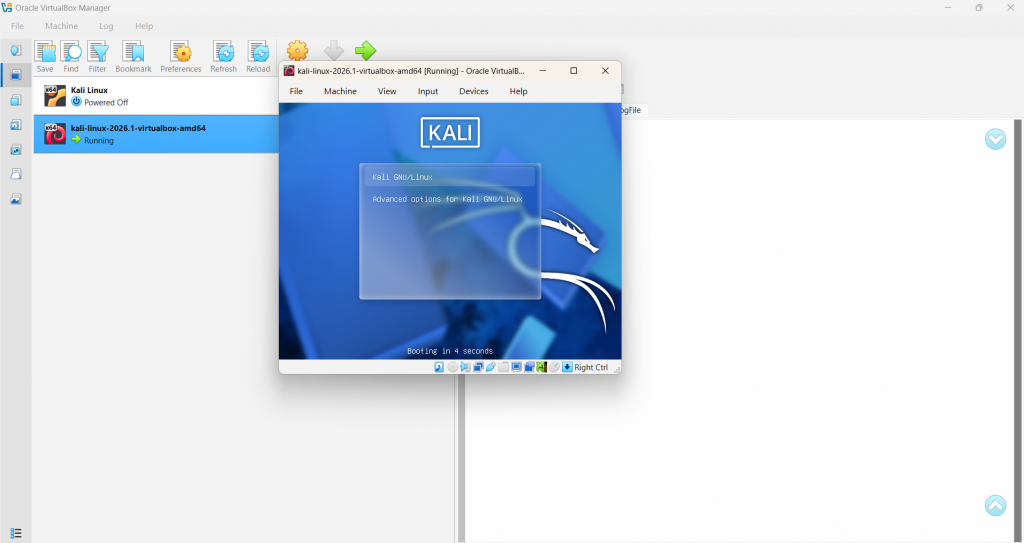
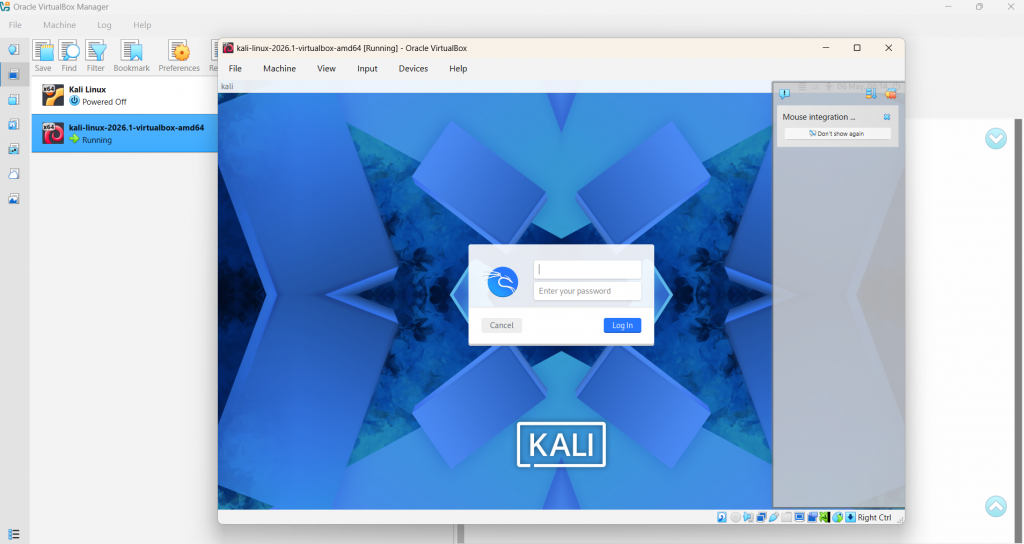
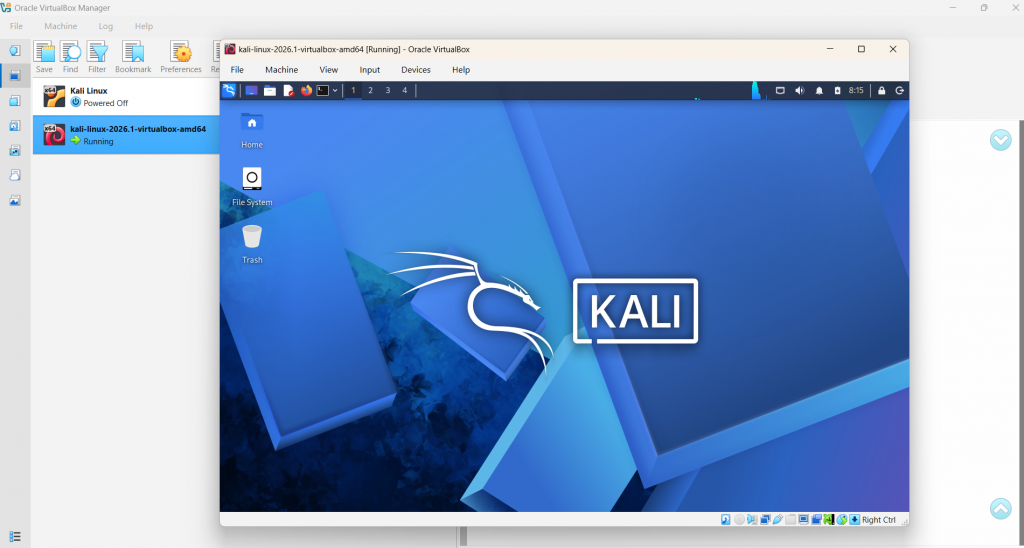
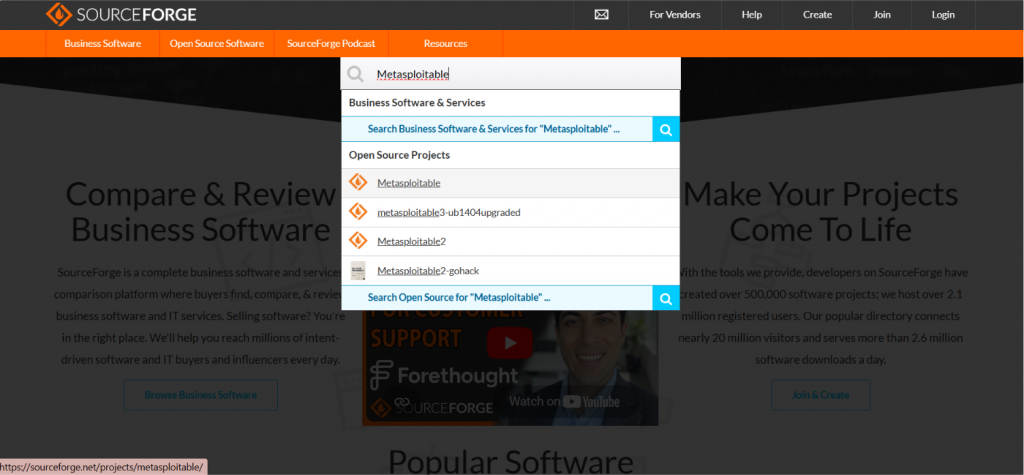
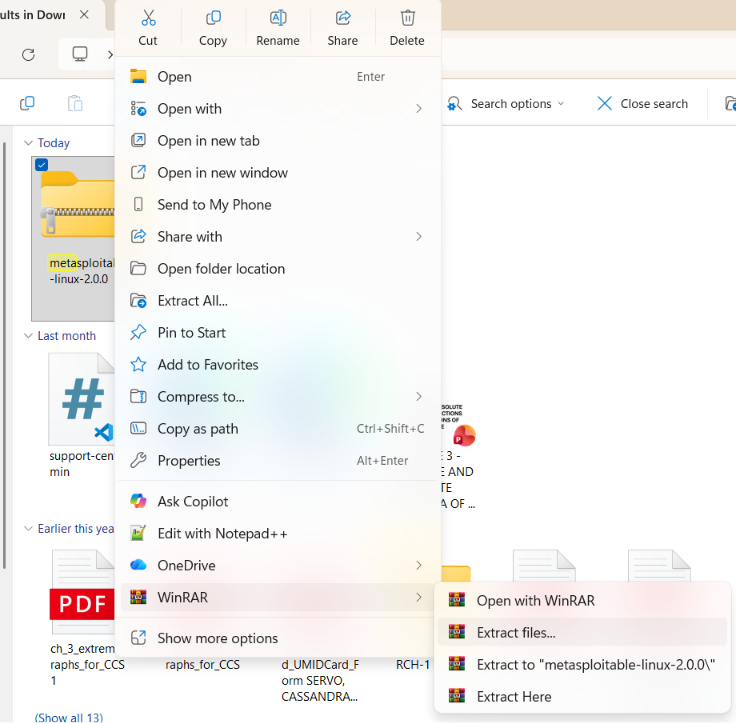
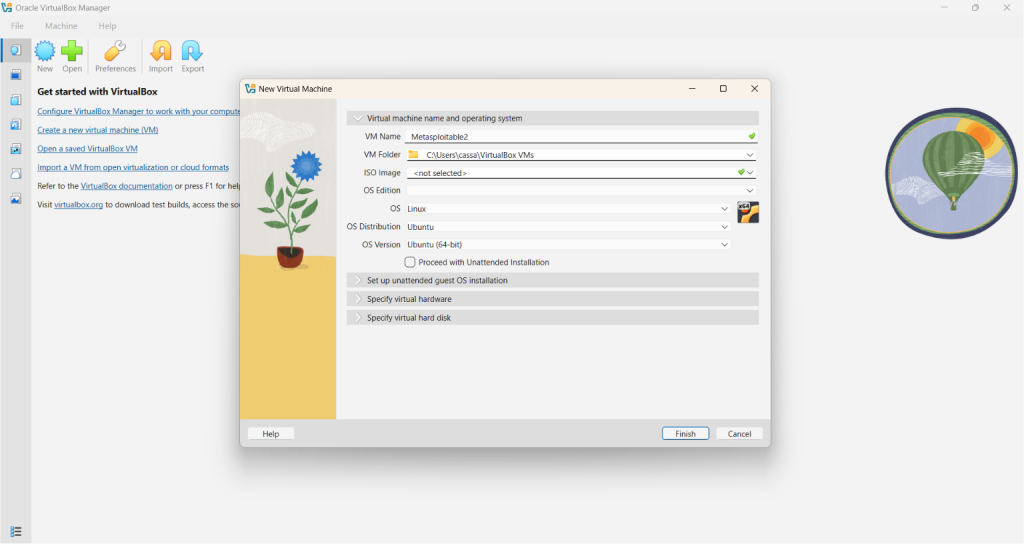
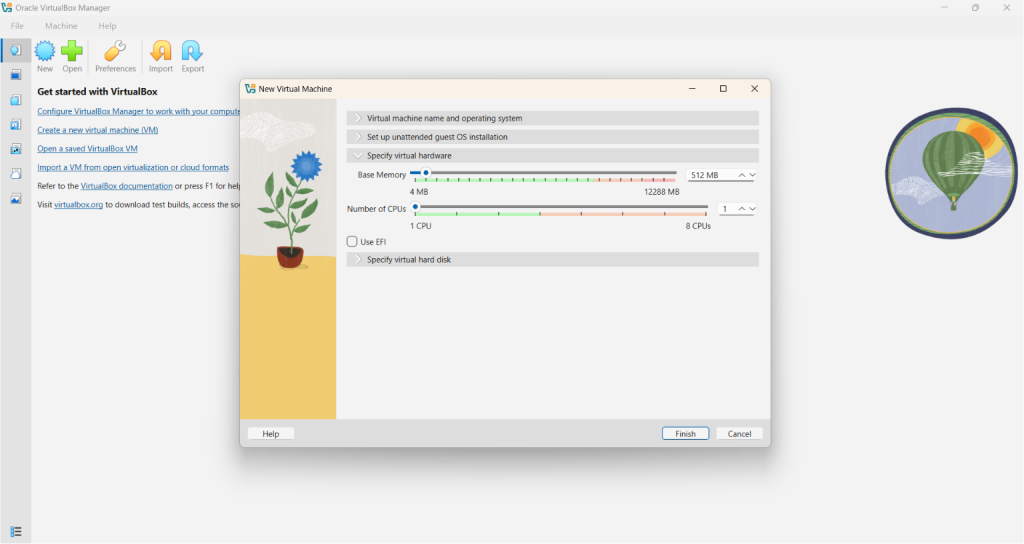
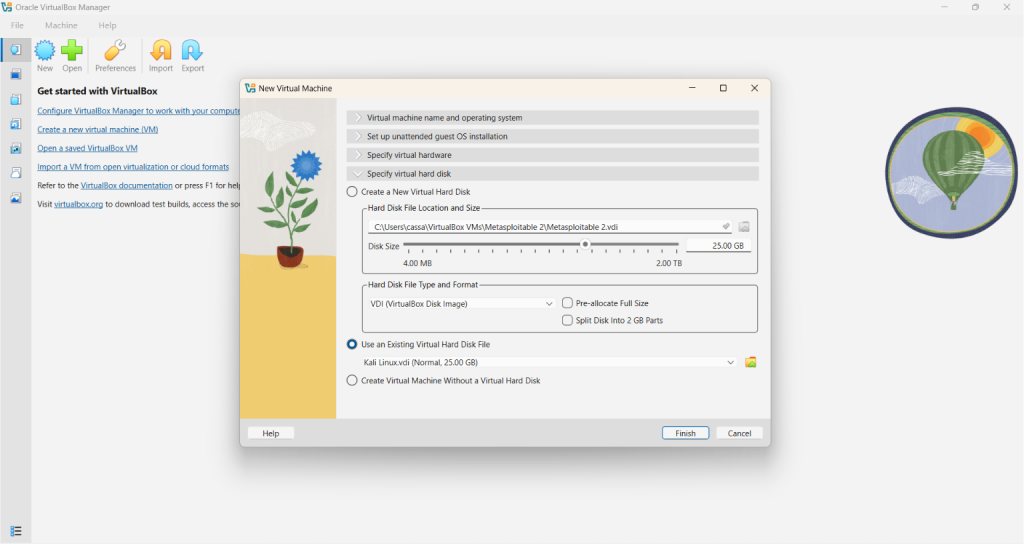
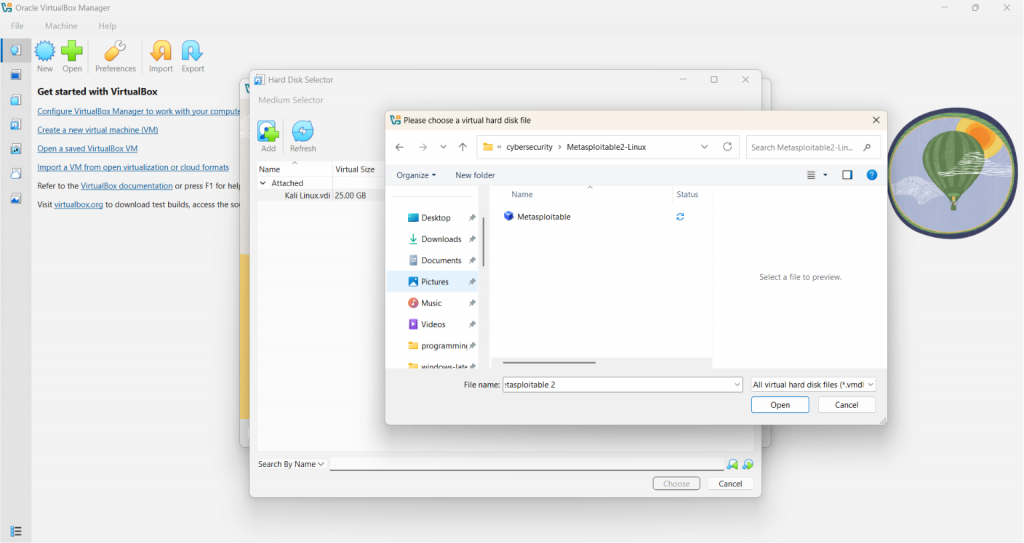
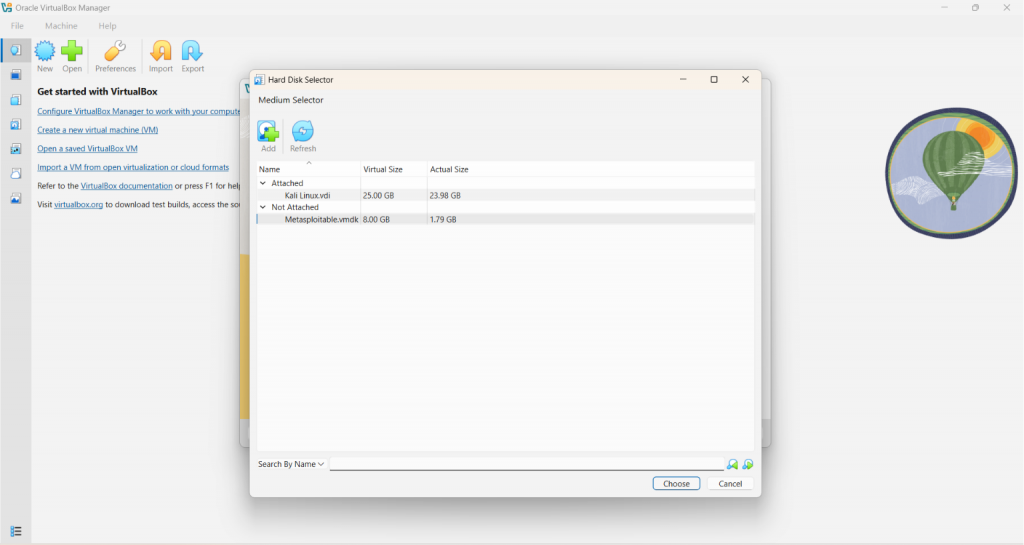
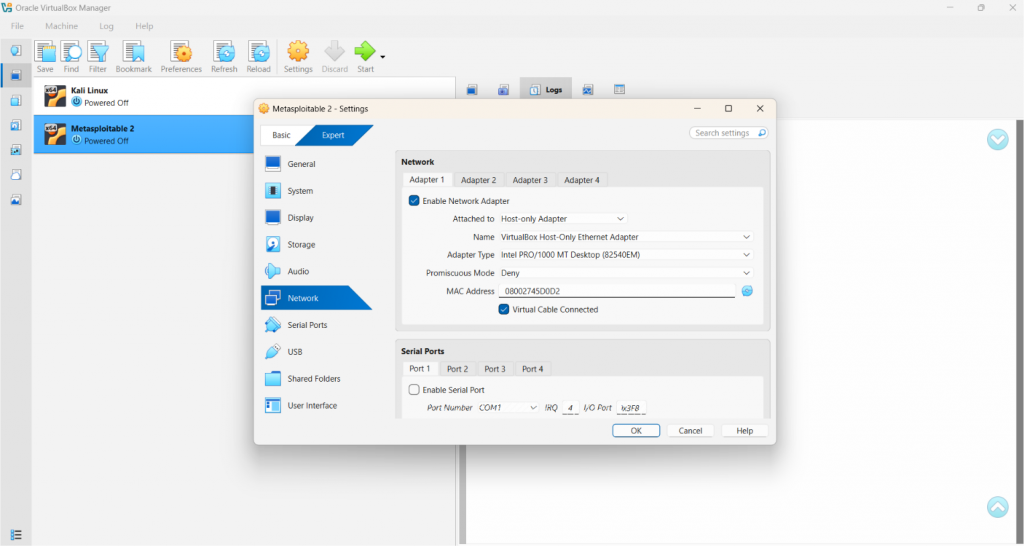
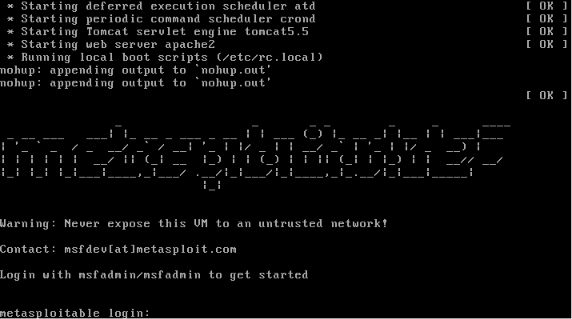
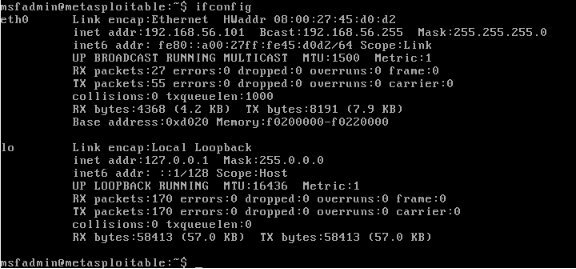
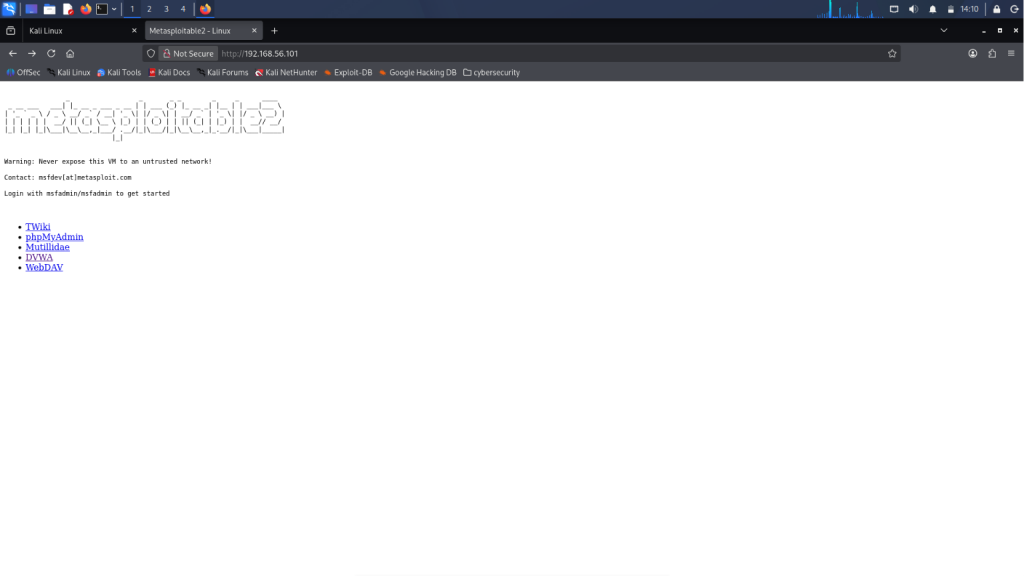
As a computer science student majoring in Network and Information Security, I have researched so many ways that I can actually learn more about cybersecurity. More specifically? Hacking. With the power of the internet, I came across so many courses, websites, and applications from which I can utilize to gain more understanding. They’re helpful, yes. But at some point, I just asked myself… What if I just stop reading, and actually start doing? That’s when I decided to build my own controlled environment. Because the truth is, you can’t truly learn hacking just by reading theories or watching videos. You have to actually do it. And through your own controlled environment, you can start seeing the vulnerabilities in real time, exploit it yourself, and break something ethically. Here is how I built my personal Ethical Hacking Lab to practice every OWASP Top 10 vulnerability! In setting up our own ethical hacking lab, we need to have a dedicated machine for the attacker, and also for the target. This is where virtual machines come into place. The backbone of our own hacking lab is having a VM. This allows us to set up our hacking lab using just one computer. Also, we do not want to be hacking with our own personal machine, right? On top of that, we would not want to attack a real computer. That’s when things become illegal! VirtualBox is an open-source virtual machine provider. It’s very easy to install and set up, so I prefer using it. 2. You will be redirected to the /Downloads page. Click the appropriate platform package. If your current machine runs on Windows, you can click the first option (Windows hosts). 3. Click on the file after downloading. You should see the Setup window pop-up. Just click “Next” and accept the terms. 4. You will be prompted to choose where you want VirtualBox to be installed. You can click on “Browse” to change the location. Otherwise, just click “Next”. 5. Continuously click the affirmative buttons like “Yes” or “Next” until you reach the part where it asks you to install. 6. After clicking “Install”, you will have to wait for a couple of minutes before it finishes downloading. Once it finishes downloading, you should see something similar to this, and then you’re done! (It might vary by versions) You have probably heard of the infamous Kali Linux. It’s the operating system (OS) dedicated for all things cybersecurity. It comes pre-loaded with a bunch of tools that actual professionals use to do penetration testing and the like. As you have probably guessed, this is going to be the OS of our attacker machine! Note: You can refer to the References section at the end of this article for the links! 2. You can choose between downloading Installer Images or the Virtual Machine ones. For beginners, I recommend the VM option for a less stressful downloading experience. 3. Select the VirtualBox option, as this is the virtual machine we have installed. 4. Go to the downloaded .7z file and right click on it. 5. If you have an app for extraction, such as WinRAR, you can select it and choose the “Extract files…” option. 6. You should be able to see a folder like this after extracting. 7. Click on that folder and notice that there are two files inside. Double click on the file with the blue box icon. 8. After double clicking the file, you will be redirected to VirtualBox with the Kali Linux machine! 9. Click the Start button and a similar window will pop-up. 10. Eventually, you will be prompted to type in a username and a password. Note that for both of these, just type in “kali”. Username: kali Password: kali Now you have your own Kali Linux machine! In our hacking lab, this will serve as our attacker machine. An intentionally vulnerable virtual machine made by Rapid7, same creators of Metasploit. It comes loaded with vulnerable versions of common services like FTP, SSH, HTTP, MySQL, and more. 2. You should be redirected to this page. Simply click the green “Download” button. A .zip file will start downloading on your computer. 3. After downloading, as we did with Kali Linux, extract the .zip file. 4. Click on the extracted folder. You should be able to see a file with a blue icon. 5. Open your VirtualBox. Click “New”, and type in your desired VM name. As for mine, I simply named it “Metasploitable 2”. The VM folder should be automatically set. Next, change the OS to “Linux”, OS Distribution to “Ubuntu”, and ensure that the OS Version is “Ubuntu (64-bit)”. 6. Click on the “Specify virtual hardware” to modify the Base Memory allocated. 512 MB is enough for Metasploitable, as this is not meant to be a performant machine. 7. Next, for the most important part, click on the “Specify virtual hard disk”. You will see three radio buttons, but the one we want to select is the “Use an existing Virtual Hard Disk File”. 8. As you can notice, there is a folder icon to the right-most part of the window. Upon clicking this, a new window will pop-up. Simply click the “Add” button and find the file we downloaded earlier with the blue-box icon. 9. After clicking the file, it should show under the “Not Attached”. Select it and then click the “Choose” button. Hit “Finish”, and then we are done! To ensure that our VMs are isolated and won’t be visible to outsiders, we need to modify the Network settings. Go to VirtualBox, right-click on each VM and choose “Settings” from the options. Find “Network” from the selection and change the “Attached to” into “Host-only Adapter”. Click “OK” to save it. Note: Do this for both the Kali Linux and Metasploitable! Note: In typing the password, there won’t be any indicator! Just type it normally, and don’t expect the usual “****”. 2. Type “ifconfig” in the command-line. Look for the “eth0 inet addr”. It usually looks like 192.168.56.xxx. Take note of this IP address. Note: In my case, the IP address is 192.168.56.101 (This is a private IP address and will not be accessible publicly) 3. Go to your Kali Linux machine and enter the IP address on your browser. You should be able to see the Metasploitable 2 landing page! Actually, I lied in the title. You can do so much more than just practicing every OWASP Top 10 vulnerability in this hacking lab! Aside from the web, it also covers other vulnerability types such as network, privilege escalation, weak credentials, outdated software, you name it. However, for this article, we will focus on the web vulnerabilities! Just select from the options in the landing page to get started. Building a personal ethical hacking lab is one of the best ways one can learn cybersecurity safely and practically. Instead of only reading about the vulnerabilities, you can observe and exploit them yourself in a controlled environment. Through Kali Linux and Metasploitable, beginners can gain hands-on experience with web vulnerabilities, insecure services, and penetration testing without actually attacking real systems. I hope this article is able to help beginners bypass the “overwhelm stage” of learning ethical hacking. Studying cybersecurity, specifically hacking, can seem daunting to some due to its legal intricacies. To truly learn how to protect a system, we have to understand how attackers think. This means learning to exploit vulnerabilities and acting like an attacker. As such, I really like that there are virtual machines such as Metasploitable where we can learn and practice without the fear of accidentally breaking a law! Metasploitable 2 Exploitability Guide | Metasploit Documentation Metasploitable download | SourceForge.net Kali Linux | Penetration Testing and Ethical Hacking Linux Distribution
Virtual Machine (VM)
Downloading VirtualBox

Kali Linux
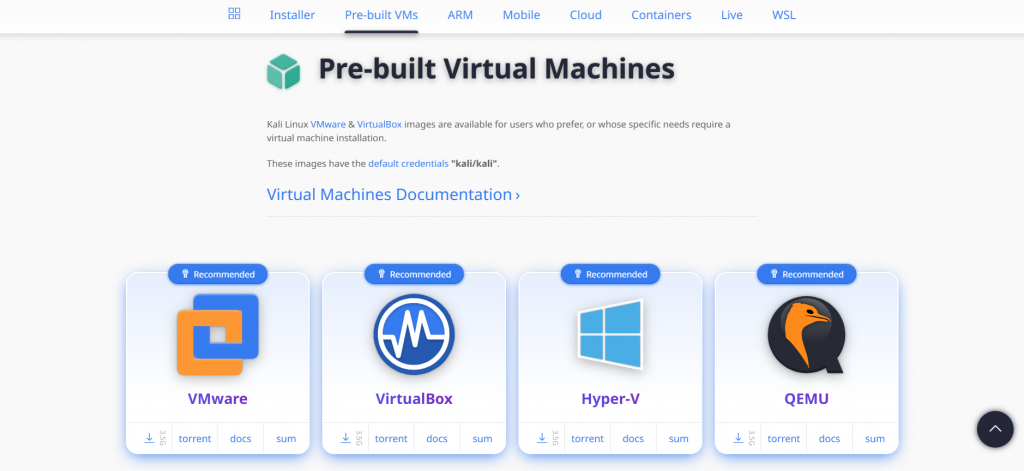
Downloading Kali Linux
Metasploitable 2
Downloading Metasploitable 2


Configuring the Network of the Virtual Machines (VMs)
Testing the Hacking Lab
What you can do in Metasploitable
Conclusion
Resources
🤖 $3.49 eBooks Start Here – Get Up to 30% OFF All AI & Machine Learning Reviewers

Turn Your Team Into Cloud-Ready Professionals Today

Learn AWS with our PlayCloud Hands-On Labs

$2.99 AWS and Azure Exam Study Guide eBooks

New Claude Certified Architect Foundations CCA-F

Learn GCP By Doing! Try Our GCP PlayCloud

Learn Azure with our Azure PlayCloud

FREE AI and AWS Digital Courses

FREE AWS, Azure, GCP Practice Test Samplers


Subscribe to our YouTube Channel

Follow Us On Linkedin


Cassandra Servo is both a DOST-SEI Scholar and a Computer Science student at De La Salle University, specializing in Network and Information Security. Passionate about the field of Cybersecurity, she is particularly interested in offensive security and aims to pursue a career in ethical hacking and digital defense. Guided by her love for logic and structured reasoning, she is also eyeing the intersection of technology and law.


