Last updated on September 25, 2025
As someone who has been interested in mini desktop applications, I decided to build my own mood journal app to track my daily thoughts and reflections. What better way to learn Electron than by creating something practical? In this tutorial, I will guide you through the process of building a clean, simple mood journal that runs on Windows, macOS, and Linux.
Electron is a fantastic framework that allows you to build desktop applications using web technologies like HTML, CSS, and JavaScript. It works by packaging Chromium and Node.js together, enabling you to create cross-platform apps from a single codebase.
This guide will walk you through creating a lightweight desktop mood journal app using Electron.js. Our mood journal app will include:
- A clean writing area for daily entries
- Local storage using SQLite (no internet required)
- A sidebar displaying past entries
- Weekly filtering to view entries by week
- Simple statistics to show your journaling habits
The best part? It’s completely offline and private, your entries stay on your computer.
Building Your Mood Journal App
Prerequisites
This tutorial assumes that you have a basic understanding of Node.js and front-end web development. If you need to brush up on your skills before proceeding, I recommend the following resources:
Required tools:
- Code editor (like VScode or Notepad++)
- Command line interfaces (CLIs)
- Git and Github
- Node.js and npm (version 16 or higher)
Step 1: Project Setup and Initialization

Setting up your development environment is the foundation of any successful project. We will create a proper Node.js project structure and install all the necessary dependencies required for building our mood journal app.
1.1 Create Project Directory
First, let’s create a dedicated folder for our project. This keeps everything organized and makes it easy to manage our code.
mkdir mood-journal-app
cd mood-journal-app
1.2 Initialize NPM Project
Now we’ll initialize a new Node.js project. The -y flag automatically answers “yes” to all prompts, creating a basic package.json file.
npm init -y
1.3 Install Dependencies
These packages provide all the functionality we need for our app:
# Core Electron
npm install electron –save-dev

# For local storage (SQLite)
npm install sqlite3
- Electron: Transforms web apps into native desktop applications
- SQLite3: Perfect for local data storage without requiring a separate database server
1.4 Update package.json
Let’s add scripts that make development and building easier. Replace your package.json with these configurations:
{
  "name": "mood-journal",
  "version": "1.0.0",
  "description": "A simple mood journal app",
  "main": "main.js",
  "scripts": {
    "start": "electron .",
    "dev": "electron . --dev"
  },
  "keywords": [],
  "author": "",
  "license": "MIT"
}
These scripts will let you:
- npm start: Run the app in production mode
- npm run dev: Run with developer tools enabled
- npm run build: Create a distributable version
Step 2: Create Main Electron Process
The main process is the core component of our Electron application. It manages the application lifecycle, creates and controls windows, and handles system-level operations. You can think of it as the “backend” of our desktop app that coordinates all activities.
2.1 Understanding the Main Process Architecture
Before diving into code, let’s understand what our main process will handle:
- Window Management: Creating and managing the app window.
- Database Operations: Setting up and maintaining our SQLite database.
- Inter-Process Communication: Facilitating communication between the user interface and the backend.
2.2 Create main.js
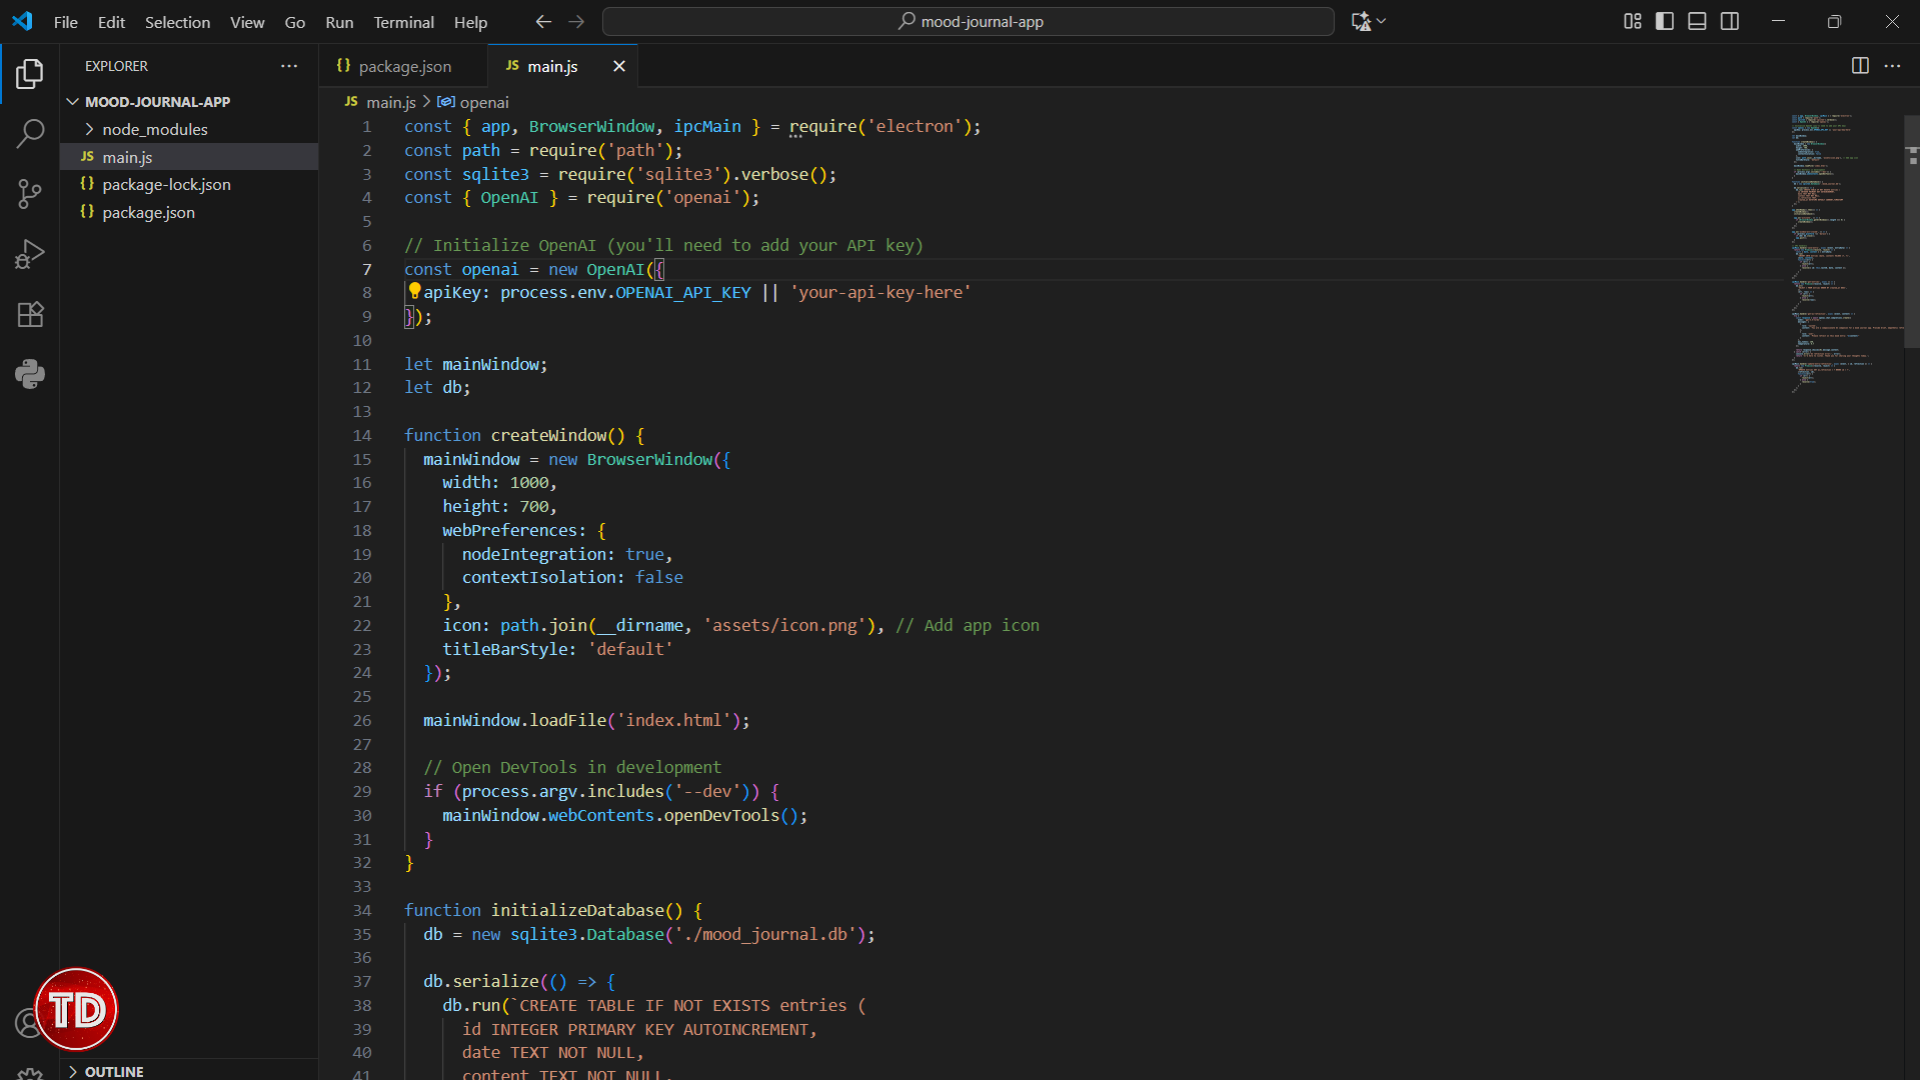
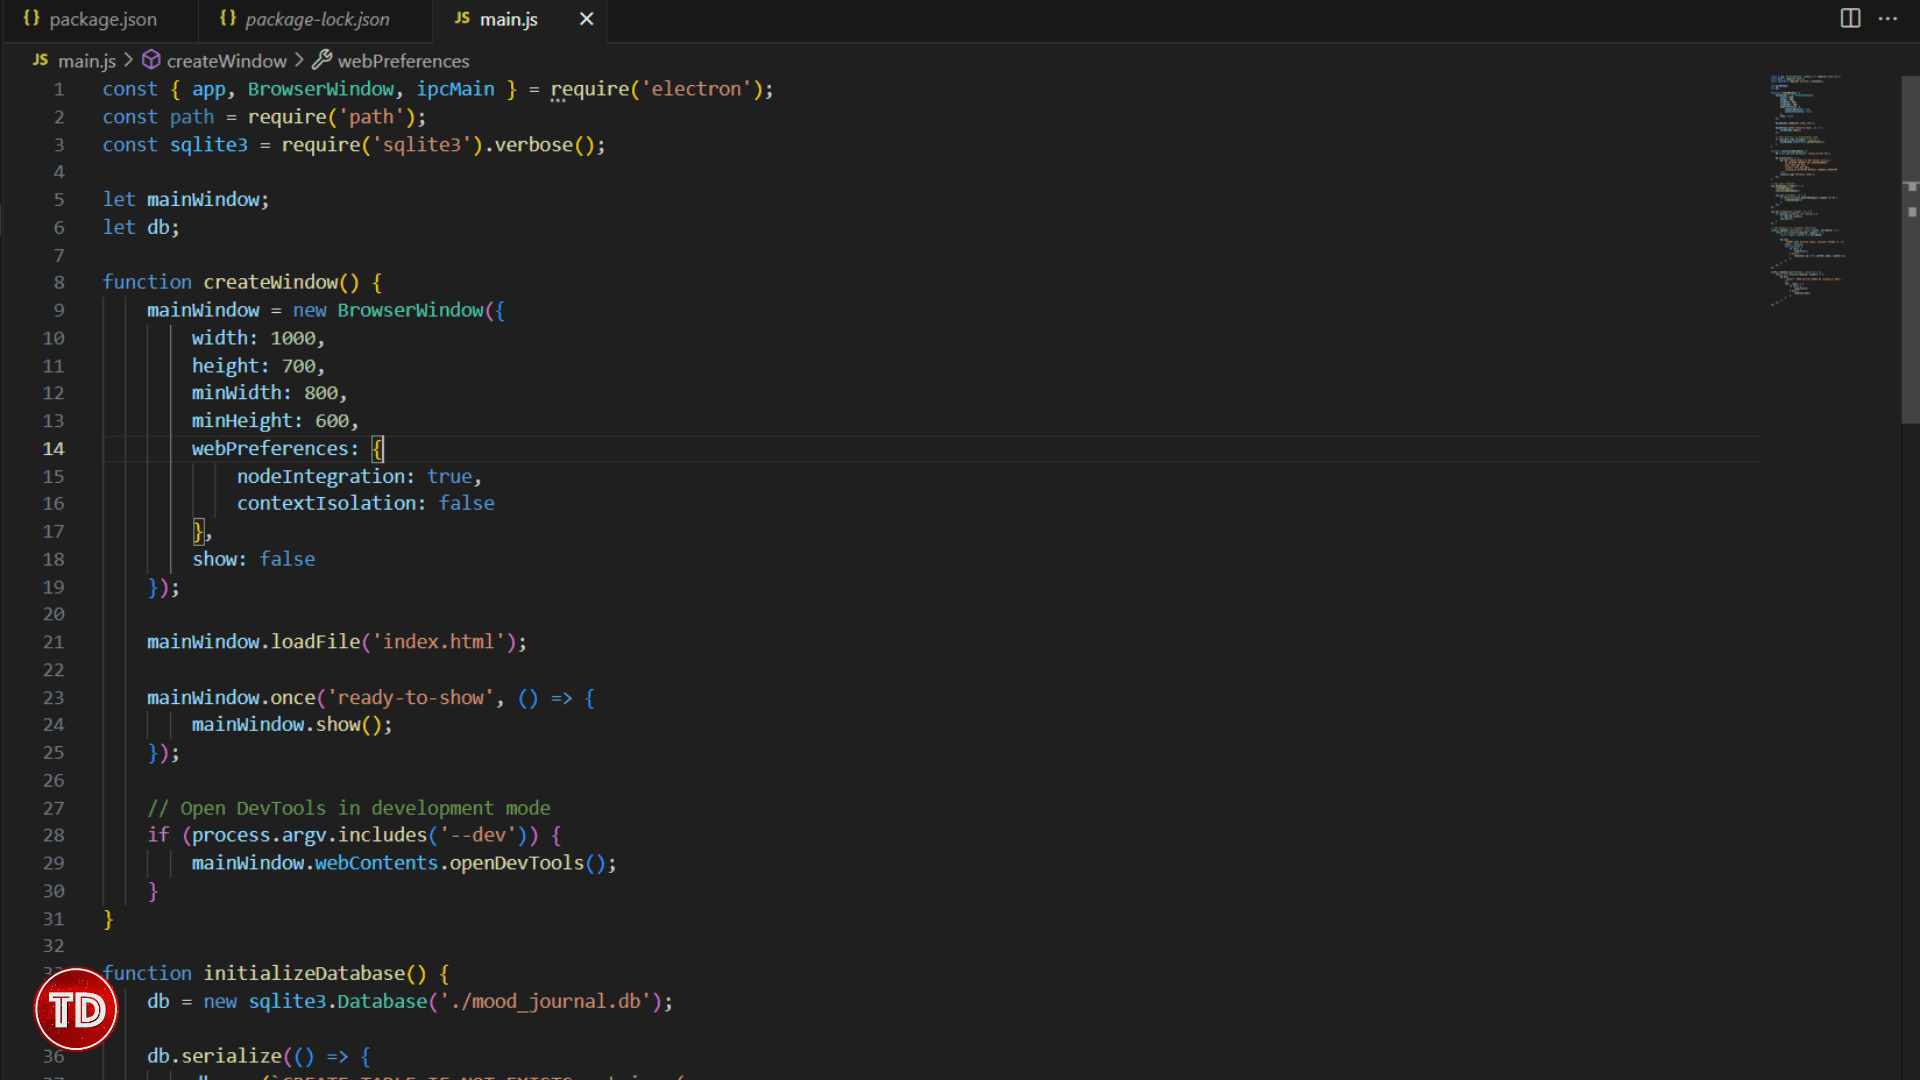
This file is essential, as it is the first one that Electron looks for when starting your application. Create a file named `main.js` in the root directory of your project:
const { app, BrowserWindow, ipcMain } = require('electron');
const path = require('path');
const sqlite3 = require('sqlite3').verbose();

let mainWindow;
let db;

function createWindow() {
    mainWindow = new BrowserWindow({
        width: 1000,
        height: 700,
        minWidth: 800,
        minHeight: 600,
        webPreferences: {
            nodeIntegration: true,
            contextIsolation: false
        },
        show: false
    });

    mainWindow.loadFile('index.html');

    mainWindow.once('ready-to-show', () => {
        mainWindow.show();
    });

    // Open DevTools in development mode
    if (process.argv.includes('--dev')) {
        mainWindow.webContents.openDevTools();
    }
}

function initializeDatabase() {
    db = new sqlite3.Database('./mood_journal.db');

    db.serialize(() => {
        db.run(`CREATE TABLE IF NOT EXISTS entries (
            id INTEGER PRIMARY KEY AUTOINCREMENT,
            date TEXT NOT NULL,
            content TEXT NOT NULL,
            created_at DATETIME DEFAULT CURRENT_TIMESTAMP
        )`);
        console.log('Database ready');
    });
}

// App event handlers
app.whenReady().then(() => {
    createWindow();
    initializeDatabase();

    app.on('activate', () => {
        if (BrowserWindow.getAllWindows().length === 0) {
            createWindow();
        }
    });
});

app.on('window-all-closed', () => {
    if (process.platform !== 'darwin') {
        if (db) db.close();
        app.quit();
    }
});

// IPC Handlers for database operations
ipcMain.handle('save-entry', async (event, entryData) => {
    return new Promise((resolve, reject) => {
        const { date, content } = entryData;

        db.run(
            'INSERT INTO entries (date, content) VALUES (?, ?)',
            [date, content],
            function(err) {
                if (err) {
                    reject(err);
                } else {
                    resolve({ id: this.lastID, date, content });
                }
            }
        );
    });
});

ipcMain.handle('get-entries', async () => {
    return new Promise((resolve, reject) => {
        db.all(
            'SELECT * FROM entries ORDER BY created_at DESC',
            [],
            (err, rows) => {
                if (err) {
                    reject(err);
                } else {
                    resolve(rows);
                }
            }
        );
    });
});
Key Points About This Code:
- Performance: We use SQLite’s serialize mode for better database performance
- User Experience: The window only shows after it’s fully loaded to prevent flickering
Step 3: Create the User Interface
Now, we will build the visual part of our app. The interface is designed to feel like a real journal—warm, inviting, and distraction-free. Our goal is to achieve a clean, paper-like aesthetic that encourages writing and reflection.
3.1 Design Philosophy
Our UI design focuses on the following principles:
- Simplicity: Eliminate clutter and unnecessary elements.
- Warmth: Use journal-like fonts and comfortable colors.
- Functionality: Ensure easy access to all features without overwhelming the user.
- Responsiveness: Ensure the interface works well at different window sizes.
3.2 Create index.html
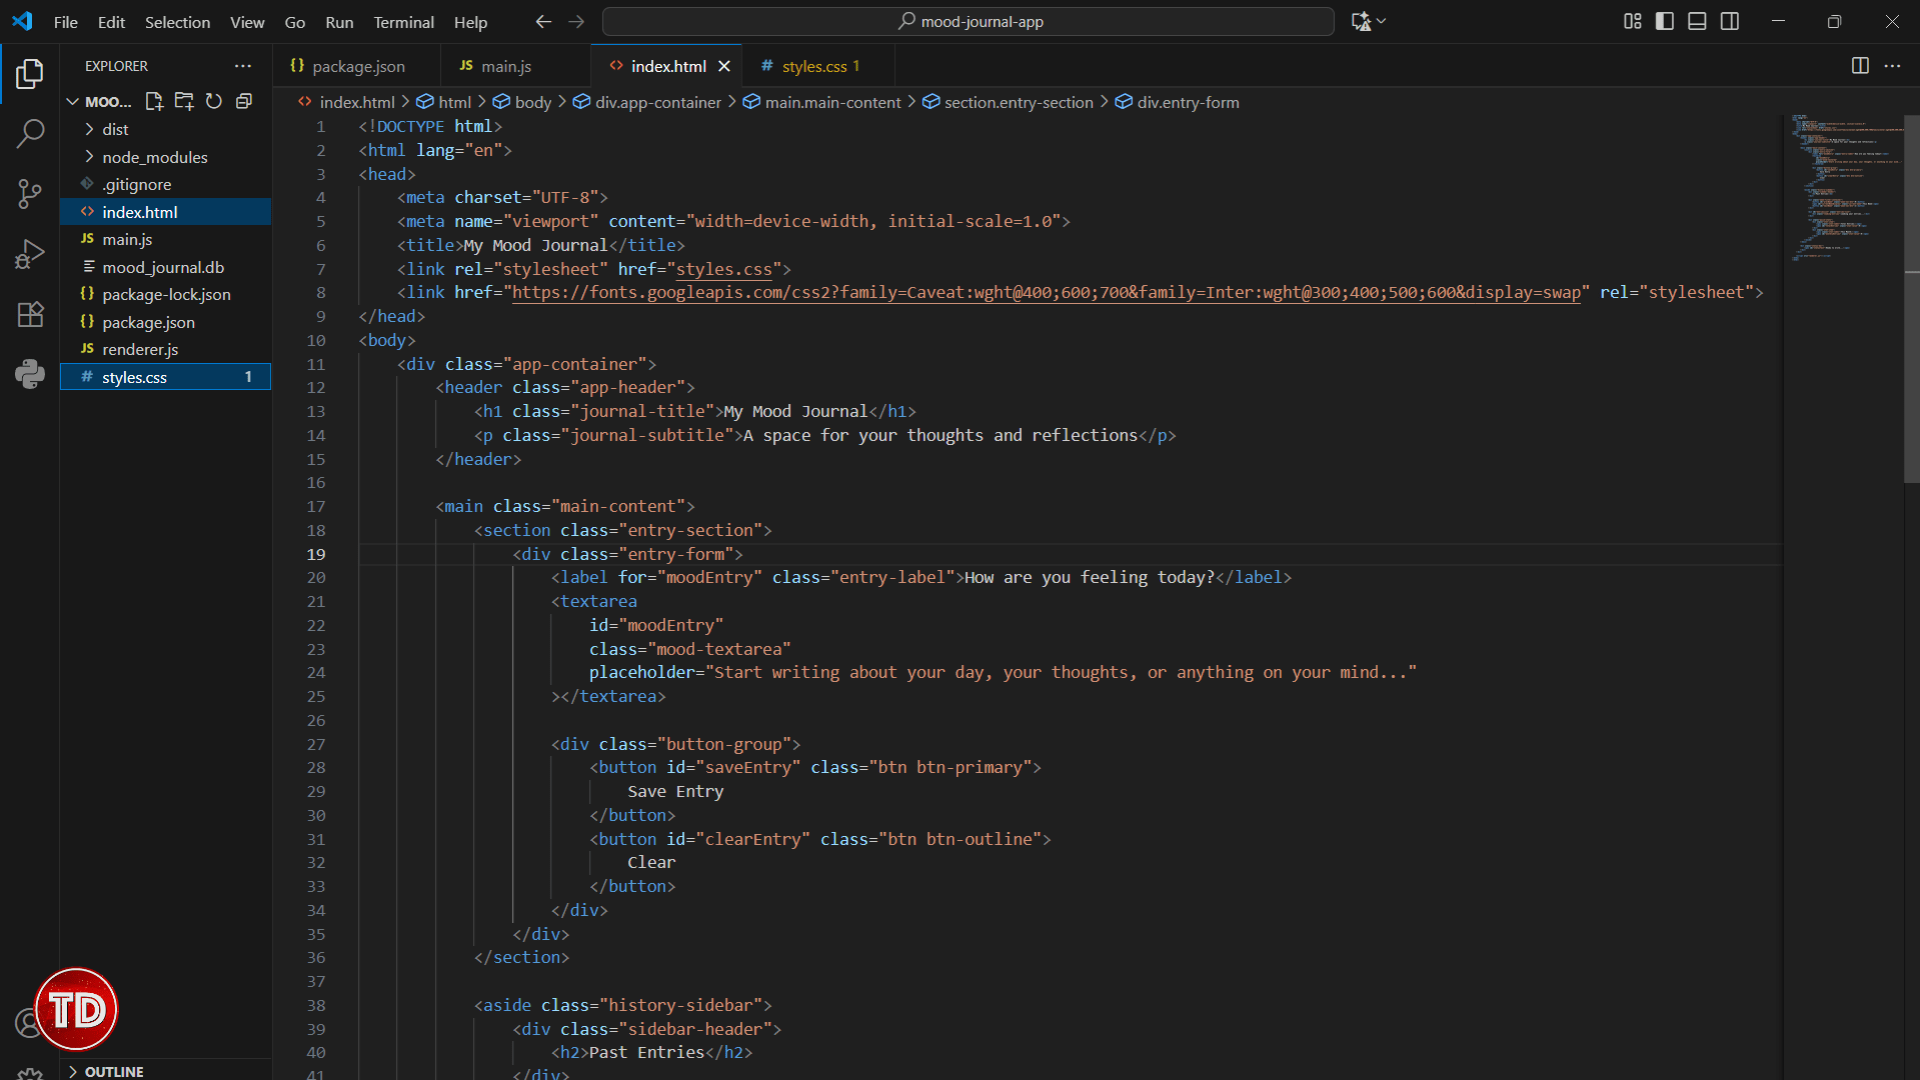
This is the main interface of our app. Save this as index.html in your project root:
<!DOCTYPE html>
<html lang="en">
<head>
    <meta charset="UTF-8">
    <meta name="viewport" content="width=device-width, initial-scale=1.0">
    <title>My Mood Journal</title>
    <link rel="stylesheet" href="styles.css">
    <link href="https://fonts.googleapis.com/css2?family=Caveat:wght@400;600;700&family=Inter:wght@300;400;500;600&display=swap" rel="stylesheet">
</head>
<body>

<div class="app-container">

<header class="app-header">

<h1 class="journal-title">My Mood Journal</h1>


<p class="journal-subtitle">A space for your thoughts and reflections</p>

        </header>


        <main class="main-content">

<section class="entry-section">

<div class="entry-form">
                    <label for="moodEntry" class="entry-label">How are you feeling today?</label>
                    <textarea
                        id="moodEntry"
                        class="mood-textarea"
                        placeholder="Start writing about your day, your thoughts, or anything on your mind..."
                    ></textarea>


<div class="button-group">
                        <button id="saveEntry" class="btn btn-primary">
                            Save Entry
                        </button>
                        <button id="clearEntry" class="btn btn-outline">
                            Clear
                        </button>
                    </div>

                </div>

            </section>


<aside class="history-sidebar">

<div class="sidebar-header">

<h2>Past Entries</h2>

                </div>


<div class="week-filter-container">
                    <button id="prevWeek" class="week-nav-btn">←</button>
                    <span id="currentWeekDisplay" class="current-week">This Week</span>
                    <button id="nextWeek" class="week-nav-btn">→</button>
                </div>


<div id="entriesList" class="entries-list">

<div class="loading-entries">Loading your entries...</div>

                </div>


<div class="quick-stats">

<div class="stat-item">
                        <span class="stat-label">Total Entries:</span>
                        <span id="totalEntries" class="stat-value">0</span>
                    </div>


<div class="stat-item">
                        <span class="stat-label">This Month:</span>
                        <span id="monthlyEntries" class="stat-value">0</span>
                    </div>

                </div>

            </aside>

        </main>


<div class="status-bar">
            <span id="statusText">Ready to write...</span>
        </div>

    </div>


    <script src="renderer.js"></script>
</body>
</html>
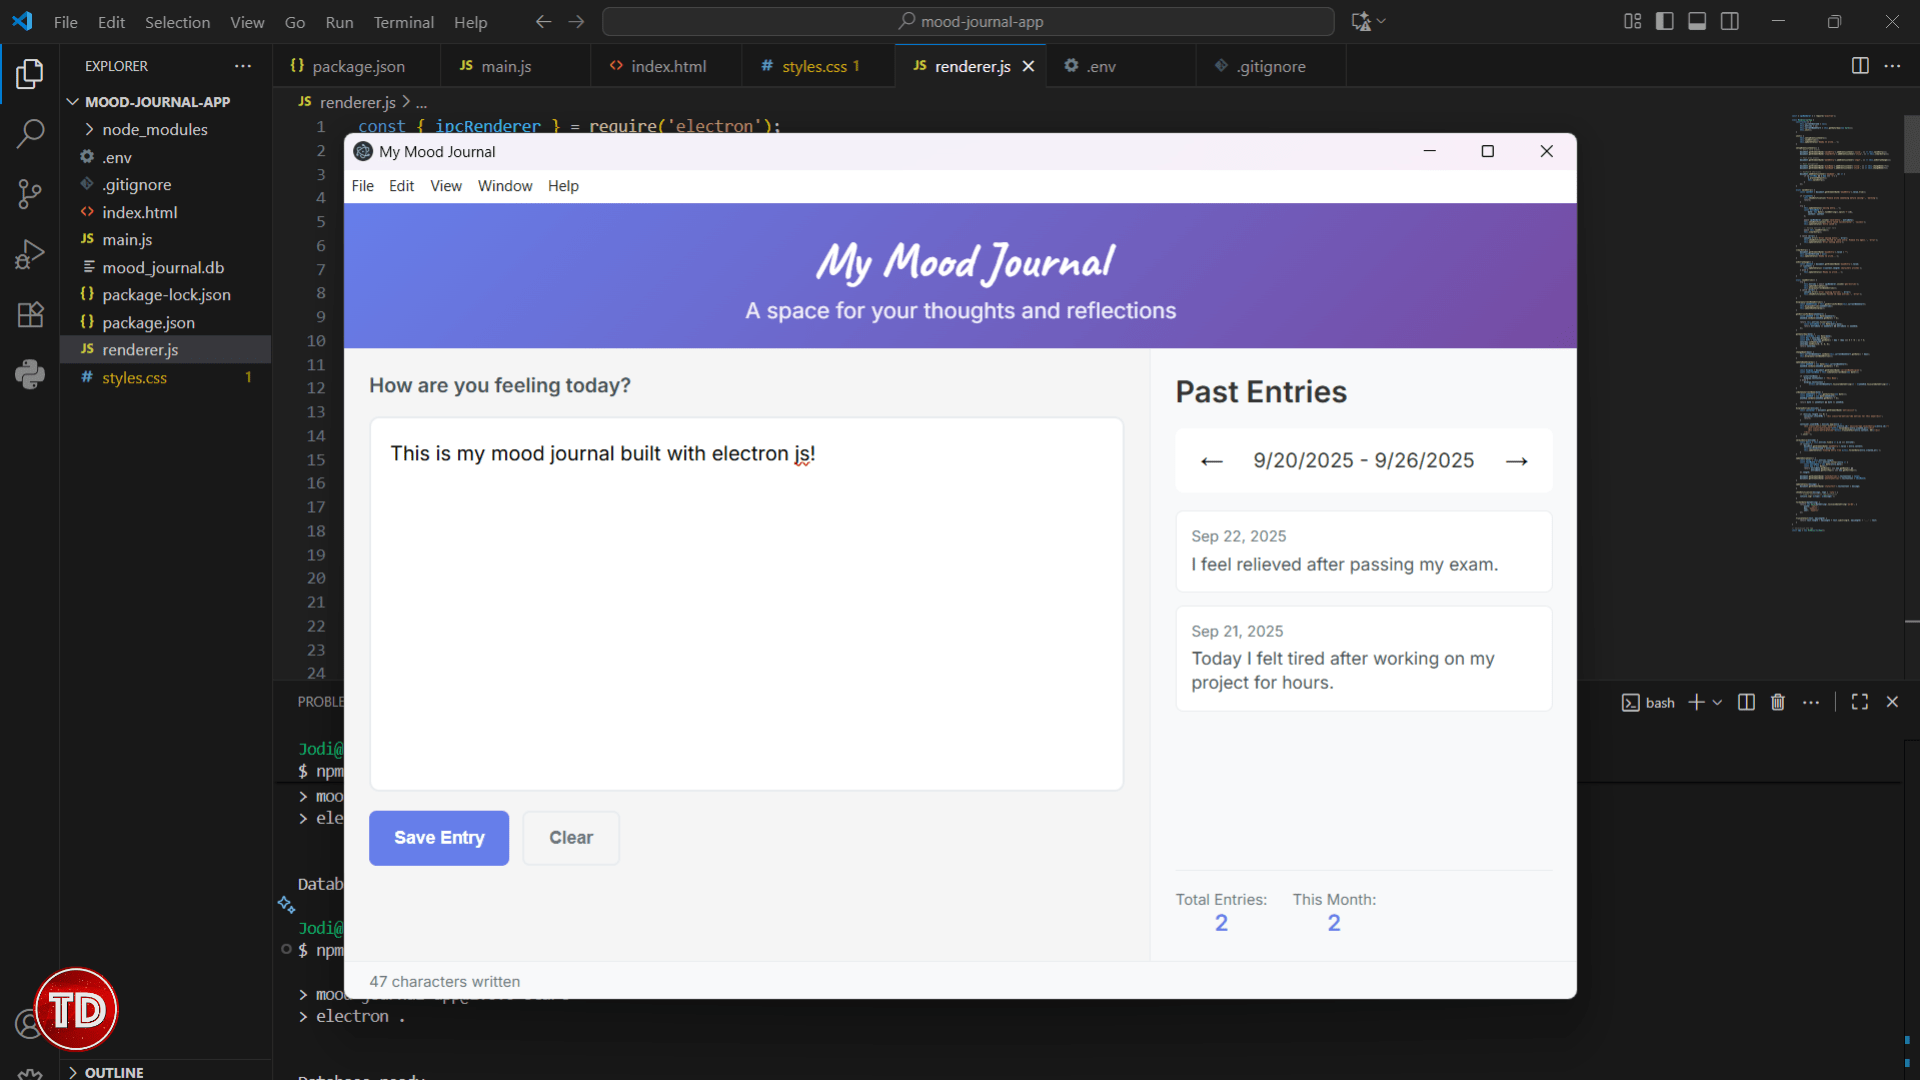
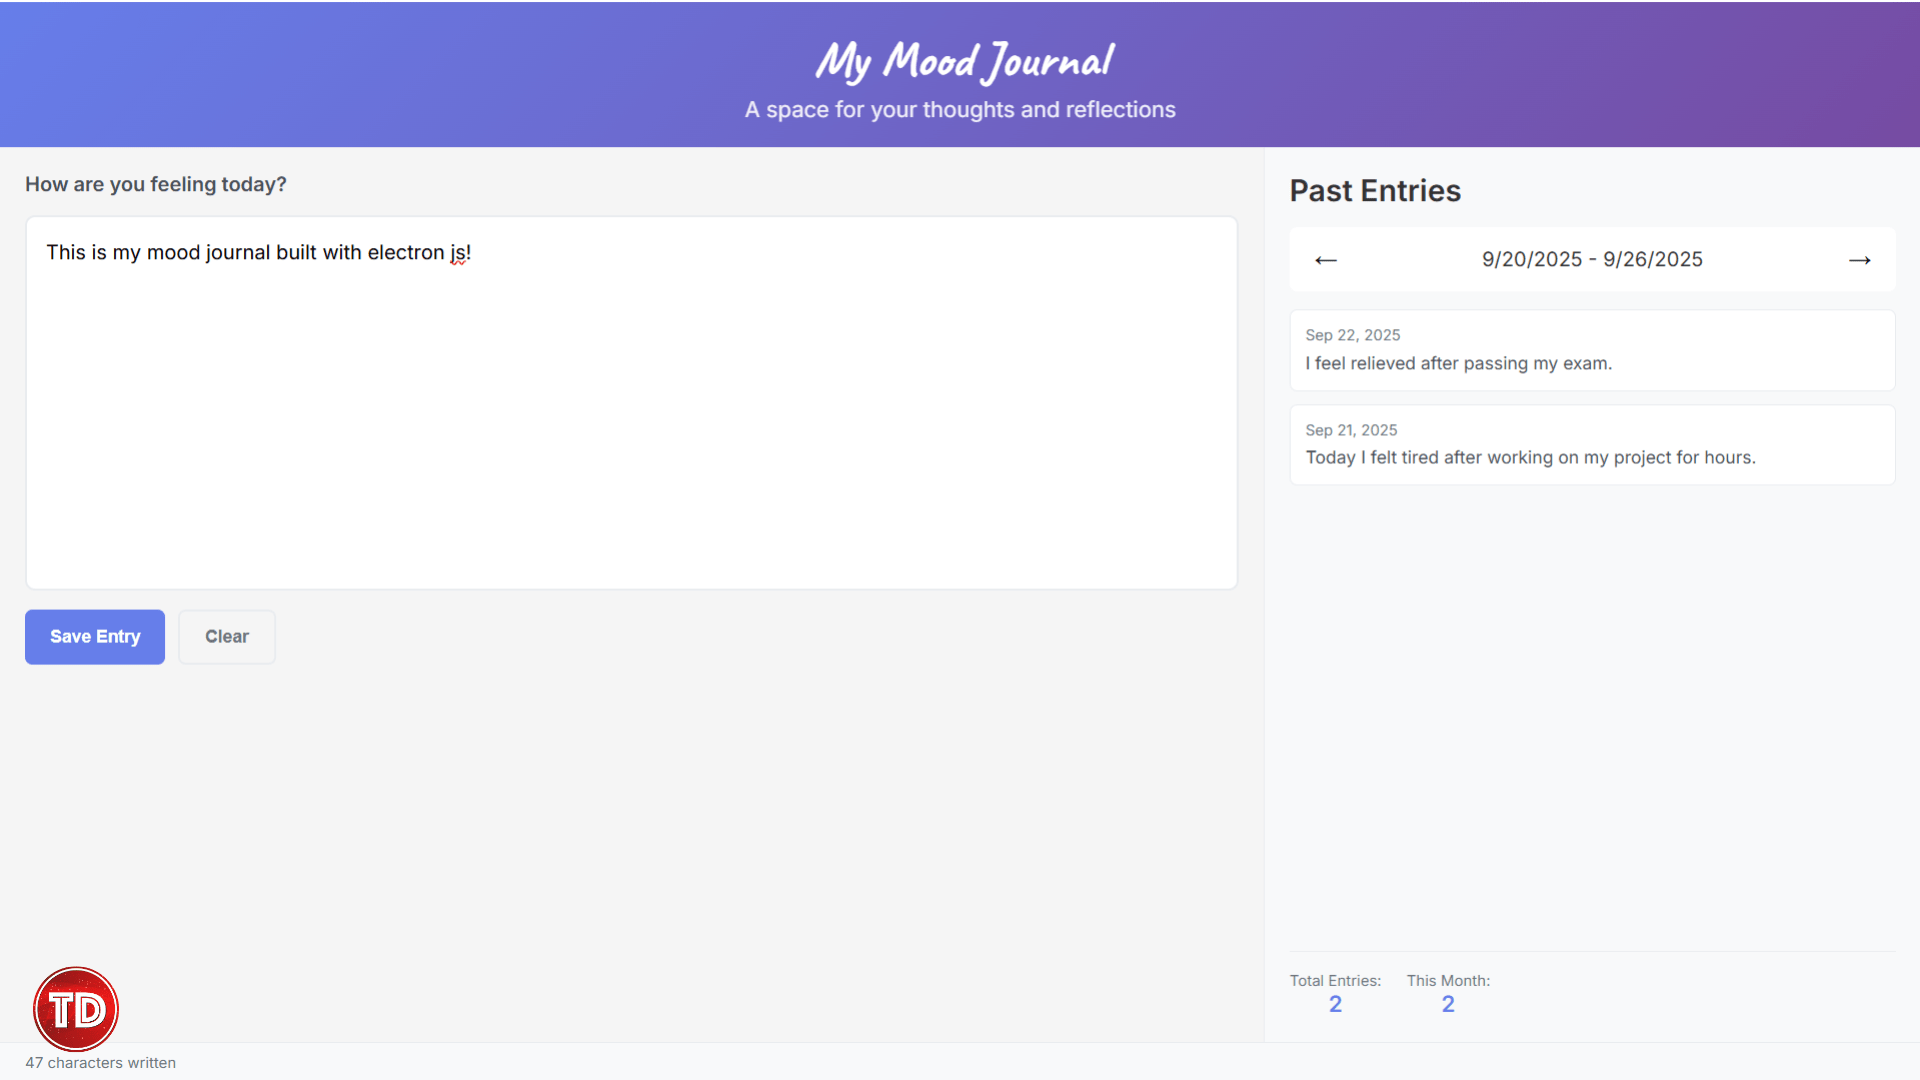
This is the page you’ll see every time you open the app, with a warm and inviting design to help you write about your mood for the day.
3.3 Create styles.css
Now let’s style our journal with this styles.css file:
* {
    margin: 0;
    padding: 0;
    box-sizing: border-box;
}

body {
    font-family: 'Inter', sans-serif;
    background: #f5f5f5;
    color: #333;
    overflow: hidden;
}

.app-container {
    display: flex;
    flex-direction: column;
    height: 100vh;
}

.app-header {
    background: linear-gradient(135deg, #667eea 0%, #764ba2 100%);
    color: white;
    padding: 20px;
    text-align: center;
}

.journal-title {
    font-family: 'Caveat', cursive;
    font-size: 2.5em;
    margin-bottom: 5px;
}

.journal-subtitle {
    opacity: 0.9;
    font-size: 1.1em;
}

.main-content {
    display: flex;
    flex: 1;
    min-height: 0;
    overflow: hidden;
}

.entry-section {
    flex: 2;
    padding: 20px;
    display: flex;
    flex-direction: column;
    overflow-y: auto;
}

.history-sidebar {
    flex: 1;
    background: #f8f9fa;
    border-left: 1px solid #e9ecef;
    padding: 20px;
    display: flex;
    flex-direction: column;
    overflow-y: auto;
}

.entry-form {
    display: flex;
    flex-direction: column;
    gap: 15px;
}

.entry-label {
    font-weight: 600;
    color: #495057;
}

.mood-textarea {
    width: 100%;
    padding: 15px;
    border: 2px solid #e9ecef;
    border-radius: 8px;
    font-size: 16px;
    font-family: inherit;
    resize: none;
    height: 300px;
    overflow-y: auto;
    line-height: 1.6;
}

.mood-textarea:focus {
    outline: none;
    border-color: #667eea;
}

.button-group {
    display: flex;
    gap: 10px;
}

.btn {
    padding: 12px 20px;
    border: none;
    border-radius: 6px;
    font-size: 14px;
    font-weight: 600;
    cursor: pointer;
    transition: all 0.3s ease;
}

.btn-primary {
    background: #667eea;
    color: white;
}

.btn-primary:hover {
    background: #5a6fd8;
}

.btn-outline {
    background: transparent;
    color: #6c757d;
    border: 2px solid #e9ecef;
}

.btn-outline:hover {
    background: #f8f9fa;
}

.week-filter-container {
    display: flex;
    justify-content: space-between;
    align-items: center;
    margin: 15px 0;
    padding: 10px;
    background: white;
    border-radius: 6px;
}

.week-nav-btn {
    background: none;
    border: none;
    font-size: 18px;
    cursor: pointer;
    padding: 5px 10px;
    border-radius: 4px;
}

.week-nav-btn:hover {
    background: #e9ecef;
}

.entries-list {
    flex: 1;
    display: flex;
    flex-direction: column;
    gap: 10px;
    overflow-y: auto;
}

.entry-item {
    background: white;
    border: 1px solid #e9ecef;
    border-radius: 6px;
    padding: 12px;
    cursor: pointer;
    transition: all 0.3s ease;
}

.entry-item:hover {
    border-color: #667eea;
    transform: translateY(-1px);
}

.entry-date {
    font-size: 12px;
    color: #6c757d;
    margin-bottom: 5px;
}

.entry-preview {
    font-size: 14px;
    color: #495057;
    line-height: 1.4;
    overflow: hidden;
    display: -webkit-box;
    -webkit-line-clamp: 2;
    -webkit-box-orient: vertical;
}

.quick-stats {
    display: flex;
    gap: 20px;
    margin-top: 15px;
    padding-top: 15px;
    border-top: 1px solid #e9ecef;
}

.stat-item {
    text-align: center;
}

.stat-label {
    display: block;
    font-size: 12px;
    color: #6c757d;
}

.stat-value {
    display: block;
    font-size: 18px;
    font-weight: bold;
    color: #667eea;
}

.status-bar {
    background: #f8f9fa;
    border-top: 1px solid #e9ecef;
    padding: 8px 20px;
    font-size: 12px;
    color: #6c757d;
}

.loading-entries, .no-entries {
    text-align: center;
    color: #6c757d;
    font-style: italic;
    padding: 20px;
}

/* Scrollbar Styling */
::-webkit-scrollbar {
    width: 8px;
}

::-webkit-scrollbar-track {
    background: #f1f1f1;
}

::-webkit-scrollbar-thumb {
    background: #c1c1c1;
    border-radius: 4px;
}

::-webkit-scrollbar-thumb:hover {
    background: #a8a8a8;
}

/* Responsive Design */
@media (max-width: 768px) {
    .main-content {
        flex-direction: column;
    }

    .history-sidebar {
        border-left: none;
        border-top: 1px solid #e9ecef;
        max-height: 300px;
    }
}
Now your index.html file has been stylized to match the design philosophy!
Step 4: Create the Renderer Process Logic
In this step, we will focus on developing the renderer process, which is responsible for managing the interactive components of our application. By setting up the `renderer.js` file, we will implement the logic that enables user interactions and ensures a seamless experience within the app.
4.1 Create renderer.js
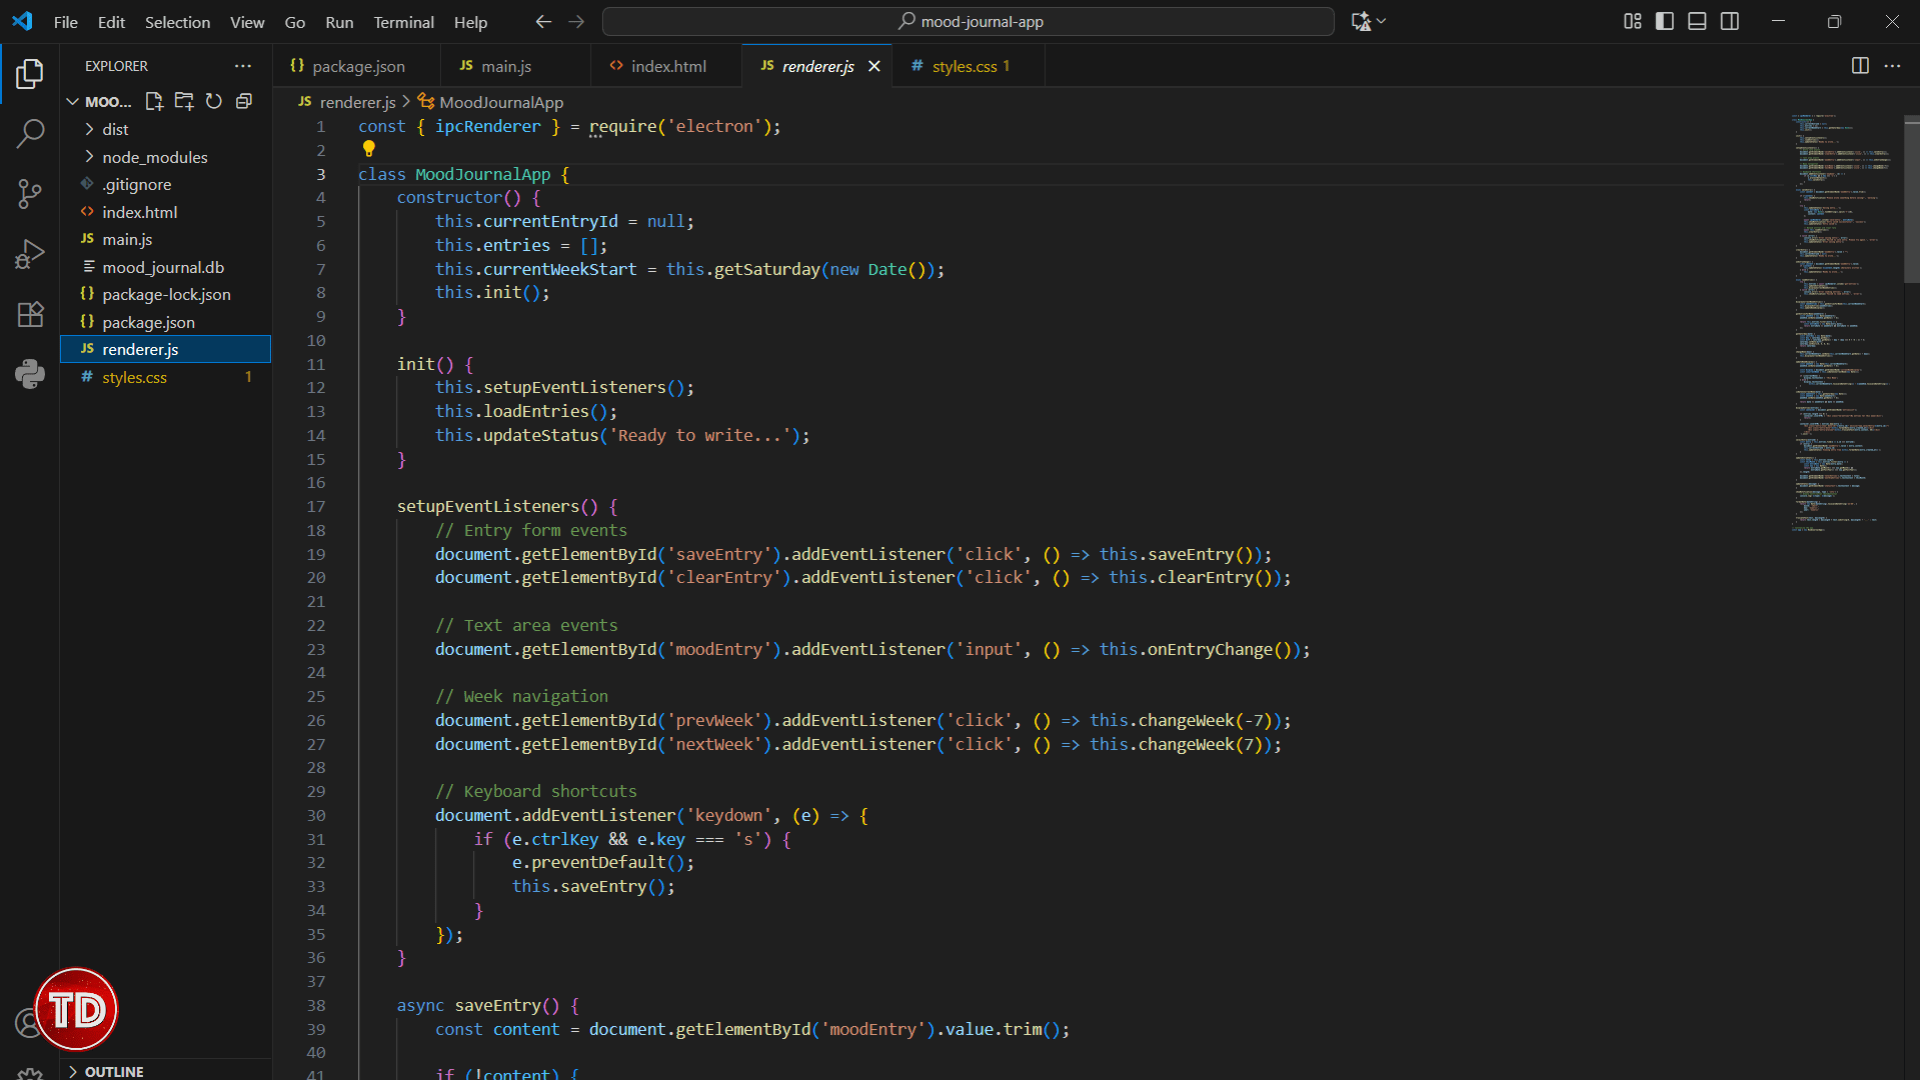
The renderer process handles all the interactive parts of our app. Let’s create renderer.js:
const { ipcRenderer } = require('electron');

class MoodJournalApp {
    constructor() {
        this.currentEntryId = null;
        this.entries = [];
        this.currentWeekStart = this.getSaturday(new Date());
        this.init();
    }

    init() {
        this.setupEventListeners();
        this.loadEntries();
        this.updateStatus('Ready to write...');
    }

    setupEventListeners() {
        // Entry form events
        document.getElementById('saveEntry').addEventListener('click', () => this.saveEntry());
        document.getElementById('clearEntry').addEventListener('click', () => this.clearEntry());

        // Text area events
        document.getElementById('moodEntry').addEventListener('input', () => this.onEntryChange());

        // Week navigation
        document.getElementById('prevWeek').addEventListener('click', () => this.changeWeek(-7));
        document.getElementById('nextWeek').addEventListener('click', () => this.changeWeek(7));

        // Keyboard shortcuts
        document.addEventListener('keydown', (e) => {
            if (e.ctrlKey && e.key === 's') {
                e.preventDefault();
                this.saveEntry();
            }
        });
    }

    async saveEntry() {
        const content = document.getElementById('moodEntry').value.trim();

        if (!content) {
            this.showNotification('Please write something before saving!', 'warning');
            return;
        }

        try {
            this.updateStatus('Saving entry...');
            const entryData = {
                date: new Date().toISOString().split('T')[0],
                content: content
            };

            await ipcRenderer.invoke('save-entry', entryData);
            this.showNotification('Entry saved successfully!', 'success');
            this.updateStatus('Entry saved');

            // Reload entries and clear form
            await this.loadEntries();
            this.clearEntry();

        } catch (error) {
            console.error('Error saving entry:', error);
            this.showNotification('Failed to save entry. Please try again.', 'error');
            this.updateStatus('Error saving entry');
        }
    }

    clearEntry() {
        document.getElementById('moodEntry').value = "";
        this.currentEntryId = null;
        this.updateStatus('Ready to write...');
    }

    onEntryChange() {
        const content = document.getElementById('moodEntry').value;
        if (content) {
            this.updateStatus(`${content.length} characters written`);
        } else {
            this.updateStatus('Ready to write...');
        }
    }

    async loadEntries() {
        try {
            this.entries = await ipcRenderer.invoke('get-entries');
            this.updateEntryStats();
            this.displayCurrentWeekEntries();
        } catch (error) {
            console.error('Error loading entries:', error);
            this.showNotification('Failed to load entries.', 'error');
        }
    }

    displayCurrentWeekEntries() {
        const weekEntries = this.getEntriesForWeek(this.currentWeekStart);
        this.displayEntries(weekEntries);
        this.updateWeekDisplay();
    }

    getEntriesForWeek(weekStart) {
        const weekEnd = new Date(weekStart);
        weekEnd.setDate(weekEnd.getDate() + 6);

        return this.entries.filter(entry => {
            const entryDate = new Date(entry.date);
            return entryDate >= weekStart && entryDate <= weekEnd;
        });
    }

    getSaturday(date) {
        const saturday = new Date(date);
        const day = saturday.getDay();
        const diff = saturday.getDate() - day + (day === 0 ? -6 : 1) + 5;
        saturday.setDate(diff);
        saturday.setHours(0, 0, 0, 0);
        return saturday;
    }

    changeWeek(days) {
        this.currentWeekStart.setDate(this.currentWeekStart.getDate() + days);
        this.displayCurrentWeekEntries();
    }

    updateWeekDisplay() {
        const weekEnd = new Date(this.currentWeekStart);
        weekEnd.setDate(weekEnd.getDate() + 6);

        const display = document.getElementById('currentWeekDisplay');
        const isCurrentWeek = this.isDateInCurrentWeek(new Date());

        if (isCurrentWeek) {
            display.textContent = 'This Week';
        } else {
            display.textContent =
                `${this.currentWeekStart.toLocaleDateString()} - ${weekEnd.toLocaleDateString()}`;
        }
    }

    isDateInCurrentWeek(date) {
        const weekStart = this.getSaturday(new Date());
        const weekEnd = new Date(weekStart);
        weekEnd.setDate(weekEnd.getDate() + 6);

        return date >= weekStart && date <= weekEnd;
    }

    displayEntries(entries) {
        const container = document.getElementById('entriesList');

        if (entries.length === 0) {
            container.innerHTML = '
<div class="no-entries">No entries for this week</div>
';
            return;
        }

        container.innerHTML = entries.map(entry => `

<div class="entry-item" data-id="${entry.id}" onclick="app.selectEntry(${entry.id})">

<div class="entry-date">${this.formatDate(entry.created_at)}</div>


<div class="entry-preview">${this.truncateText(entry.content, 80)}</div>

            </div>

        `).join('');
    }

    selectEntry(entryId) {
        const entry = this.entries.find(e => e.id === entryId);
        if (entry) {
            document.getElementById('moodEntry').value = entry.content;
            this.currentEntryId = entry.id;
            this.updateStatus(`Viewing entry from ${this.formatDate(entry.created_at)}`);
        }
    }

    updateEntryStats() {
        const total = this.entries.length;
        const thisMonth = this.entries.filter(entry => {
            const entryDate = new Date(entry.date);
            const now = new Date();
            return entryDate.getMonth() === now.getMonth() &&
                   entryDate.getFullYear() === now.getFullYear();
        }).length;

        document.getElementById('totalEntries').textContent = total;
        document.getElementById('monthlyEntries').textContent = thisMonth;
    }

    updateStatus(message) {
        document.getElementById('statusText').textContent = message;
    }

    showNotification(message, type = 'info') {
        // Simple notification implementation
        console.log(`${type}: ${message}`);
    }

    formatDate(dateString) {
        return new Date(dateString).toLocaleDateString('en-US', {
            month: 'short',
            day: 'numeric',
            year: 'numeric'
        });
    }

    truncateText(text, maxLength) {
        return text.length > maxLength ? text.substring(0, maxLength) + '...' : text;
    }
}

// Initialize the app
const app = new MoodJournalApp();
This renderer process includes weekly filtering (Saturday to Sunday) and dynamic entry counting that updates automatically.
Step 5: Environment Configuration

This step is crucial for future version control and distribution.
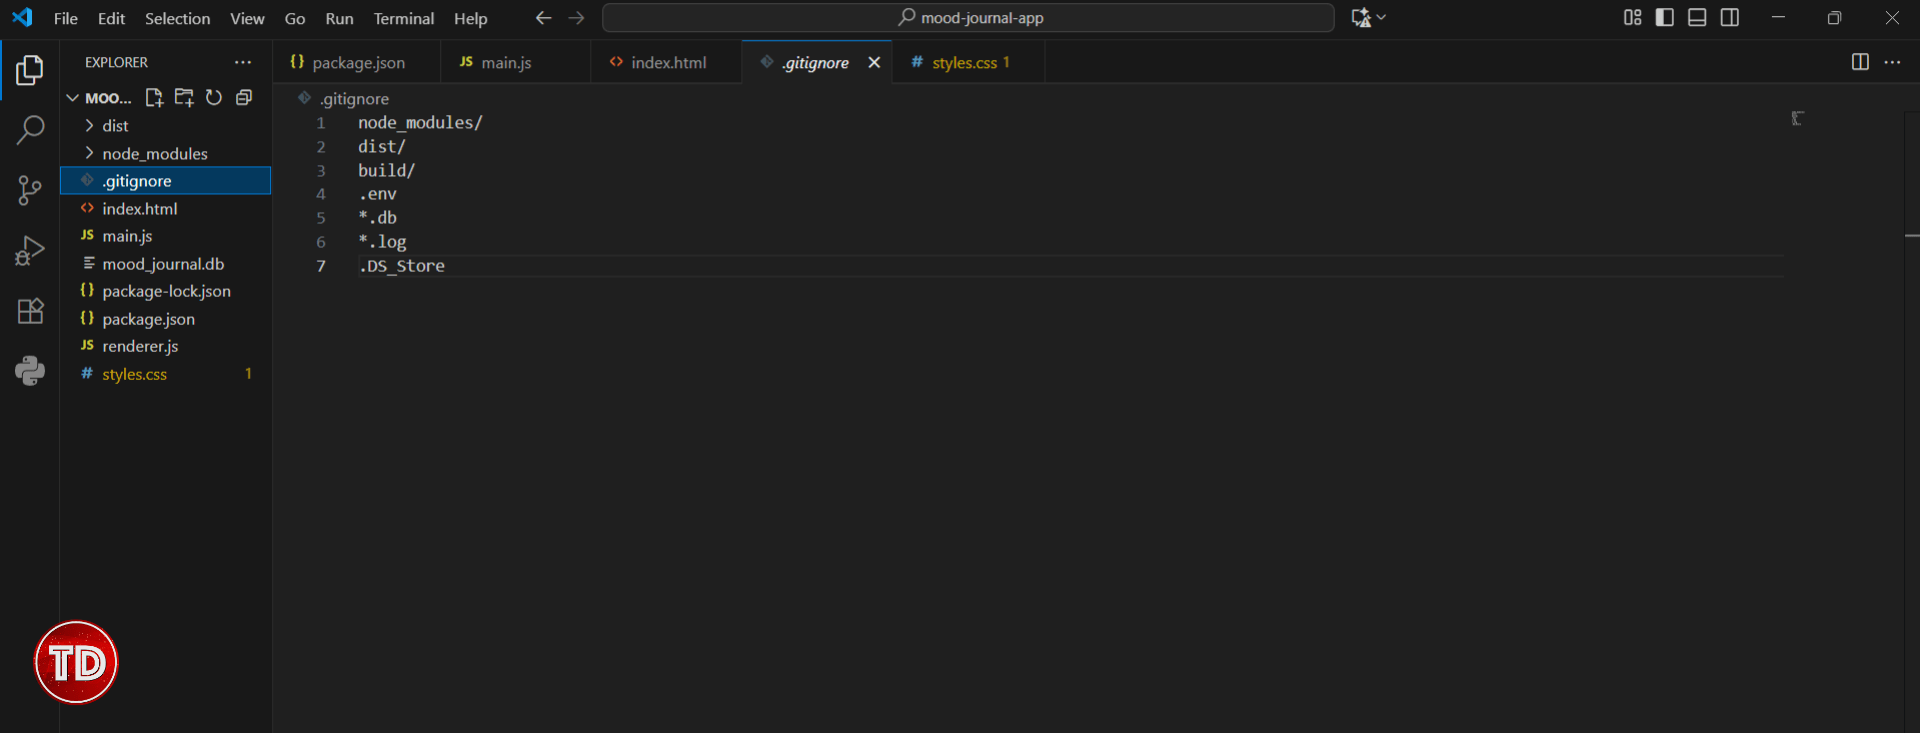
5.1 Create .gitignore file
Create a .gitignore file to exclude unnecessary files:
node_modules/
dist/
*.db
*.log
.DS_Store
Step 6: Testing Your Application
After all that work, it’s finally time to test your application and see how it performs! Testing is a crucial step as it allows you to identify any bugs or issues before deployment, ensuring your application runs smoothly for users.
6.1 Run the Application
Start your app with:
npm start
6.2 Test Features Checklist
Test these features to make sure your app is working as it should:
- Write and save entries
- View past entries in sidebar
- Navigate between weeks using arrow buttons
- Watch entry counts update automatically
- Use Ctrl+S keyboard shortcut to save
- Scroll through entries when content overflows
Step 7: Building for Distribution
Once you have confirmed that your app is functioning correctly, it’s time to get it ready for distribution across various operating systems. You can skip this step if the app is for personal use only, as running `npm start` will work just fine. The build process is primarily intended for sharing the app with others who do not have Node.js installed.
7.1 Install Electron Builder
npm install electron-builder --save-dev
7.2 Update package.json for Building
Add to your package.json:
{
  "build": {
    "appId": "com.yourname.mood-journal",
    "productName": "Mood Journal",
    "directories": {
      "output": "dist"
    },
    "files": [
      "**/*",
      "!**/*.md",
      "!dist/**/*"
    ],
    "win": {
      "target": "nsis"
    },
    "mac": {
      "target": "dmg"
    },
    "linux": {
      "target": "AppImage"
    }
  }
}
7.3 Build the Application
npx electron-builder
Enjoy Your Mood Journal App
Congratulations! You have successfully built a fully functional mood journal app that is both practical and beginner-friendly. By following this tutorial, you have created a personal journaling tool that runs natively on your desktop, complete with local data storage, weekly entry organization, and a clean, distraction-free writing environment.
The app demonstrates key Electron concepts, including main and renderer processes, inter-process communication, and cross-platform desktop development, all while maintaining simplicity and ease of use.
This project serves as an excellent foundation for further exploration. As you become more comfortable with Electron, you might consider extending the app with features such as entry tagging, mood tracking charts, export capabilities, or even encryption for added privacy. The modular structure allows for easy experimentation and skill growth.
Most importantly, you now have a personal tool that encourages reflection and mindfulness, built entirely by you. Happy coding and happy journaling!
Reference:

Turn Your Team Into Cloud-Ready Professionals Today

Learn AWS with our PlayCloud Hands-On Labs

$2.99 AWS and Azure Exam Study Guide eBooks

New Claude Certified Architect Foundations CCA-F

Learn GCP By Doing! Try Our GCP PlayCloud

Learn Azure with our Azure PlayCloud

FREE AI and AWS Digital Courses

FREE AWS, Azure, GCP Practice Test Samplers


Subscribe to our YouTube Channel

Follow Us On Linkedin


