Last updated on April 30, 2025
Hey, this is Step 4 of our 9-step website portfolio building with AWS!
Got lost? Click here to go to the main article, and here for the third step!
Exciting times ahead as we get closer to completing our website setup! In this article, we’ll guide you through a simple and efficient way to install the essential tools you need: NGINX, PHP, MySQL, and WordPress. All of this will be done using a shell script for an automated setup, saving you time and ensuring a smooth installation.
What We’ll Be Installing Using Shell Script:
-
NGINX: A powerful, high-performance web server that will serve your website.
-
PHP: The programming language WordPress uses to run smoothly.
-
MySQL: The database that stores all your website data.
-
WordPress: The content management system (CMS) where you’ll manage your website’s content.
Why Use a Shell Script?
Using a shell script to install these tools makes the process fast, simple, and error-free. The script automates the installation and configuration process, reduces manual input, and sets everything up correctly from the start.

Step-by-Step Process: Installing NGINX, PHP, MySQL, and WordPress via Shell Script
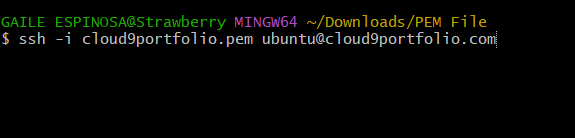
1. Open Git Bash – Launch Git Bash on your computer. This is where you’ll be executing commands to connect to your Amazon EC2 instance.

2. SSH into Your EC2 Instance
- Ensure you have your PEM key file from the previous step.
- Use the following command in Git Bash to connect to your EC2 instance:
3. Download the WordPress Installation Script – Download the wp-install.sh script by running this command:
wget https://media.tutorialsdojo.com/wp-install.sh
![]()
Verify its contents by running this command:
cat wp-install.sh
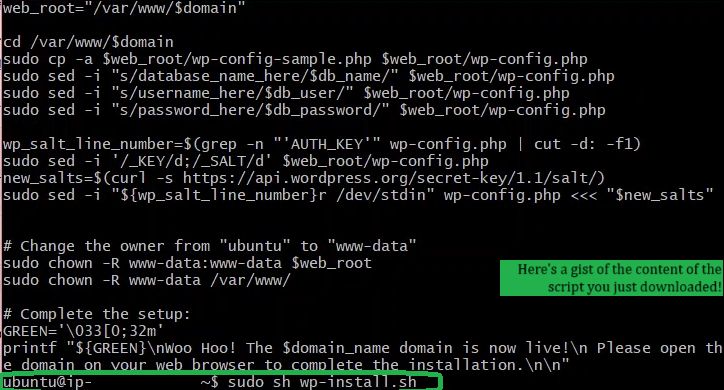
Here’s the content of the shell script you’re downloading, which includes the installation of NGINX, PHP, MySQL, and WordPress:
4. Run the Script – Execute the shell script to install all necessary components:
sudo sh wp-install.sh
The shell script will prompt you for your website’s domain name and an SSL email address (used for securing internet connections between systems). Provide the required information, and the shell script will continue to run.

5. Set Proper File Ownership – Ensure that all WordPress files are owned by the “www-data” user:

6. Wait for the Script to Run
-
The shell script will automatically install NGINX, PHP, MySQL, and WordPress. Depending on the server’s performance, this process might take a few minutes. You can continue with other tasks while waiting for it to complete.

7. Verify the Installation – Once the shell script has finished running, verify that everything is working correctly. Open your website in a browser, and you should see the WordPress setup page.

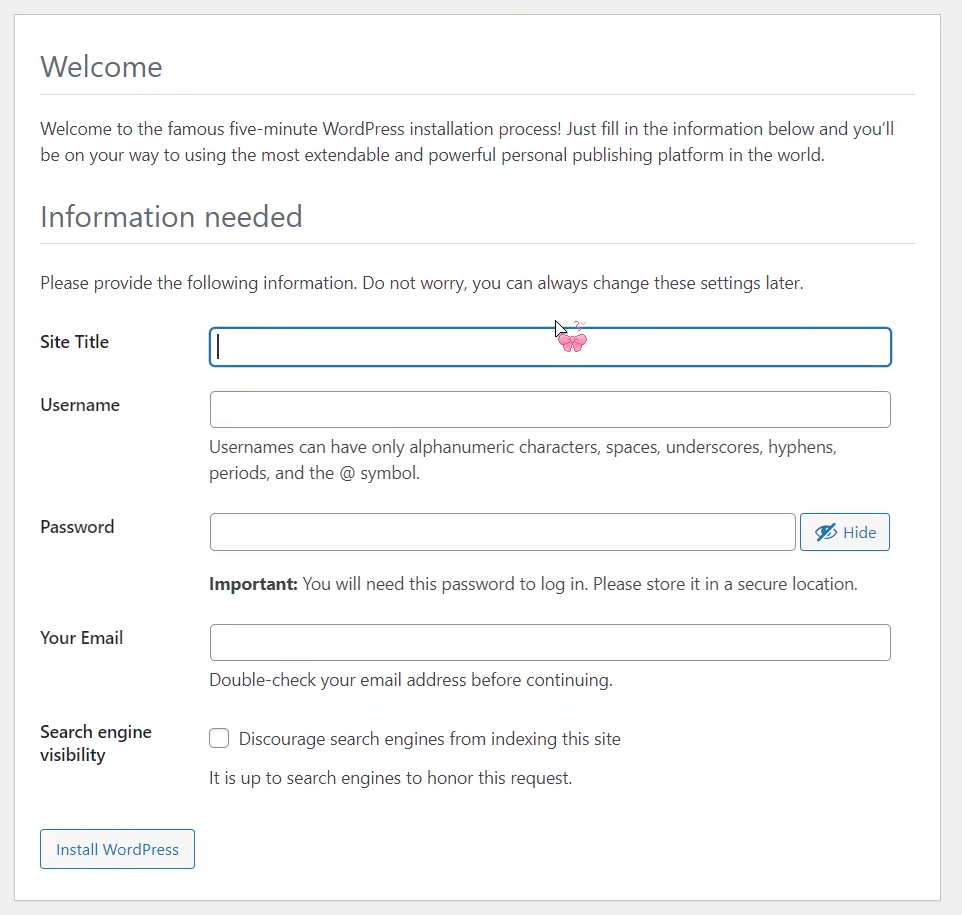
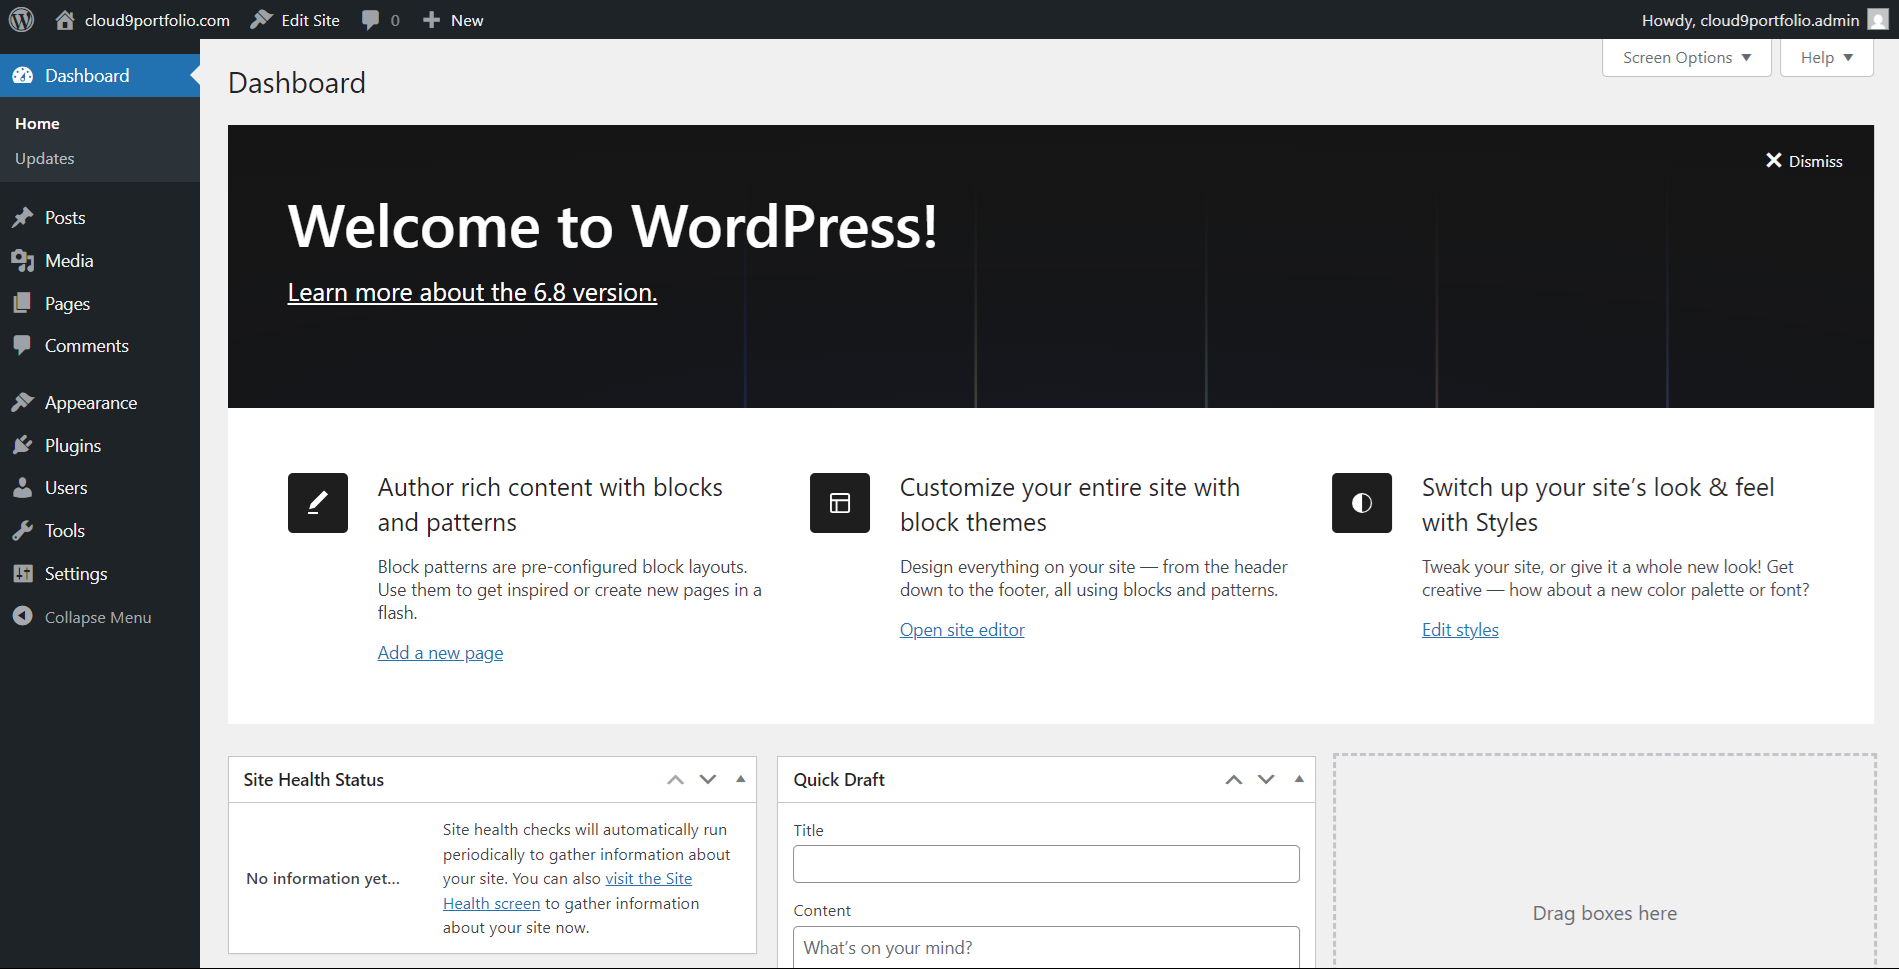
Fill in the required information, make sure to save your username and password, and you’ll then be able to access the WordPress dashboard for your website!
Next Article: Resolving Bugs and Troubleshooting
Congratulations! You’ve successfully made your website live and ready for designing. But before we dive into that, let’s first address the common problems people encounter during the previous processes we’ve covered.
See you in my next article, Cloud-9.5: Troubleshooting Common WordPress Website Issues!
Frequently Asked Questions
- What is the purpose of the shell script in this process?
- The shell script automates the installation and configuration of NGINX, PHP, MySQL, and WordPress on your EC2 instance. By using the script, you save time and reduce the risk of errors, as it performs all the necessary setup steps for you.
- Do I need to manually configure NGINX, PHP, or MySQL after running the shell script?
- No, the shell script will automatically install and configure NGINX, PHP, MySQL, and WordPress. It also ensures that all necessary settings are applied, so there is no need for manual configuration unless you want to make custom changes.
- What if I encounter errors during the shell script execution?
- If you encounter errors, check the shell script’s output for any specific messages or instructions. Common issues could be related to network connectivity or missing dependencies. Ensure your EC2 instance has the proper resources and that you’re connected to the internet before running the script again.
🔥 $0.99 NEW Study Guide eBook – Claude Certified Associate – Foundations CCAO-F

Turn Your Team Into Cloud-Ready Professionals Today

Learn AWS with our PlayCloud Hands-On Labs

$2.99 AWS and Azure Exam Study Guide eBooks

New Claude Certified Architect Foundations CCA-F

Learn GCP By Doing! Try Our GCP PlayCloud

Learn Azure with our Azure PlayCloud

FREE AI and AWS Digital Courses

FREE AWS, Azure, GCP Practice Test Samplers


Subscribe to our YouTube Channel

Follow Us On Linkedin


