
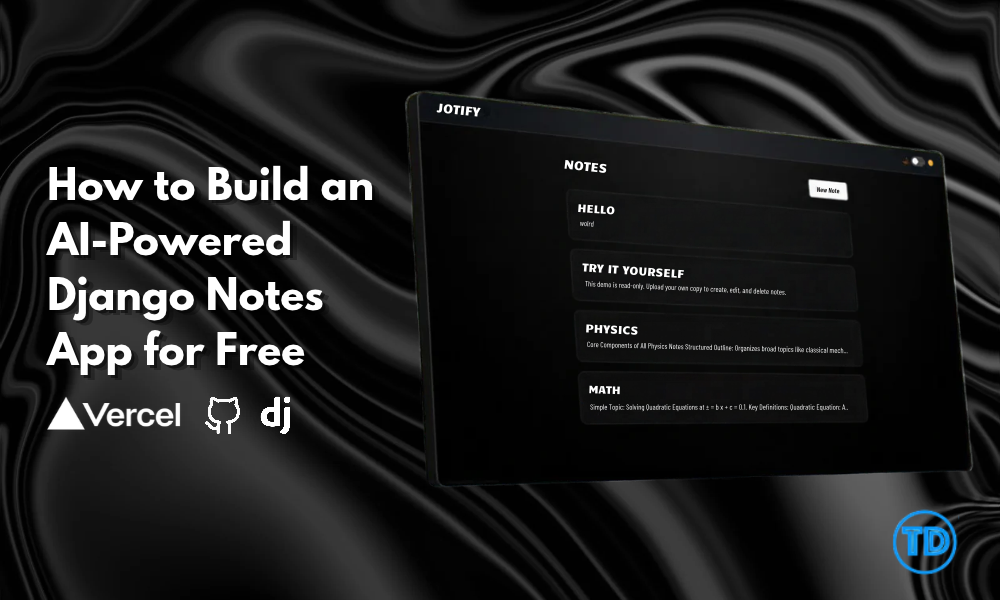
Have you ever wanted to build a completely custom AI-powered note-taking app, but got stuck trying to make the backend talk to modern language models?
Downloading a starter Django repository is rarely plug-and-play. You clone the code, run it, and immediately hit walls, from struggling to securely load your API keys to fighting stubborn CSS themes that refuse to toggle correctly.
In this tutorial, we will walk through how to take a baseline Django note-taking architecture, run it locally step-by-step, and seamlessly integrate Groq’s specialized language models for instant AI summarization. We will also cover how to customize your user interface and structure your CSS to create a minimalistic light- and dark-mode toggle using native browser animations.
Prerequisites
Before we start, ensure you have the following ready:
- Python 3.x: Installed on your local machine to run your backend architecture.
- uv Package Manager: A lightning-fast Python package installer and environment manager.
- An API Token: A free API key from the Groq Developer Console to power the AI summarization.
- A GitHub Account: To store your project’s code and manage versions.
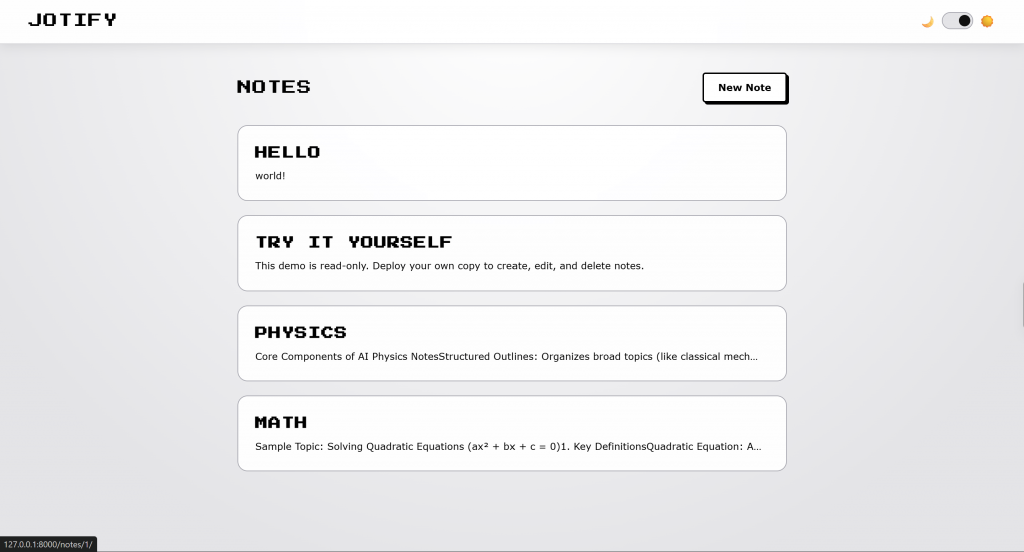
Phase 1 of Django Notes App: Bootstrapping and Running Locally
When you start a new Django project or clone a baseline template, the first step is setting up a clean, isolated environment. Relying on a global Python installation often leads to package conflicts later.
The Fix: Use
uv to scaffold a pristine virtual environment instantly, install the exact packages needed, and start the local development server so you can see your base application running immediately.Open your terminal and run these commands to initialize your workspace:
# 1. Clone your baseline repository to your computer
git clone https://github.com/[YOUR_USERNAME]/[YOUR_REPO_NAME].git
cd [YOUR_REPO_NAME]
# 2. Create and activate an isolated Python virtual environment
# For Windows:
python -m venv venv
.\venv\Scripts\Activate.ps1
# For Mac/Linux:
# python3 -m venv venv
# source venv/bin/activate

# 3. Install your required dependencies into the active environment
uv add django groq python-dotenv --active
# 4. Run the database migrations for your base app
python manage.py migrate
# 5. Start the local server to verify the baseline app works
python manage.py runserver
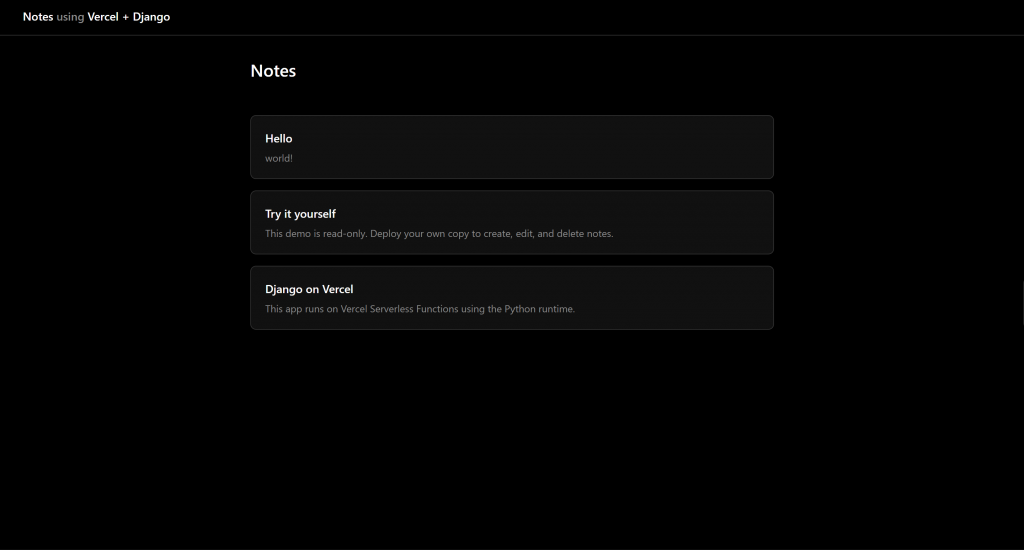
Phase 2 of Django Notes App: Secure Application Secrets
Before adding AI capabilities, you must secure your application. You should never hardcode secret API tokens directly into your Python files.
The Fix: Store secrets in a .env file that is ignored by version control. To ensure Django reads these secrets the moment the server boots up, integrate a dedicated environment loader into your startup script.
Create a
.env file at the root of your project and assign your API key:GROQ_API_KEY=[YOUR_GROQ_API_KEY_HERE]Next, open your manage.py execution file to load that secret before the framework initializes.
import osimport sysfrom dotenv import load_dotenvdef main(): # Proactively load the .env file before the server starts load_dotenv() os.environ.setdefault("DJANGO_SETTINGS_MODULE", "[YOUR_PROJECT_NAME].settings") # ... standard Django execution logic continues belowPhase 3 of Django Notes App: Integrate Lightning-Fast AI Summarization
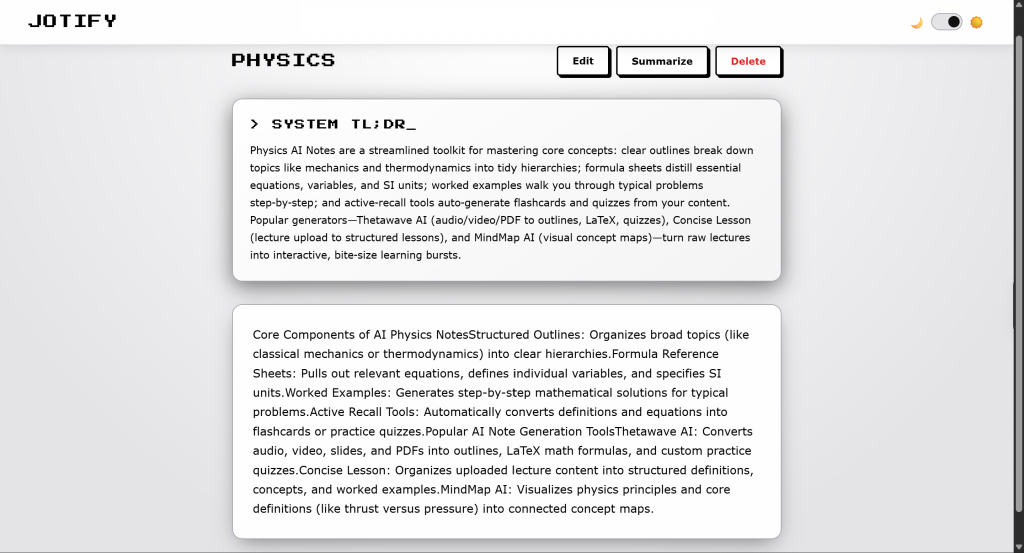
Standard AI APIs can sometimes take over a minute to process text on free tiers. To keep your application feeling highly responsive, we will route requests through specialized hardware.
The Fix: By utilizing the Groq SDK, your application taps into Language Processing Units (LPUs) rather than standard GPUs. This allows your synchronous Django web server to fetch and render AI summaries in a fraction of a second.
In your backend view logic (usually
views.py), initialize the client, define your system persona, and target a high-speed model like llama3-8b-8192:from django.shortcuts import render, get_object_or_404from groq import Groqfrom .models import Notedef note_summarize(request, pk): note = get_object_or_404(Note, pk=pk) summary = None if request.method == "POST": # The client automatically authenticates using your .env secret client = Groq() prompt = f"[YOUR_CUSTOM_PROMPT_INSTRUCTIONS]\n\nTitle: {note.title}\nBody: {note.body}" # Target Groq's high-speed model for instant inference chat_completion = client.chat.completions.create( messages=[ {"role": "system", "content": "[YOUR_AI_PERSONA_DESCRIPTION]"}, {"role": "user", "content": prompt} ], model="llama3-8b-8192", ) summary = chat_completion.choices[0].message.content return render(request, "[YOUR_APP_NAME]/detail.html", {"note": note, "summary": summary})Phase 4 of Django Notes App: Add an Instant Loading State
Because standard Django views are synchronous, clicking the “Summarize” button freezes the page until the AI finishes generating the response. To prevent users from wondering whether the app broke or spamming the button, add an instant visual cue with inline JavaScript.
The Fix: Add a simple onsubmit event directly to your HTML <form> tag. This instantly changes the button text and disables it the millisecond it is clicked.
<!-- The inline onsubmit script provides instant UI feedback --><form method="post" action="{% url '[YOUR_ACTION_NAME]' note.pk %}" onsubmit="const btn = this.querySelector('button'); btn.innerText = 'PROCESSING...'; btn.style.pointerEvents = 'none';"> {% csrf_token %} <input type="hidden" name="mode" value="summary"> <button type="submit" class="btn btn-primary">Summarize</button></form>Phase 5 of Django Notes App: Construct a Dynamic UI with CSS Variables
A polished application requires a highly customized user interface. Hardcoding colors into every single CSS class makes redesigning your app incredibly tedious.
The Fix: Utilize standard CSS variables (
:root) to define a robust design system that seamlessly transitions between different aesthetic themes. Open your CSS file and define your structural colors as variables./* Base Theme (Default Dark Mode) */:root { --bg-main: [YOUR_DARK_BACKGROUND_COLOR]; --card-bg: [YOUR_DARK_CARD_COLOR]; --text-primary: [YOUR_LIGHT_TEXT_COLOR];}/* Alternate Theme Overrides (Light Mode) */[data-theme="light"] { --bg-main: [YOUR_LIGHT_BACKGROUND_COLOR]; --card-bg: [YOUR_LIGHT_CARD_COLOR]; --text-primary: [YOUR_DARK_TEXT_COLOR];}Phase 6 of Django Notes App: Overriding Specificity for Nested Components
When building complex UI cards, nested HTML elements will often inherit base styles that refuse to change when you toggle your global theme. CSS specificity rules dictate that styles applied directly to child elements overpower broad theme changes.
The Fix: To guarantee your text remains perfectly visible in both modes, proactively target everything inside the container. Use the
!important declaration on your alternate theme overrides to ensure nested text elements obey the new color palette./* Guarantee deep visibility for nested AI components */[data-theme="light"] .ai-card,[data-theme="light"] .ai-card h3,[data-theme="light"] .ai-card p,[data-theme="light"] .ai-card div { color: [YOUR_HIGH_CONTRAST_COLOR] !important;}Phase 7 of Django Notes App: Trigger Native View Transitions & Align UI
Modern web applications no longer require heavy JavaScript animation libraries to create stunning visual effects when users interact with the interface.
The Fix: The browser’s native View Transitions API allows you to create massive geometric animations, such as a radial circle expanding across the screen with just a few lines of code triggered by a standard HTML toggle switch. Add this script to your base HTML template:
const themeToggle = document.getElementById('[YOUR_TOGGLE_BUTTON_ID]');const rootElement = document.documentElement;if (themeToggle) { themeToggle.addEventListener('change', (e) => { const selectedTheme = e.target.checked ? 'light': 'dark'; // Proactively trigger the native browser animation if (document.startViewTransition) { document.startViewTransition(() => { rootElement.setAttribute('data-theme', selectedTheme); }); } else { rootElement.setAttribute('data-theme', selectedTheme); } });}Pro-Tip for Emojis: If you place ☀️ and 🌙 emojis next to your slider to indicate light and dark mode, they will likely sit out of alignment. Emoji fonts have stubborn built-in line heights. To fix this, wrap your toggle and icons in a specific Flexbox container and force the emoji line-height to zero:
<div style="display: flex; align-items: center; gap: 0.5rem; height: 24px;"> <span style="font-size: 1.1rem; line-height: 0;">🌙</span> <label class="theme-switch"> <input type="checkbox" id="[YOUR_TOGGLE_BUTTON_ID]"> <span class="slider"></span> </label> <span style="font-size: 1.1rem; line-height: 0;">☀️</span></div>Phase 8 of Django Notes App: Implement Cache Busting for Instant Updates
When you push CSS updates to your customized UI, browsers will often aggressively cache the old stylesheet to save bandwidth. This results in you refreshing the page repeatedly but seeing no design changes.
The Fix: You can bypass this entirely by implementing “Cache Busting.” By appending a simple query string to your stylesheet link, you trick the browser into downloading a fresh copy of your code every time you roll out an update.
In your HTML <head>, update your Django stylesheet link:
<!-- Use Django's static tag and append the version number --><link rel="stylesheet" href="{% static '[YOUR_APP_NAME]/[YOUR_STYLE_FILE].css' %}?v=1">Wrap Up
We finally made it! Let’s be real for a second: building modern apps is incredibly fun, but orchestrating the backend architecture, the frontend design system, and the AI integrations to all work together perfectly is a serious accomplishment.
It’s easy to feel overwhelmed when building full-stack software, but every developer relies on breaking massive projects into focused, manageable phases.
We didn’t just “install a template” today. We cloned and ran a local Django environment, secured our application secrets, connected to ultra-fast LPUs for instant AI generation, built an instant-feedback loading state, proactively structured a robust CSS variables system, orchestrated beautiful native browser animations, and ensured our layout updated instantly for users with cache busting.
Now, you have a beautiful, fully functioning custom AI note-taking architecture running perfectly on your PC.
Resources
⚡10% OFF Practice Exam and eBook Bundles

Turn Your Team Into Cloud-Ready Professionals Today


Learn AWS with our PlayCloud Hands-On Labs

$2.99 AWS and Azure Exam Study Guide eBooks

Learn GCP By Doing! Try Our GCP PlayCloud

Learn Azure with our Azure PlayCloud

FREE AI and AWS Digital Courses

FREE AWS, Azure, GCP Practice Test Samplers


Subscribe to our YouTube Channel

Follow Us On Linkedin


Written by: Joshua Emmanuel Santiago

Joshua, a college student at Mapúa University pursuing BS IT course, serves as an intern at Tutorials Dojo.