Last updated on May 3, 2025
Have you ever wondered if Amazon offers a way to seamlessly integrate AI into your development process, especially when using Visual Studio Code (VSCode)? Imagine having an intelligent assistant right in your IDE that can help you code, review, and deploy applications while guiding you through best practices and even suggesting optimizations. Well, Amazon has answered that with the Amazon Q Developer Agent!
What is Amazon Q?
Amazon Q is a powerful suite of AI-powered tools and services that help developers with various stages of application development, from coding to deployment. Designed to integrate easily with development environments like VSCode, Amazon Q leverages advanced machine learning models to enhance the developer experience, offering support for debugging, code review, optimization, and more.
For a deeper dive into Amazon Q, check out the official AWS documentation here.
Amazon Q Developer
Amazon Q Developer is a tool designed to assist developers by offering AI-driven suggestions directly within the integrated development environment (IDE). It allows users to enhance productivity by providing detailed explanations of code, refactoring suggestions, error detection, and generating tests automatically. It helps reduce time spent on mundane tasks and improves the quality of the code through continuous learning and adaptation.
Using Amazon Q as an Extension in Visual Studio Code
Amazon Q Developer is available in two subscription tiers: the Free Tier and the Pro Tier.
Free Tier
The Free Tier is designed to help developers explore Amazon Q’s capabilities without any cost. It includes:
- 50 chat interactions per month
- 10 uses of Amazon Q Developer agents for software development per month
- 1,000 lines of code transformation per month
- 25 queries about AWS account resources per month
This tier is ideal for individual developers or small teams looking to integrate AI assistance into their development workflow. For more details, visit the Amazon Q Developer Pricing page.
Pro Tier
The Pro Tier is a paid subscription at $19 per user per month. It offers all the features of the Free Tier, plus:
- Higher limits on advanced features
- Enterprise access controls
- Customization options tailored to your codebase
- 4,000 lines of code transformation per month

This tier is suitable for organizations requiring enhanced capabilities and greater flexibility. For more information, refer to the Amazon Q Developer Pro Tier documentation.
Benefits of Amazon Q as an Extension
The Amazon Q extension for VSCode is packed with benefits, especially when working on AWS-heavy projects. Some of the main advantages include:
- Instant Code Explanations: Get quick, in-depth explanations for complex code blocks, which can save valuable time during development.
- AI-Powered Refactoring: Let Amazon Q suggest improvements to your code that enhance its readability, maintainability, and performance.
- Error Detection: Identify syntax and logical errors quickly and get recommendations for fixes.
- Optimization Suggestions: Improve the performance of your code through intelligent optimizations tailored to AWS environments.
This extension is an excellent choice when building large-scale AWS applications, as it provides insights and recommendations based on AWS-specific patterns and best practices.
Step-by-Step Guide to Installing Amazon Q Developer Extension in Visual Studio Code
Amazon Q Developer can be installed in your VSCode in just a few simple steps. Let’s dive in!
One of the first requirements is having the VSCode app installed. If you haven’t done so yet, you can download it here.
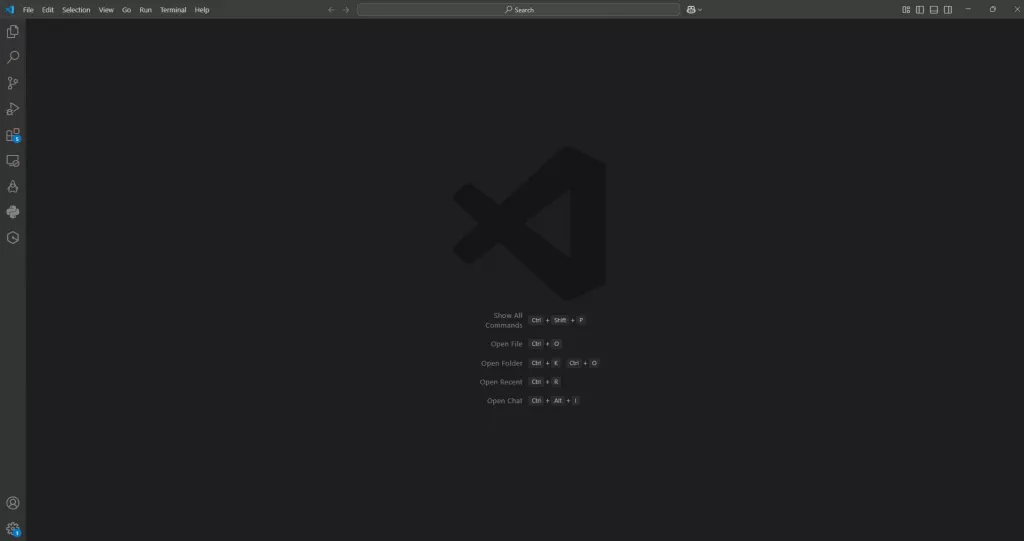
If you already have VSCode installed, simply open it, and this should appear on your screen.
Step 1: Open Your Visual Studio Code
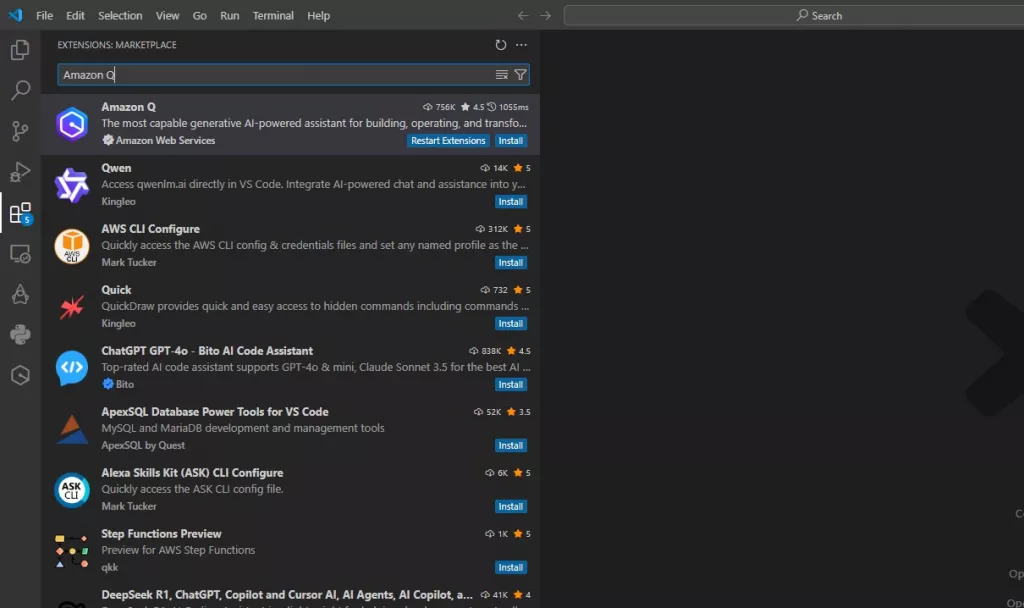
Step 2: Go to the Search Bar and Input “Amazon Q”
In the search bar, type “Amazon Q,” and the extension should appear in the list.
Note: Make sure it’s developed by Amazon Web Services to ensure you’re installing the official version.
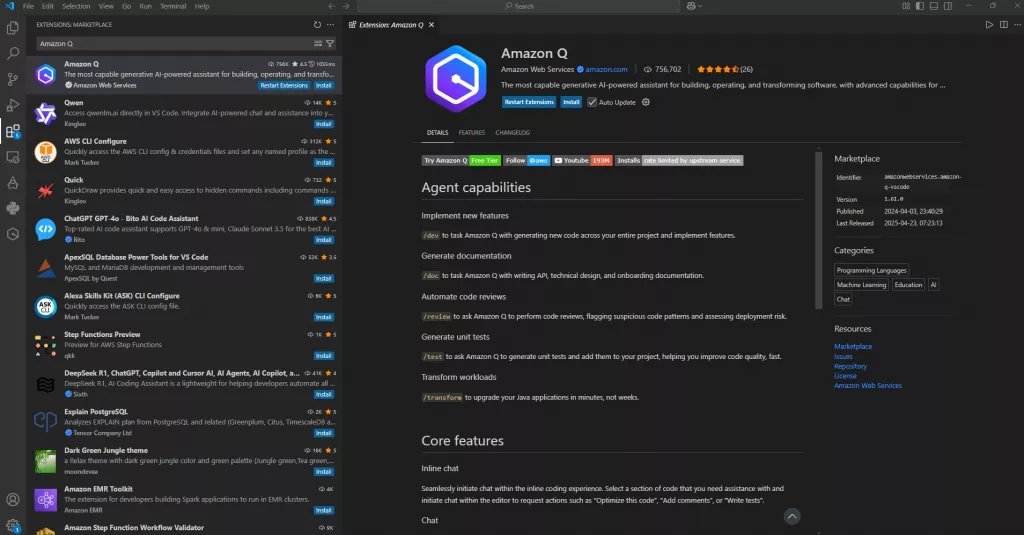
Step 3: Click on Amazon Q by Amazon Web Services
Read the description of the extension to understand its capabilities. After reviewing the details, click Install.
Step 4: After Installation, Look for the Amazon Q Icon
Once installed, you will see an Amazon Q icon appear on the bottom left of your VSCode window. Click this icon to access the Amazon Q overview.
![]()
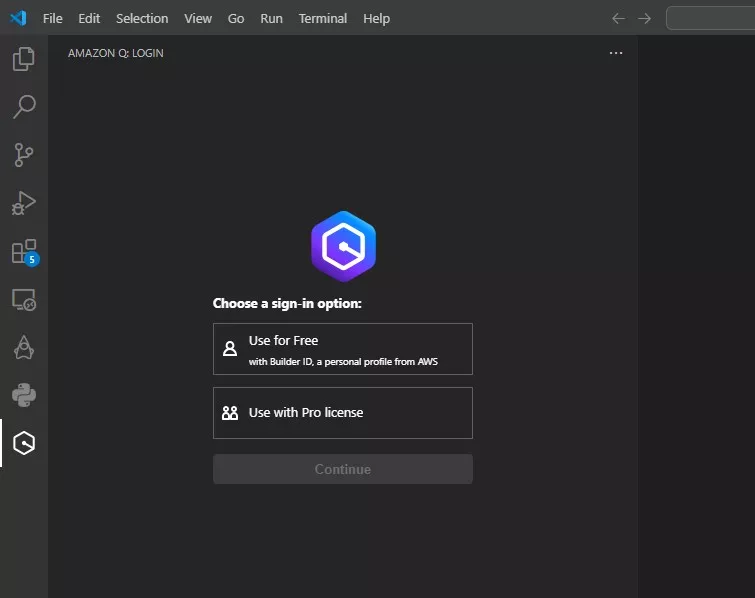
Step 5: Choose Between Free or Pro License
Upon installation, you’ll be prompted to choose between the Free or Pro license. The Free Tier provides essential features suitable for individual developers or small teams. If you require advanced functionalities and higher usage limits, consider opting for the Pro Tier.
For a comprehensive comparison of features and pricing, visit the Amazon Q Developer Pricing page.
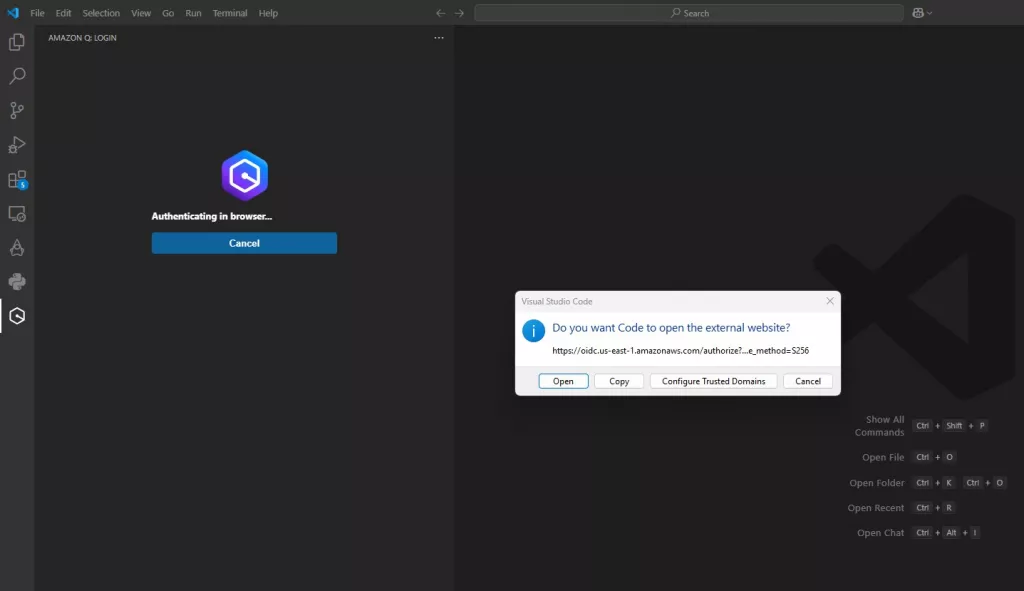
Step 6: Authenticate with AWS Builder ID
A pop-up will prompt you to authenticate with your AWS Builder ID. Click Open to proceed.
Step 7: Sign Up for AWS Builder ID
You’ll be directed to a sign-up page where you can create a new AWS Builder ID using your email address. If you don’t have an existing account, you can create one for free.
Note: AWS Console access is not required for this process.

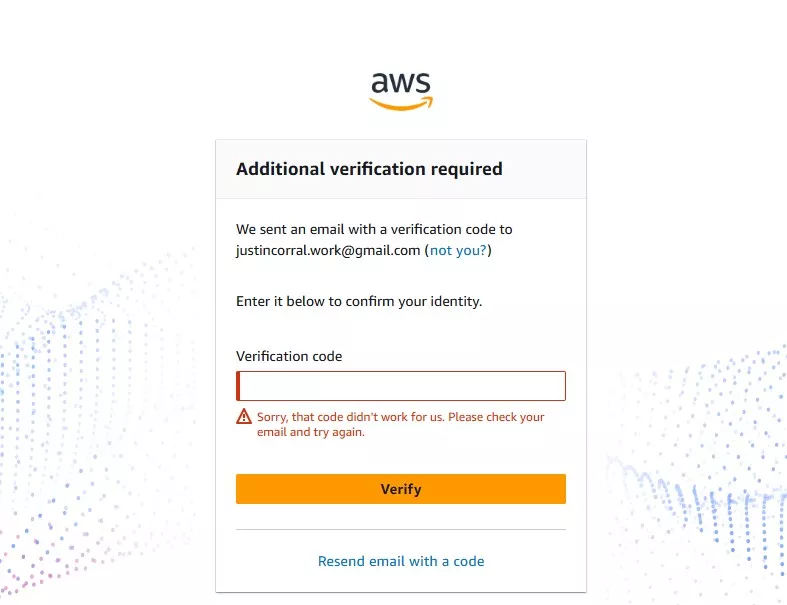
Step 8: Email Verification
Once you’ve entered your email, AWS will send a verification code. Copy this code from your email and paste it in the sign-up form to verify your email.
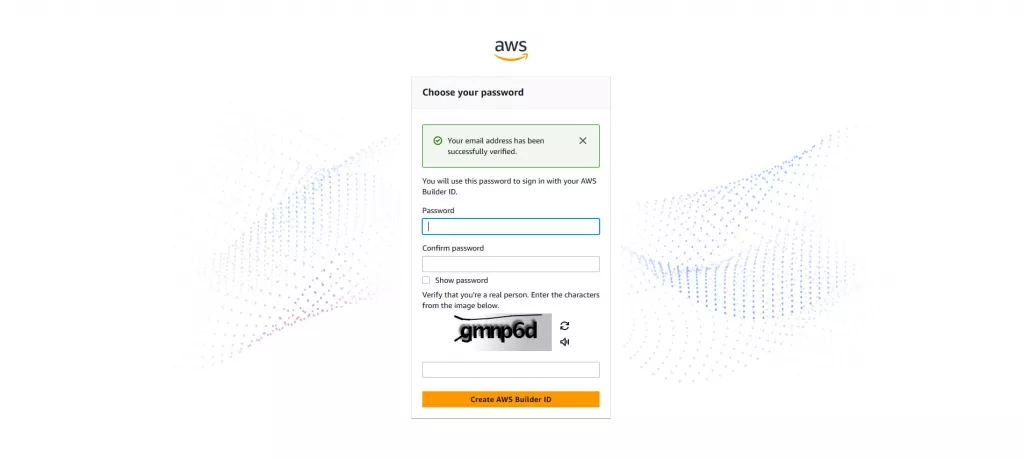
Step 9: Set Up Your Password
Once verified, you’ll be prompted to create a password and confirm it. Then, you’ll need to complete a CAPTCHA challenge before clicking Create AWS Builder ID.
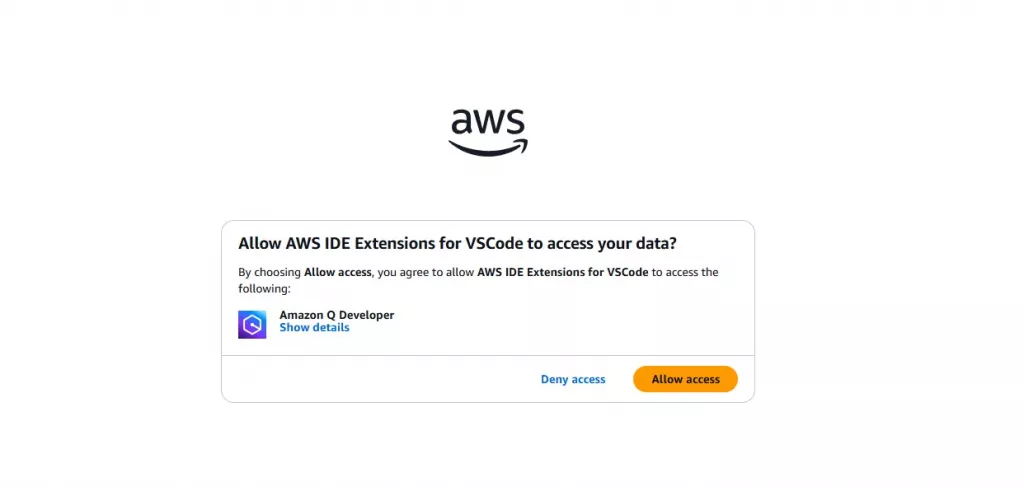
Step 10: Allow Access for VSCode Extension
After creating your AWS Builder ID, a page will appear asking for permission to allow AWS IDE Extension for VSCode to access your data. Click Allow Access.
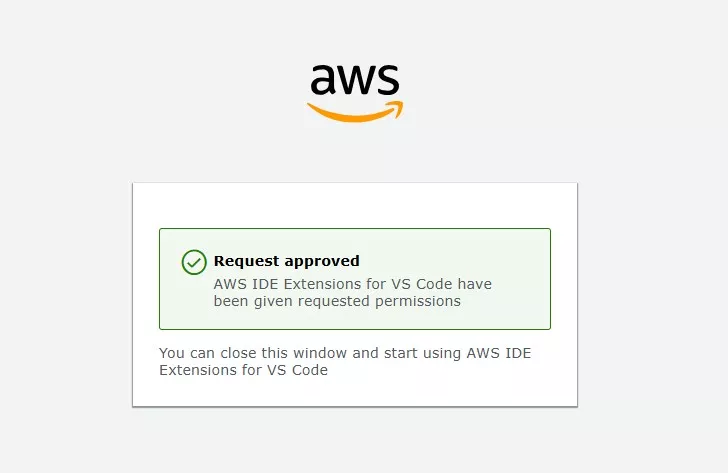
Step 11: Return to VSCode

After granting access, a confirmation message will show up. Go back to your VSCode window, and you can now start using Amazon Q!
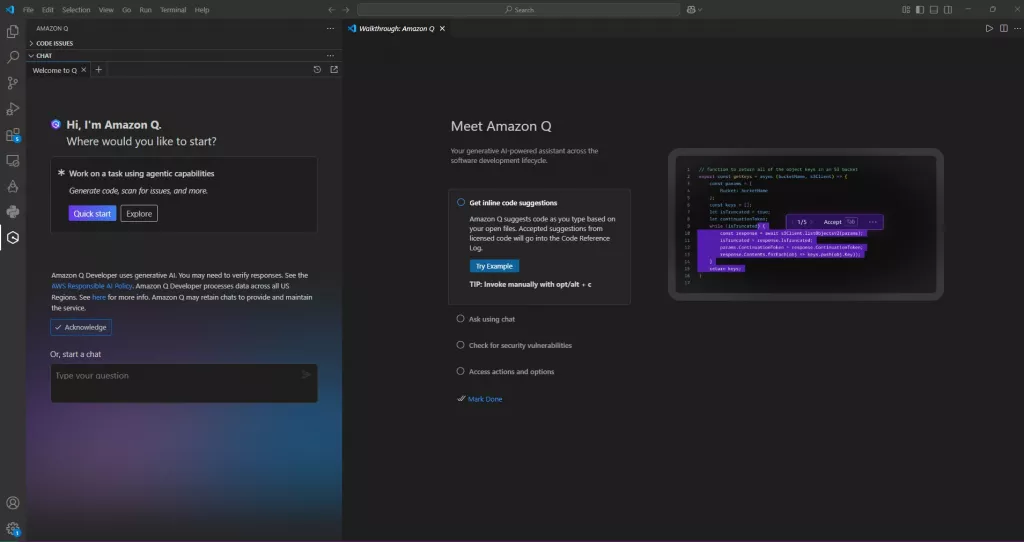
Step 12: Explore the Amazon Q Overview
When you return to VSCode, you’ll be greeted with the Amazon Q overview page. This page provides access to all the available features and tools.
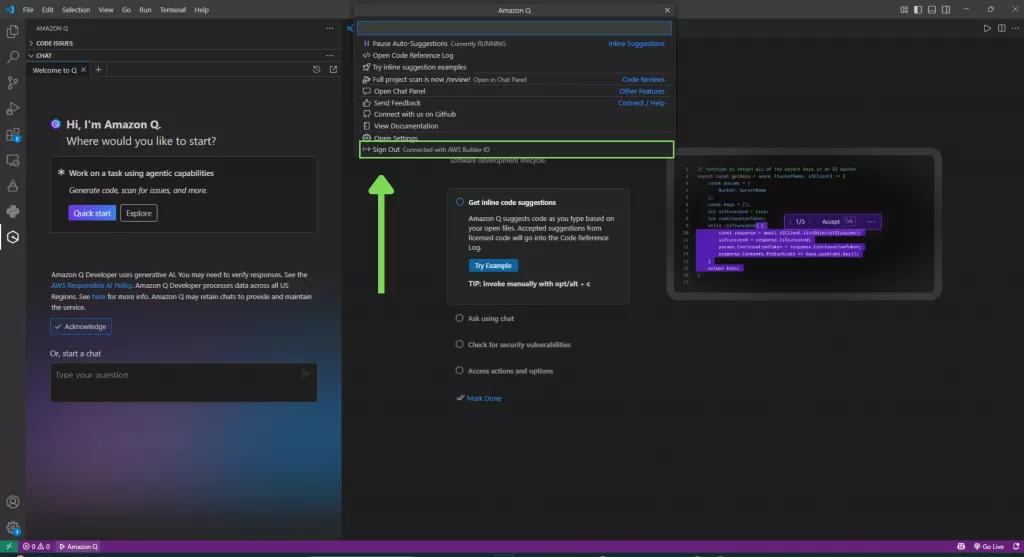
Step 13: Signing Out of Amazon Q
If you ever wish to sign out, you can do so by going to the search bar at the top of the screen.
Step 14: Test Amazon Q with Your Project
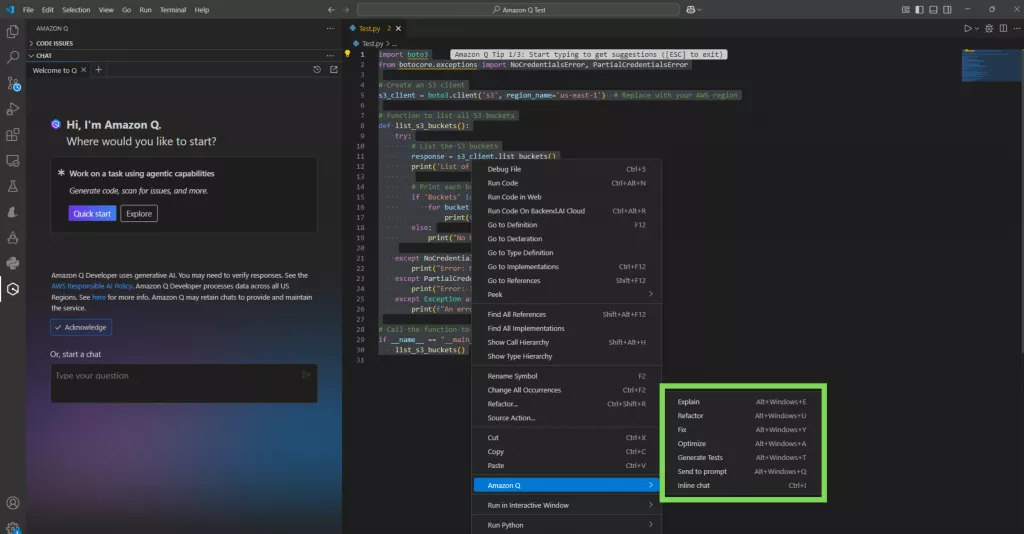
To test Amazon Q, open a project you’re currently working on. Select the code block you want to analyze, or scan the entire project. Right-click, go to Amazon Q, and choose from options like Explain, Refactor, Fix, Optimize, Generate Tests, Send to Prompt, and Inline Chat. For this guide, let’s select Explain.
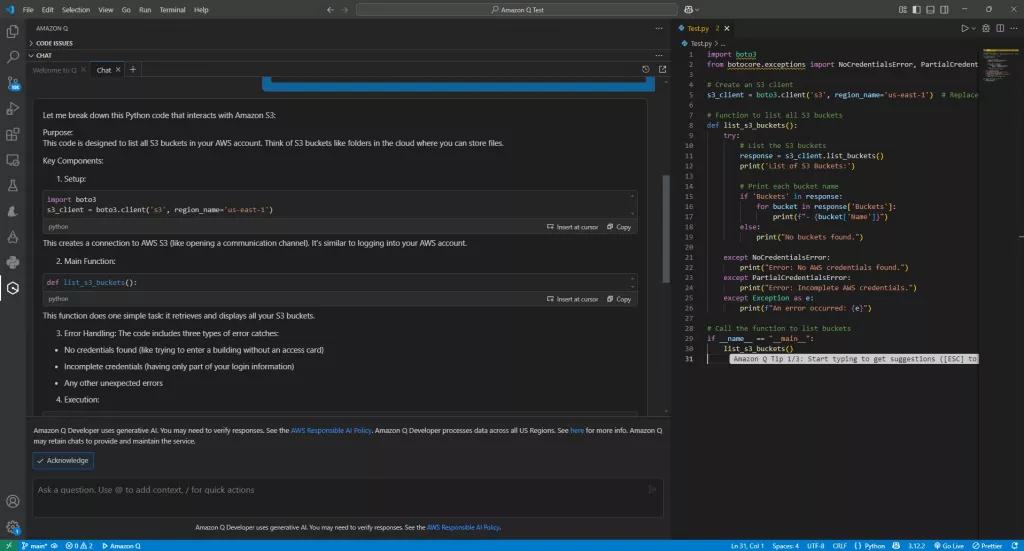
Step 15: Get Code Explanations
Amazon Q will generate an explanation for your code, breaking it down block by block. It will describe the purpose of each part and how it contributes to the overall function.
Note: Amazon Q can even spot minor syntax errors while explaining your code.
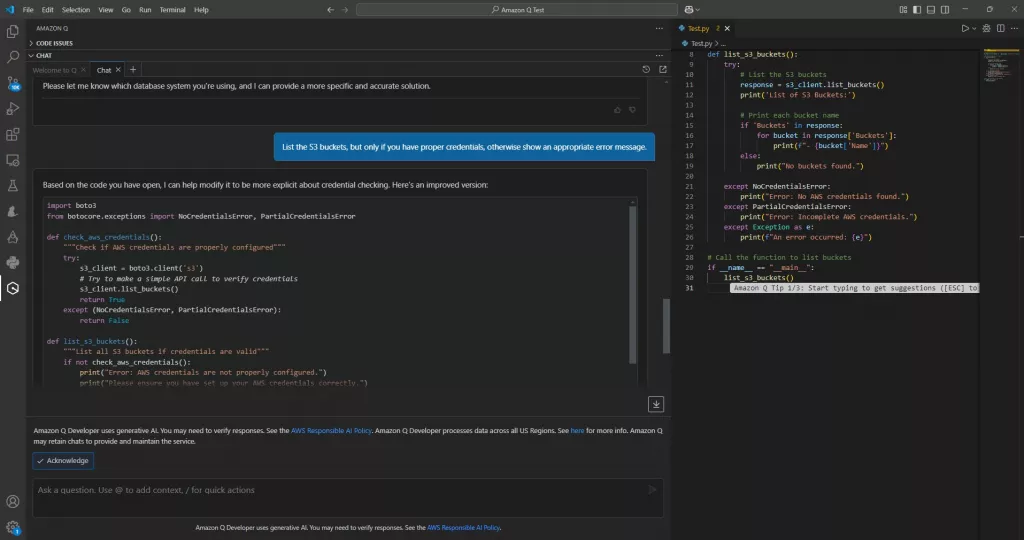
Step 16: Ask Questions and Get Code Suggestions
You can also ask Amazon Q specific coding questions. For instance, you can ask it to generate a list of S3 Buckets with a condition, and it will provide both the code and an explanation.
And that’s it! You can now integrate Amazon Q into your daily coding workflow, making your development process more efficient and error-free. With Amazon Q’s AI capabilities, your coding will be more intuitive, and you’ll have a smarter assistant by your side every step of the way.
Conclusion
Integrating Amazon Q into your VSCode environment brings AI-driven intelligence directly into your development workflow, enhancing productivity and code quality. Whether you are using the free tier for individual or small-scale projects, or opting for the Pro tier for more robust capabilities, Amazon Q simplifies coding, debugging, and optimization tasks, especially for AWS-centric applications. By offering features such as code explanations, error detection, and AI-powered refactoring, Amazon Q becomes an indispensable tool for developers aiming to build smarter, more efficient applications. With easy setup and seamless integration, this extension is a valuable asset for developers looking to accelerate their development process and improve code quality.
Start using Amazon Q today and see how it transforms your coding experience!
References
🔥 $0.99 NEW Study Guide eBook – Claude Certified Associate – Foundations CCAO-F

Turn Your Team Into Cloud-Ready Professionals Today

Learn AWS with our PlayCloud Hands-On Labs

$2.99 AWS and Azure Exam Study Guide eBooks

New Claude Certified Architect Foundations CCA-F

Learn GCP By Doing! Try Our GCP PlayCloud

Learn Azure with our Azure PlayCloud

FREE AI and AWS Digital Courses

FREE AWS, Azure, GCP Practice Test Samplers


Subscribe to our YouTube Channel

Follow Us On Linkedin


