This article guides you through integrating a TinyMCE WYSIWYG text editor into a React application which focuses only on the Text Area that displays the HTML code alongside the TinyMCE Text Editor. It covers setting up TinyMCE, managing state, and ensuring real-time updates between the text editor and text area. Whether you’re building a CMS, a blog platform, or an internal tool, this will help in the content editing experience of your users.
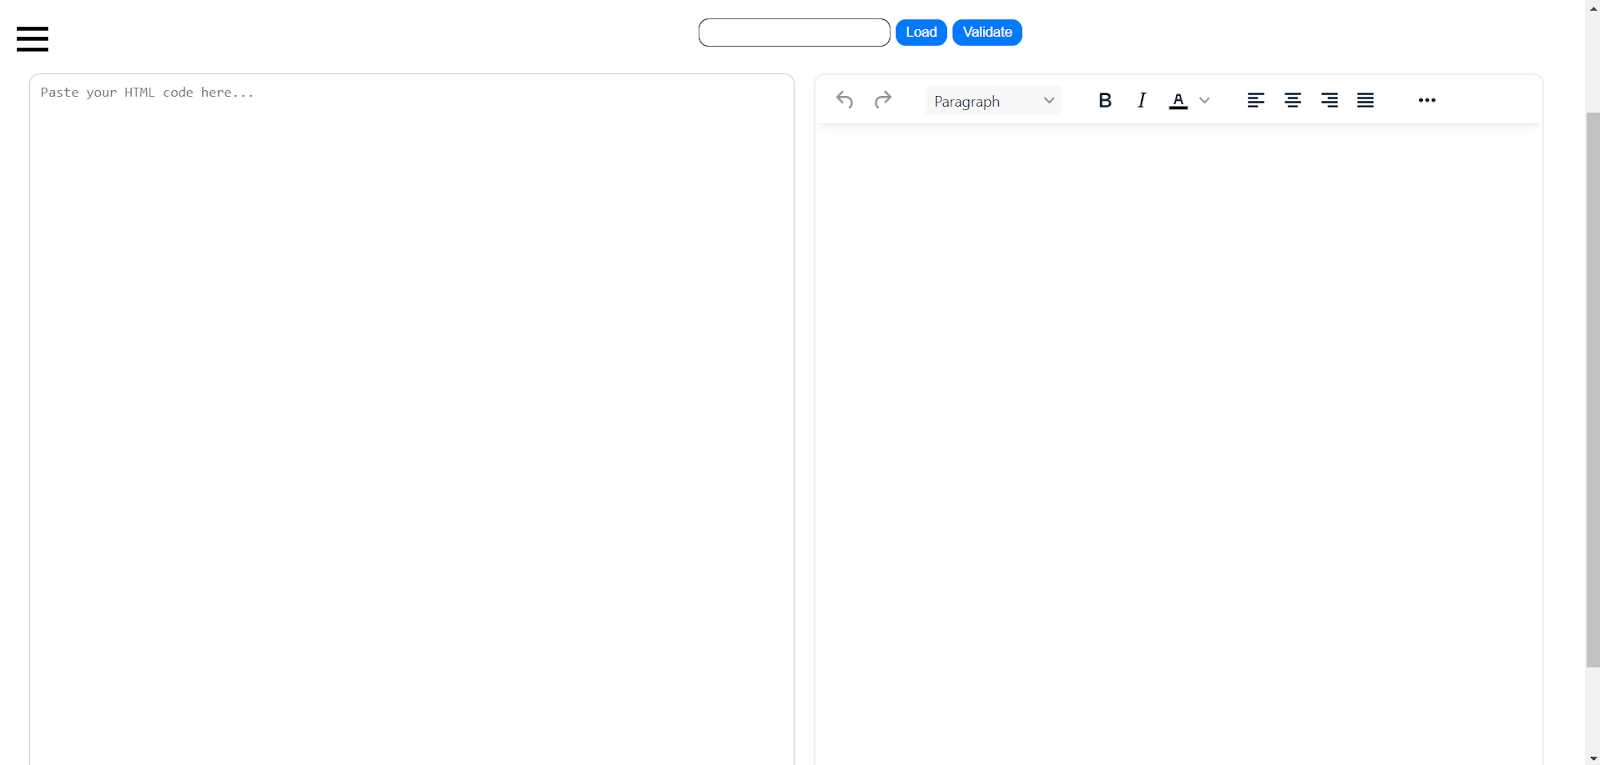
How the HTML Editor looks and How to use:
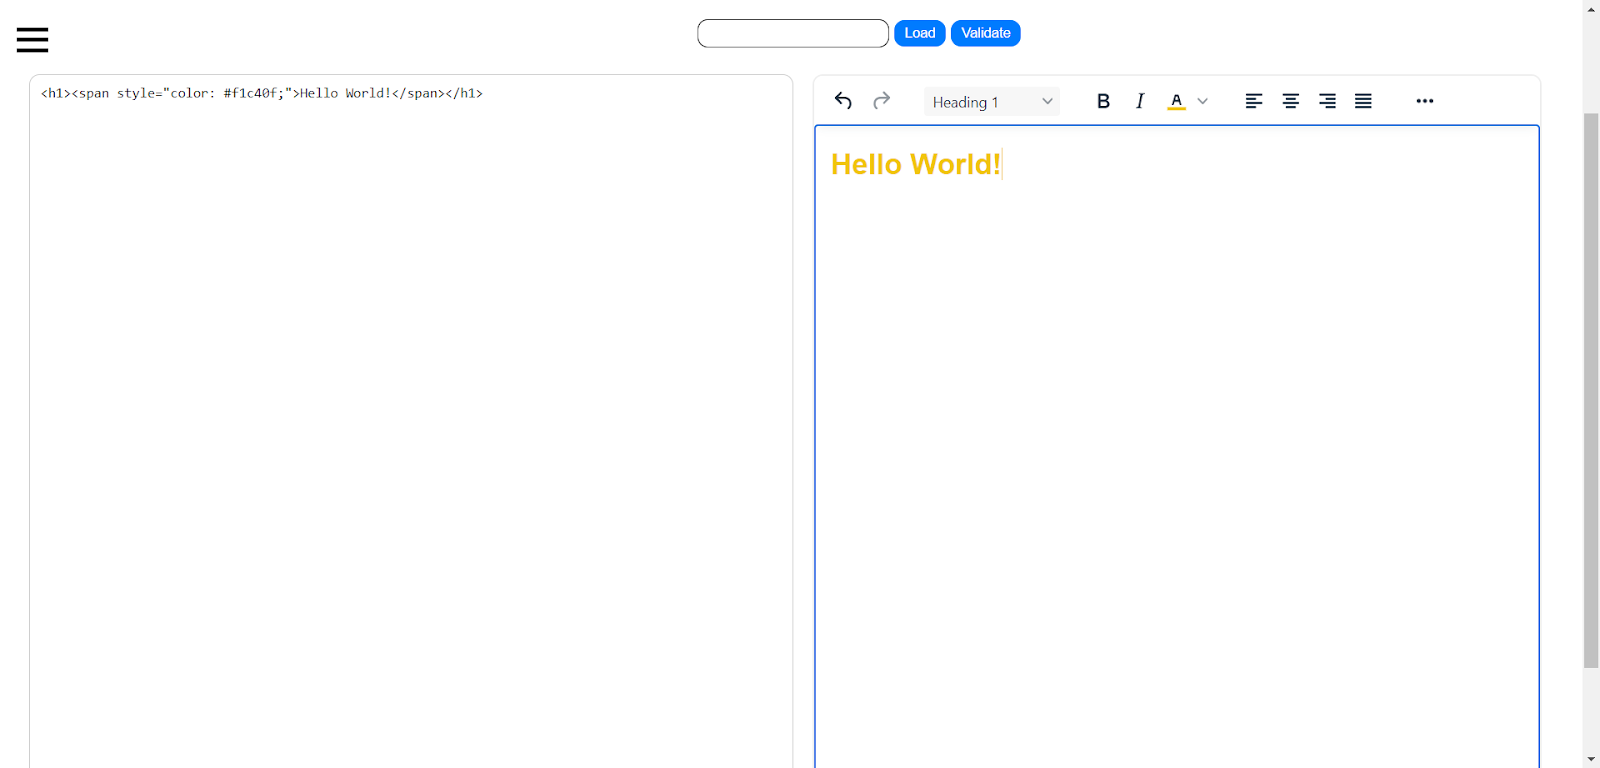
We can add text to the text editor on the Right Side then it automatically updates the Text Area on the Left Side:
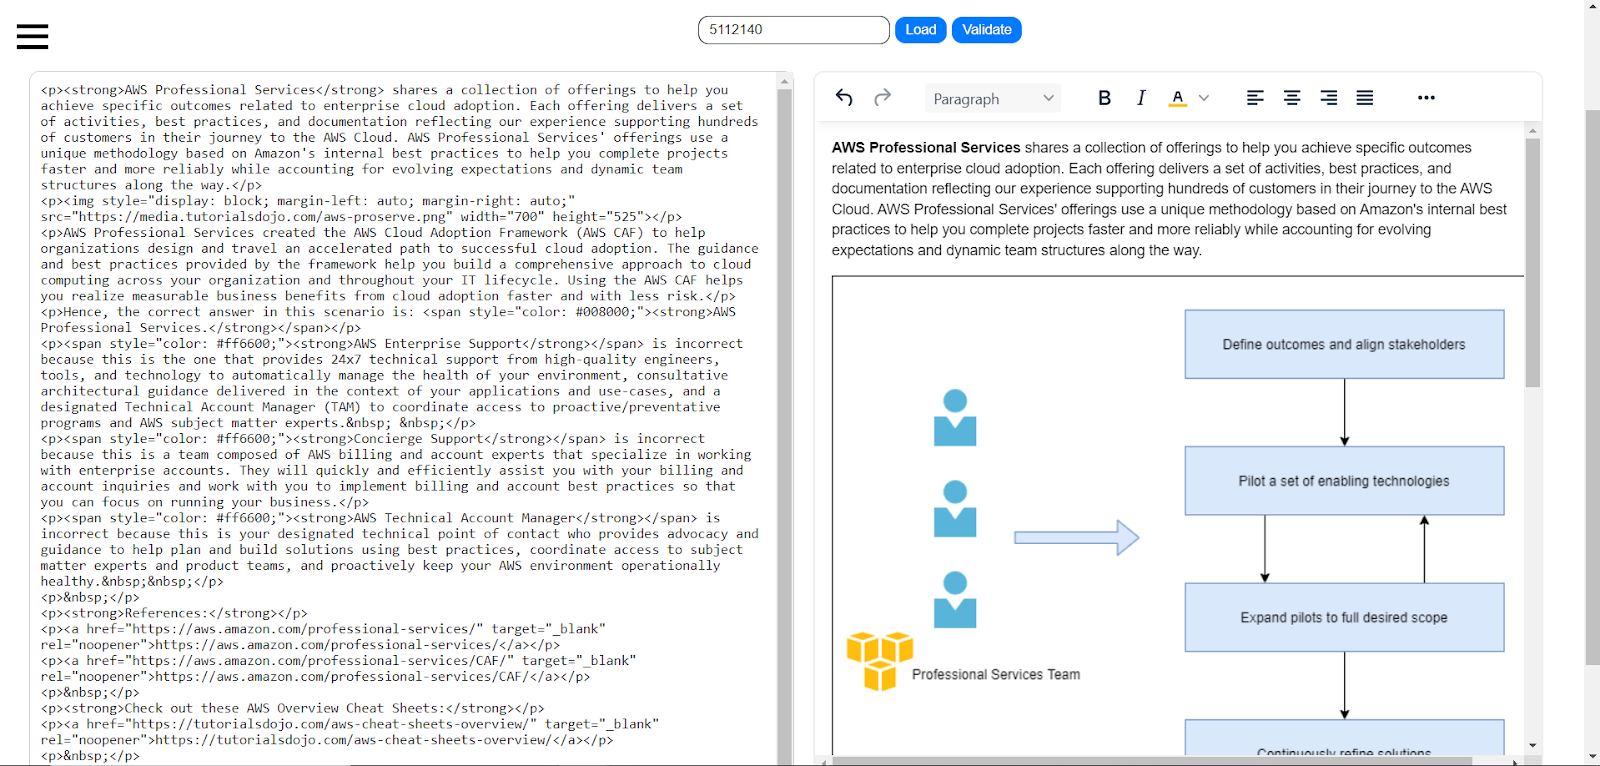
The input bar on the middle of the screen is where you will put the Atlassian ID, then after clicking the Load button, the HTML code on the Atlassian ID will be inserted to the Text Area which then automatically updates the Text Editor on the right side (This will not be shown on the tutorial):
About TinyMCE and Its Integration with Atlassian Confluence
TinyMCE is a WYSIWYG (What You See Is What You Get) text editor that allows users to create and edit content in the web. Because of its features, which include text formatting, media embedding, and HTML code editing, developers that are creating CMS, blogs, or internal tools frequently choose to use it. Atlassian Confluence on the other hand, is a widely-used collaboration platform where teams create, share, and organize content.
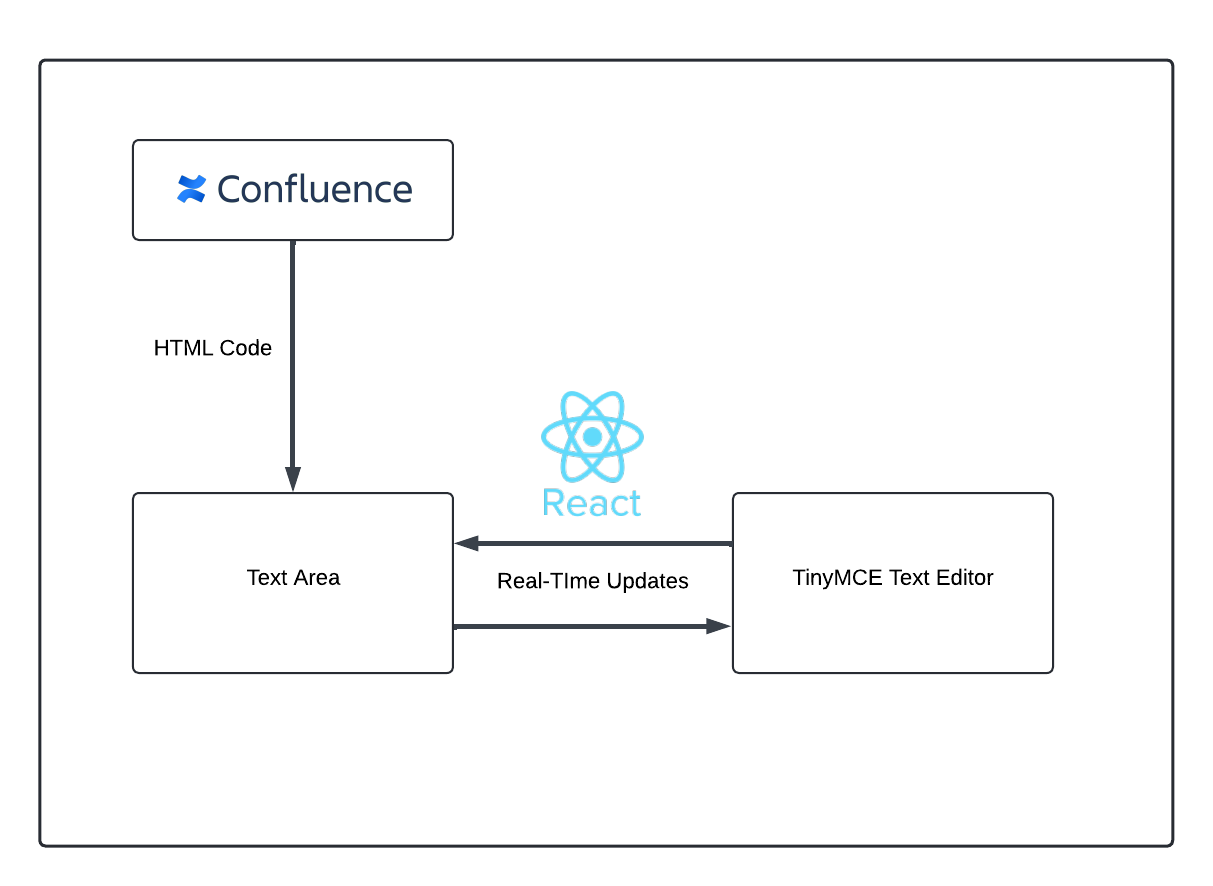
The role of TinyMCE in this application is to allow users to edit the HTML content fetched from Confluence. The text area updates in real-time as users make modifications in the TinyMCE editor. Applications where content is stored in Confluence but needs to be modified using a more advanced editor will find this article helpful. While this tutorial does not cover the details of integrating Confluence’s API with the React application, understanding the flow of data between Confluence, the Text Area, and the TinyMCE editor provides valuable insight into how it works.
How the HTML Editor was made
The codes will only be for the Text Area, the TinyMCE Text Editor, and how it automatically updates when there are changes. The code for handling what happens after clicking the Load or Validate button as well as the button and input bar components will not be shown here. CSS code will also not be included in this explanation, but it is used to style the component elements:
Starting a React Project
- Install Node.js and npm:
- Ensure you have Node.js and npm (Node Package Manager) installed on your system.
- Create a New React App:
- Open your terminal and run the following command to create a new React application:
npx create-react-app my-app
- Replace my-app with the name of your project.
- Open your terminal and run the following command to create a new React application:
- Open the new React application on your IDE to start editing
- Install the TinyMCE React Package
- Command:
npm install @tinymce/tinymce-react
- Command:
- Start the Development Server:
- Command:
npm start - This will start the development server and open your new React application in the browser.
- Command:
Text Area and State Management
Text Area:
- The text area is a simple HTML
<textarea>element where users can paste or type their HTML code. It is controlled by the htmlCode state variable.
State Management
A state variable is used to manage the component’s functionality:
- htmlCode: Stores the HTML content.
Event Handlers
- handleEditorChange: Updates the htmlCode state whenever the content of the TinyMCE editor changes.
Copy the following code to the App.js:
Note:
- Make sure to replace
'YOUR_TINYMCE_API_KEY'with your actual TinyMCE API key.
This should be the final output:


