Last updated on March 13, 2026
If you’ve tried building an ALB manually in the AWS Console, you already know the drill create a VPC, configure subnets, set up security groups, launch Amazon EC2 instances, create a target group, add listeners, and then double check everything because one small misconfiguration can break the whole setup. It works, but it’s time consuming and not something you want to repeat every time you need a fresh environment.
This is exactly where Terraform shines. Instead of clicking through multiple AWS console pages, you define your infrastructure in code and let Terraform handle the provisioning. Need to rebuild the lab? Just run terraform apply again and you’re good to go.
In this lab, we will:
-
Provision an Application Load Balancer (ALB)
-
Launch two EC2 instances
-
Register them in a target group
-
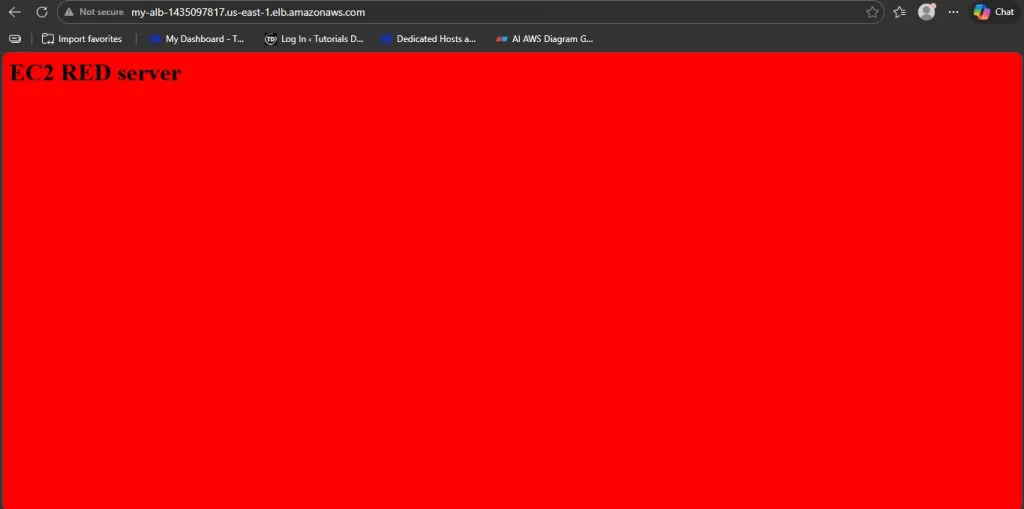
Test load balancing by refreshing the ALB DNS and observing the traffic alternate between instances
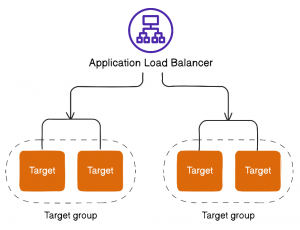
The diagram above highlights one of the powerful capabilities of an ALB routing traffic to different target groups using rules. This is commonly used for path-based routing (for example, /api vs /web) or host-based routing in multi-service architectures.
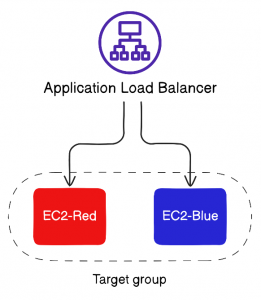
For this exercise, we’ll keep things simple and focus on a single target group with two EC2 instances. The ALB will distribute incoming requests across both instances, and we’ll validate the behavior by refreshing the DNS endpoint.
AWS ALB Terraform: Getting Started (Prerequisites)
Before we start writing Terraform code, make sure your environment is ready. Terraform needs a way to authenticate to AWS so it can provision resources on your behalf. This setup was tested using Tutorials Dojo PlayCloud, but the same steps apply to any AWS account.
Your IAM user must have permissions to create:
-
VPC networking resources
-
EC2 instances
-
Application Load Balancers
Security Reminder: Never hardcode access keys inside Terraform files. This is a common cause of credential leaks. Always use secure credential management methods such as the AWS CLI configuration, environment variables, or IAM roles.
1.1 Create an IAM User for Terraform
To allow Terraform to interact with AWS programmatically, we’ll create a dedicated IAM user for CLI access. In real-world environments, you should apply the principle of least privilege and grant only the required permissions. For this lab, we’ll use Administrator Access to keep the focus on Terraform and ALB concepts.
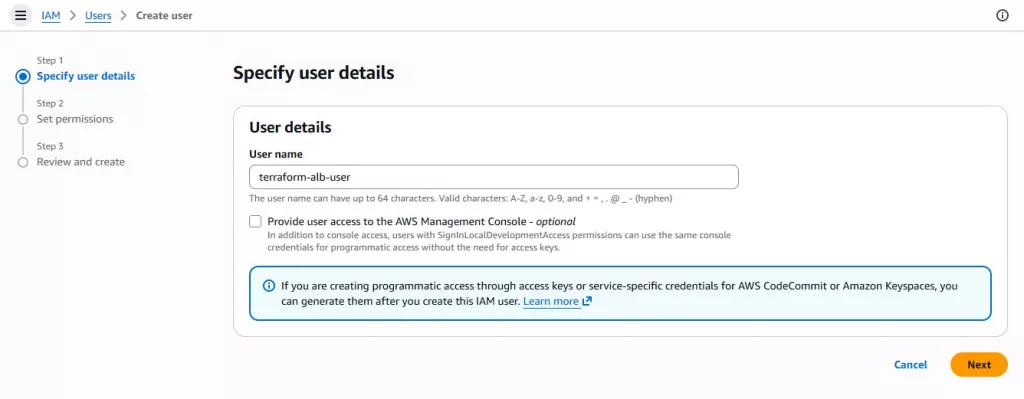
Go to IAM → Users → Create user, enter a descriptive username (for example: terraform-alb-user)
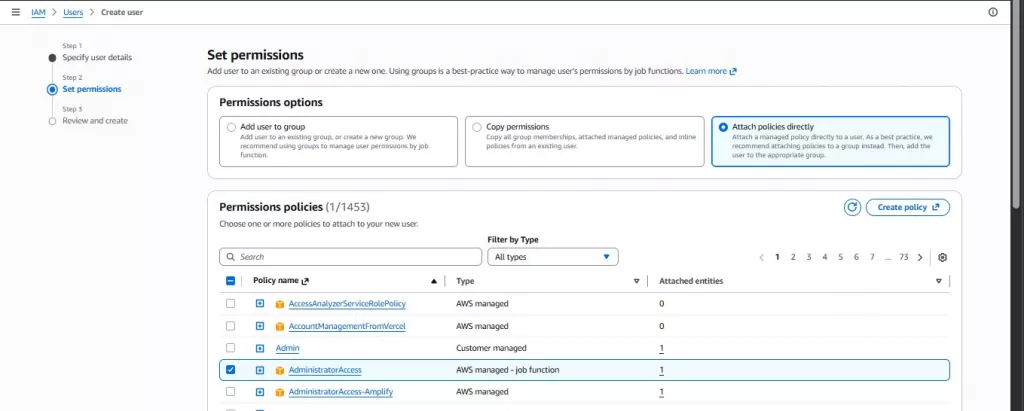
Assign Administrator Access permissions, then click next and complete the user creation
Note: Administrator access is used here for learning purposes. In real-world scenarios, create a custom policy with only the required permissions.
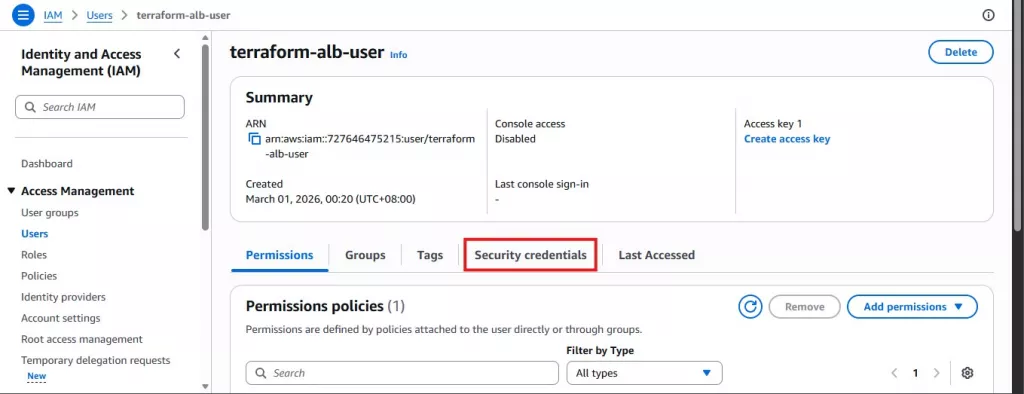
Open the IAM user you created → Go to the Security credentials tab
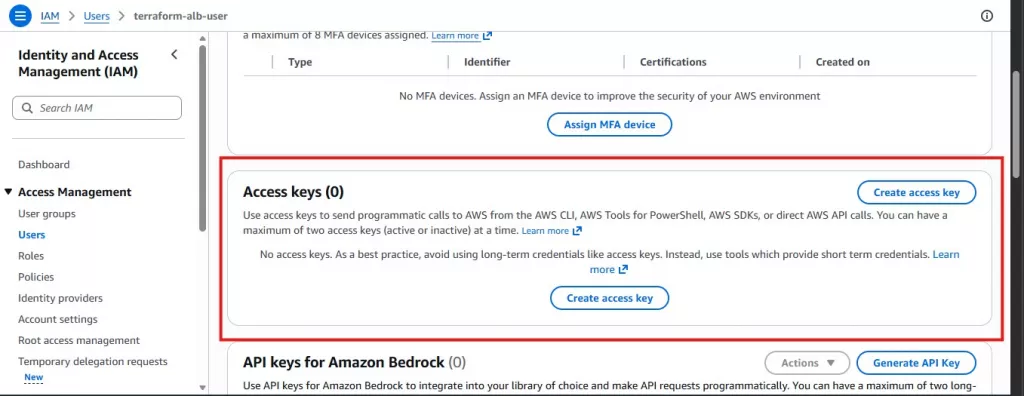
Scroll to Access keys → Click Create access key
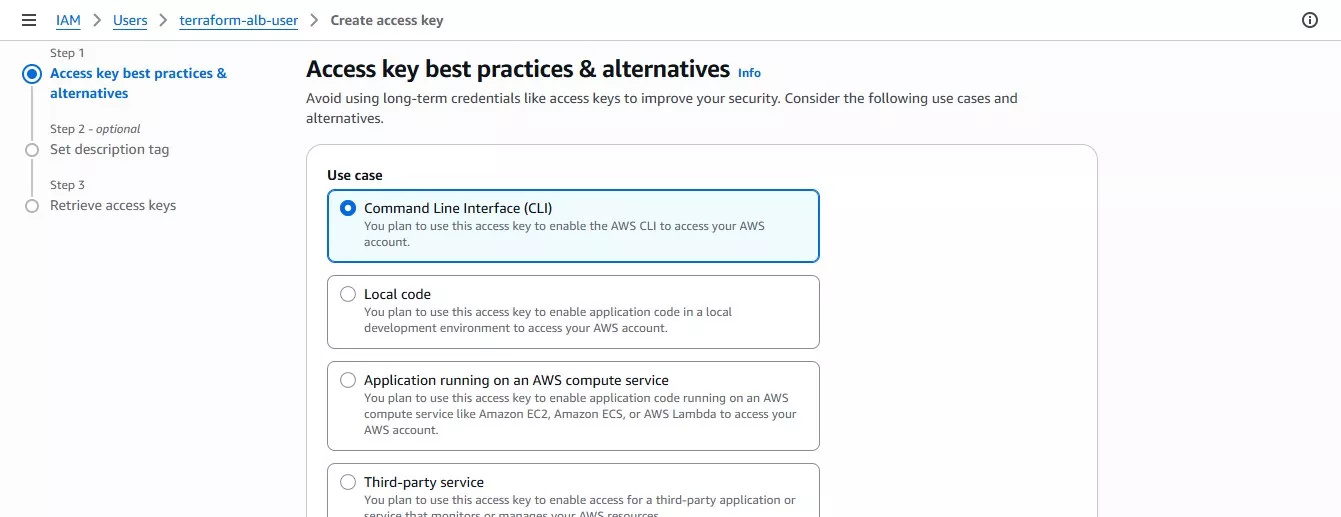
Select the use case: Command Line Interface (CLI), a best-practices warning will appear acknowledge it and proceed, then click Create access key
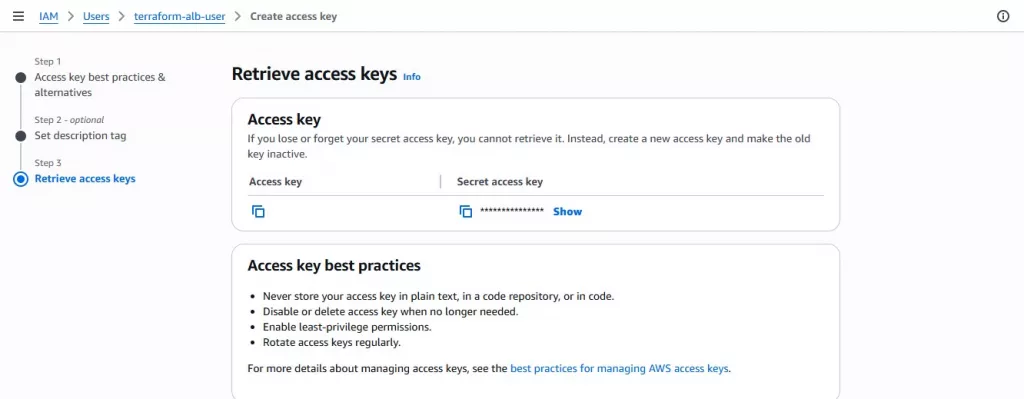
After creation, AWS will display:
-
Access Key ID
-
Secret Access Key
Note: The Secret Access Key is shown only once. If you lose it, you must delete the key and generate a new one.
Save Your Credentials Securely
You have two options:
-
Option A (Recommended): Download the
.csvfile and store it in a secure, password-protected location -
Option B: Copy the values into a secure password manager
Click Done after saving the credentials.
1.2 Install AWS CLI for Terraform ALB AWS
Install the AWS Command Line Interface (CLI) and verify the installation:
aws --version
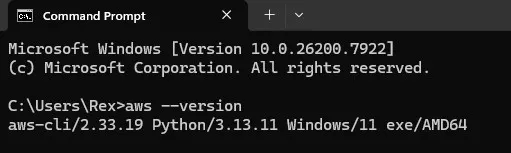
AWS CLI installed successfully and verified using aws –version

Enter the following:
- Access Key ID:
- Secret Access Key
- Default region:
us-east-1 - Default output format:
json
This step matters because Terraform uses your configured AWS credentials (commonly via AWS CLI) to authenticate and create resources.
1.3 Install Terraform for AWS ALB Terraform
With the AWS CLI configured, the next step is to install Terraform itself. Download Terraform from the official HashiCorp website and install it on your local machine. After installation, verify that it’s working by running:
terraform -version
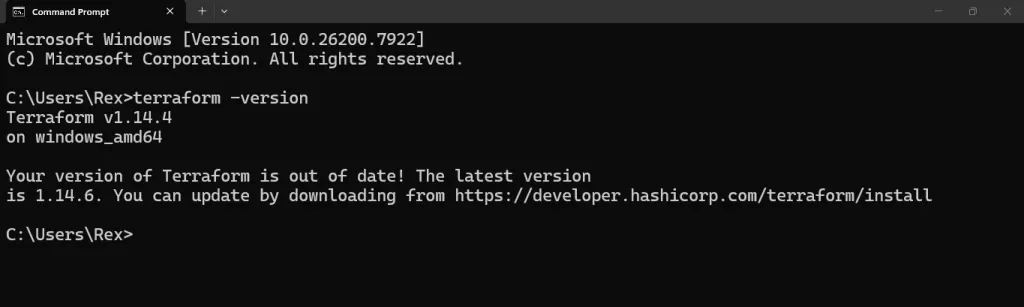
If Terraform is installed correctly, the version number will appear in your terminal.
1.4 VS Code Setup for AWS ALB Terraform
For this lab, I used Visual Studio Code as my editor. I also installed the Terraform extension, which provides syntax highlighting, automatic formatting, basic validation
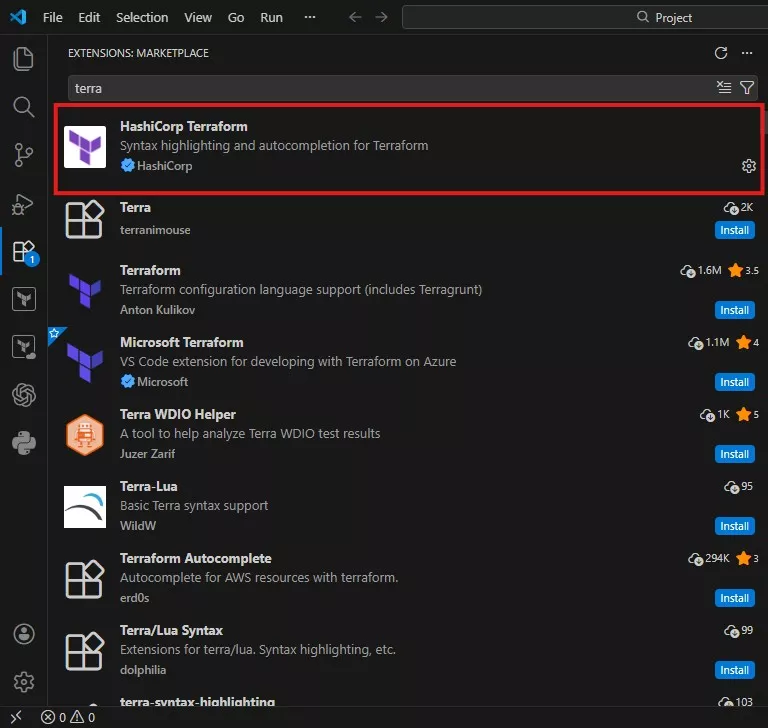
This makes writing and troubleshooting Terraform code much easier, especially when working with multiple resources like VPCs, subnets, security groups, EC2 instances, and load balancers.
1.5 How Terraform Authenticates to AWS
At this point, you might be wondering: How does Terraform actually connect to AWS?
Terraform uses the credentials configured in the AWS CLI. When you run
terraform initterraform planterraform apply

1.6 Project Structure for AWS ALB Terraform
Alright before we run terraform init and start provisioning resources, let’s set up the project folder properly. Keeping the structure clean matters a lot, especially once your Terraform config starts growing.
Create a project folder (for example: alb-aws-test) and place your Terraform files inside it. Keeping your files organized from the start helps when your configurations become larger
For this lab, I used a simple structure:
-
main.tf→ all Terraform resources (VPC, subnets, EC2, ALB, target group, listener, outputs) -
user_data/→ startup scripts for each EC2 instance (Red and Blue)
1.6.1 Create the Project Folder
Create a folder anywhere on your machine (Desktop/Documents is fine), then name it:
|
ALB-AWS-TEST |
Inside that folder, create another folder named:
|
user-data
|
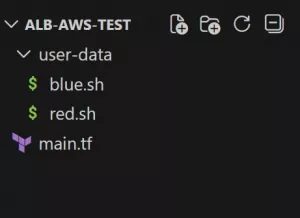
So, your final file structure should look like this
1.6.2 Add the EC2 User Data Scripts
Inside user_data/, create two files:
user_data/red.sh
|
|
user_data/red.sh
|
|
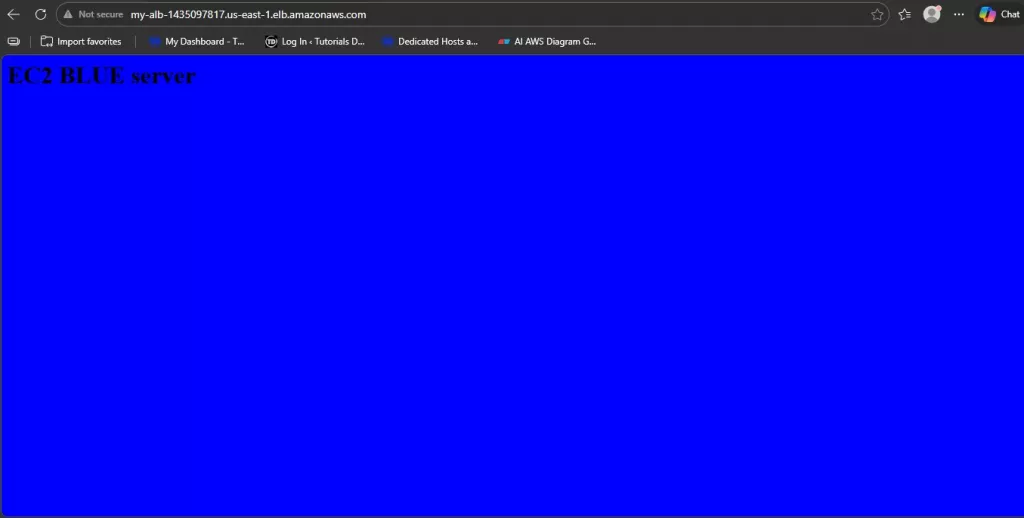
Quick idea of what’s happening here:
- We install Nginx
- We start it automatically
- We overwrite the homepage with a red/blue background
So, when traffic hits the ALB, you can instantly tell which EC2 responded.
Terraform Code (main.tf)
Alright, this is the fun part. Below is the full Terraform configuration I used for this lab. You can copy this directly into your main.tf file inside your ALB-AWS-TEST folder.
|
|
Dissecting the Terraform Code
I’ll break this down in the same order Terraform reads it. The goal here is: you should understand what each block is doing, not just blindly copy-paste.
Variables Section
variable "instance_type"
-
variable "instance_type"→ creates a reusable variable -
default = "t2.micro"→ sets the instance type used by both EC2 instances (you can change this later without editing the resource block)
variable "subnets"
This defines two subnet CIDR blocks:
-
subnet1 = "10.0.1.0/24" -
subnet2 = "10.0.2.0/24"
So later, we can loop through them instead of writing two separate subnet resources manually.
Provider Block
provider "aws"
-
provider "aws"→ tells Terraform we’re deploying to AWS -
region = "us-east-1"→ sets the region for all resources in this config
Terraform will use your AWS CLI credentials automatically here (from aws configure).
3) VPC Block
resource "aws_vpc" "main"
-
cidr_block = "10.0.0.0/16"→ your main private network range -
enable_dns_support = true→ allows DNS resolution inside the VPC -
enable_dns_hostnames = true→ allows AWS to assign DNS hostnames to instances -
tags→ adds a name so it’s easier to identify in the console
This VPC is where everything will live.
Subnets (Using for_each)
resource "aws_subnet" "subnets"
This block creates two subnets using for_each:
-
for_each = var.subnets→ loops through the subnet map you defined -
vpc_id = aws_vpc.main.id→ attaches both subnets to the VPC -
cidr_block = each.value→ assigns each subnet’s CIDR (10.0.1.0/24,10.0.2.0/24) -
map_public_ip_on_launch = true→ makes instances launched here get public IPs automatically -
availability_zone = ...→ subnet1 goes tous-east-1a, subnet2 goes tous-east-1b
That AZ split matters because an ALB requires subnets in at least two Availability Zones.
Internet Gateway + Route Table
aws_internet_gateway
-
connects your VPC to the internet
aws_route_table public
-
route { cidr_block = "0.0.0.0/0" }→ “all traffic” -
gateway_id = aws_internet_gateway.igw.id→ sends internet-bound traffic through the internet gateway
aws_route_table_association
-
attaches that public route table to both subnets
-
this is what makes them public subnets (not just “subnets with public IPs”)
Security Groups (ALB + EC2)
ALB Security Group (alb_sg)
-
ingressallows HTTP 80 from the internet (0.0.0.0/0) -
egressallows the ALB to send traffic outbound (default open outbound)
So users can reach the ALB.
Server Security Group (server_sg)
This is the important part:
-
the EC2 instances do not allow port 80 from the internet
-
they only allow port 80 from the ALB security group
That’s why this line is great:
-
security_groups = [aws_security_group.alb_sg.id]
It means: “Only accept HTTP traffic if it came through the ALB.”
AMI Data Source (Auto-find Amazon Linux 2023)
data "aws_ami" "amazon_linux"
-
most_recent = true→ always picks the latest matching AMI -
owners = ["amazon"]→ official Amazon images only -
filter
al2023-ami-*-x86_64→ finds Amazon Linux 2023 x86_64 AMIs
No hardcoded AMI IDs (clean + portable).
Local Map for Two Instances
locals { instances = { ... } }
This creates a mini map:
-
redpoints touser_data/red.sh -
bluepoints touser_data/blue.sh
So, we can loop and make two EC2s without writing two separate resource blocks.
EC2 Instances (Looped)
resource "aws_instance" "app"
-
for_each = local.instances→ makes one instance per entry (red + blue) -
ami = data.aws_ami.amazon_linux.id→ uses the AMI we looked up -
instance_type = var.instance_type→ uses the variable -
subnet_id = ...→ places red in subnet1, blue in subnet2 -
vpc_security_group_ids = [server_sg]→ attaches the EC2 SG -
user_data = file(each.value)→ injectsred.shorblue.shinto the instance at boot -
tags Name = "EC2-${each.key}"→ gives EC2-red / EC2-blue naming

ALB Resource
resource "aws_lb" "alb"
-
internal = false→ internet-facing ALB -
load_balancer_type = "application"→ ALB -
security_groups = [alb_sg]→ public HTTP allowed -
subnets = [for s in aws_subnet.subnets : s.id]→ attaches ALB to both subnets
This makes your ALB accessible via a public DNS.
Target Group + Health Checks
aws_lb_target_group tg
-
port = 80andprotocol = HTTP→ forwards HTTP traffic to instances -
vpc_id = aws_vpc.main.id→ target group belongs to this VPC
Health check block:
-
path = "/"→ checks the homepage -
matcher = "200"→ expects HTTP 200 response -
thresholds + timing → decides how fast targets become healthy/unhealthy
Target Group Attachments (Register EC2s)
aws_lb_target_group_attachment
-
loops through both EC2 instances
-
attaches them to the target group
-
forwards on port 80
This is the “put them behind the ALB” step.
Listener (ALB Port 80 → Target Group)
aws_lb_listener http
-
listens on port 80
-
forwards requests to the target group
This is what connects the outside world to your instances.
Output (ALB DNS)
output "alb_dns"
This prints the DNS name after applying so you can instantly test the ALB without hunting for it in the console.
Deploying the Infrastructure
Now that the code is ready and we understand what each block does, it’s time to actually bring the infrastructure to life. Make sure you are inside your project folder (ALB-AWS-TEST) in the terminal.
1.7 Initialize Terraform
Run:
terraform init |
1.8 Review the Execution Plan
Next, run:
terraform plan |
This is one of the most important Terraform commands.
It shows how many resources will be created, what configurations will be applied, the order Terraform will follow
For this lab, you should see Terraform planning to create:
- 1 VPC
- 2 subnets
- 1 internet gateway
- 1 route table + associations
- 2 security groups
- 2 EC2 instances
- 1 Application Load Balancer
- 1 target group
- 1 listener
Always review the plan before applying. It’s your safety check.
1.9 Deploy ALB with Terraform
If the plan looks good, deploy the infrastructure:
terraform apply
Terraform will show the plan again and ask: Do you want to perform these actions?
Type: yes
Terraform will now start creating all the resources. This may take a few minutes, especially while waiting for the ALB to become active. You’ll see logs as each resource is created (VPC → subnets → EC2 → ALB → target group → listener).
1.10 Get the ALB DNS Name
Once the deployment is complete, Terraform will display an output like:
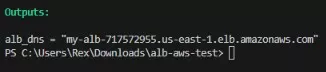
Copy that DNS name and open it in your browser.
1.11 Testing the AWS ALB Terraform Deployment
Now for the best part.
🌸 25% OFF All Reviewers on our International Women’s Month Sale! Save 10% OFF All Subscriptions Plans & 5% OFF Store Credits/Gift Cards!

Learn AWS with our PlayCloud Hands-On Labs

$2.99 AWS and Azure Exam Study Guide eBooks

New AWS Generative AI Developer Professional Course AIP-C01

Learn GCP By Doing! Try Our GCP PlayCloud

Learn Azure with our Azure PlayCloud

FREE AI and AWS Digital Courses

FREE AWS, Azure, GCP Practice Test Samplers


Subscribe to our YouTube Channel

Follow Us On Linkedin


