I’ll admit. The first time I heard about OpenClaw and its features, I was obsessed. The idea of having an AI that could actually do stuff rather than just giving responses to prompts felt like living in the future.
As a university student, it’s a given that I have a lot of responsibilities to keep track of. Be it responding to school emails, checking telegrams for assigned work, or simply knowing when the next CCPROG Hands-On Exam is scheduled.
To have an AI do all these things for me? It’s a huge game-changer.
But then reality hit me.
Why You Should Not Run OpenClaw Locally
OpenClaw is great, but it also carries significant security risks when run locally. The fact that it can act like your personal assistant 24/7 means giving it access to your entire computer for all hours of the day.
Sure, you technically can run OpenClaw on your laptop while avoiding security risks (Docker, Virtual Machines). But this still comes with a catch: Your assistant is still only as reliable as your laptop’s uptime.
If your laptop sleeps, your assistant also sleeps. If your Wi-Fi stops, so does your assistant!
Remember, it’s supposed to run 24/7 in the background.
Running an autonomous AI agent on your bare metal laptop isn’t just a security nightmare, it’s impractical.
That’s when I realized… If hosting OpenClaw locally is not ideal, then why not host it using Cloud?
The Powerful Combination of OpenClaw and Amazon Bedrock
Amazon Bedrock is a service provided by AWS (Amazon Web Services) that gives you access to many different AI models in a single platform. This is possible because of Amazon Bedrock’s unified API.
If you are using OpenClaw as a standalone, you have to plug-in manually the AI models that you want it to utilize. This means you have to get the API keys of, say, OpenAI (ChatGPT) and Anthrophic (Claude), if those are the AI that you want OpenClaw to use. Of course, you even have to manage them separately.
That’s why instead of OpenAI + Anthropic + other AI, you can just simply use Amazon Bedrock. It’s more efficient, and will cost your wallet less too!
Standalone OpenClaw vs. OpenClaw with Amazon Bedrock Comparison
|
Feature |
Standalone Openclaw |
Openclaw with Amazon Bedrock |
|
Set-up Process |
Manual Installation (CLI, Docker) |
1-Click Deployment with CloudFormation |
|
AI Model Access |
Manual and Separate API Keys |
Unified API |
|
Billing |
Multiple Separate Bills |
Single Bill (Through AWS) |
|
Security |
API Keys Stored in Local Files |
IAM Roles (No Keys Stored) |
|
Networking |
Often Uses Public Internet |
Private VPC (Traffic Never Leaves Amazon) |
|
Reliability |
Unpredictable Uptime |
99.99% Uptime |
To better understand the difference between the two, let’s dive deeper into each feature:
- Set-up Process
In order to deploy Openclaw, you have to navigate various manual configurations (CLI commands, docker networking). It can be very overwhelming to set-up if you do not have prior experience, or if you are not really that techy.
In contrast, Amazon Bedrock integration uses AWS CloudFormation. This will make your deployment much easier and efficient, as this service already has the entire infrastructure defined as code and can be deployed with a single click.
- AI Model Access and Billing
If you want your Openclaw to use Claude, ChatGPT, and Llama together, you will have to go to Anthropic, OpenAI, and Meta separately. This means you will have 3 different bills, 2 different API keys to keep track of, and 3 different wallets to top up.
With Amazon Bedrock, however, you get to have one single master key (the Unified API). You can simply switch the model ID from antrophic.claude-3 to amazon.nova-pro in your code. No need to create new accounts or obtain multiple API keys.

This means that with Amazon Bedrock, you can switch between different models without redeployment (or code changes), and even distribute the workload between them. For example, you can use Nova Lite for basic tasks and only call-in the expensive models for when you really need them (such as complex tasks).
It is also important to note that Nova 2 Lite, one of the readily-available models in Amazon Bedrock, is 90% cheaper than using Anthropic (Claude).
- Security
Running Openclaw locally means that your API keys are stored in plain text on your local files. By moving to AWS, we replace these risky keys with IAM Roles (Identity Access and Management). As this provides temporary security credentials instead of long-term passwords or access keys, it is more secure and flexible.
- Networking
In terms of networking, by deploying within a Private VPC (Virtual Private Cloud), your data traffic stays off the public internet. This ensures that your personal assistant’s responses stay completely private.
- Reliability
You never really know when your WiFi will drop, or when your laptop will suddenly require an update. This makes hosting Openclaw locally decrease its reliability with its rather unpredictable nature. This is not ideal if you will use your personal AI assistant in important things and want it to run without fail 24/7.
On the other hand, if you host your Openclaw in AWS, you can have the peace of mind that your personal AI assistant will stay running in the background without fail. Amazon will take care of all the external factors for you.
How to Deploy OpenClaw on AWS (within 10 minutes!)
In building our secure personal AI assistant in one go, we will be using Infrastructure as Code (IAC) via AWS CloudFormation.
But first, we have to have a way to access what we will build.
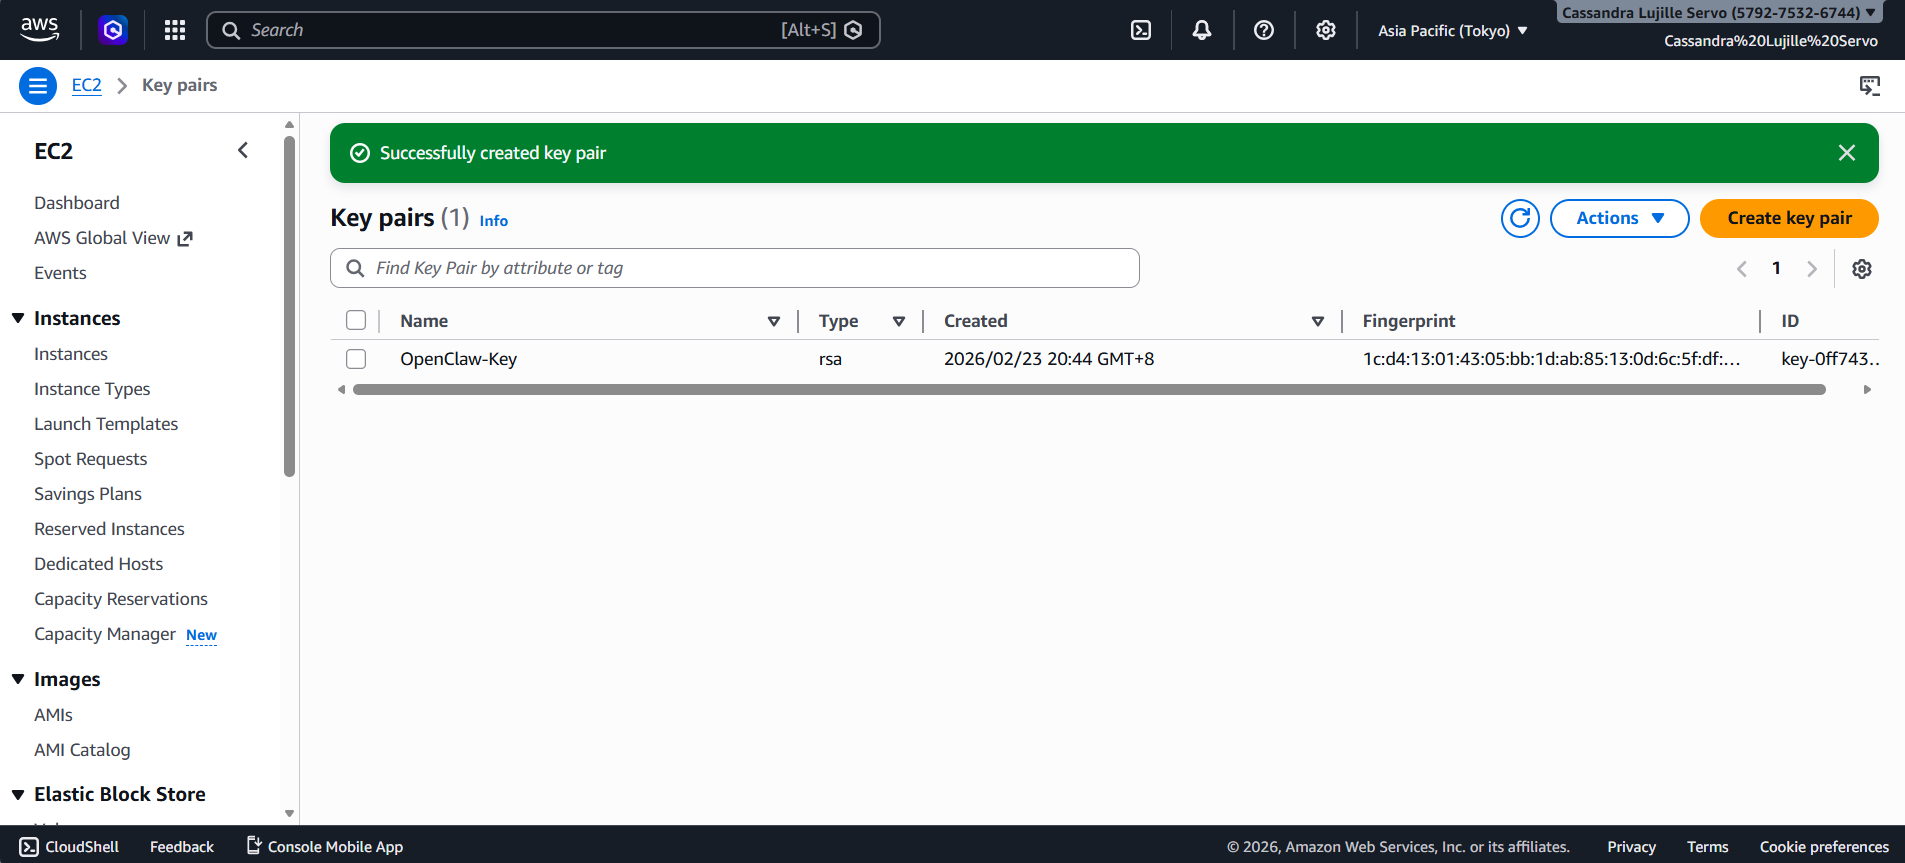
Step 1: Create Your Digital Key for your OpenClaw EC2 Instance
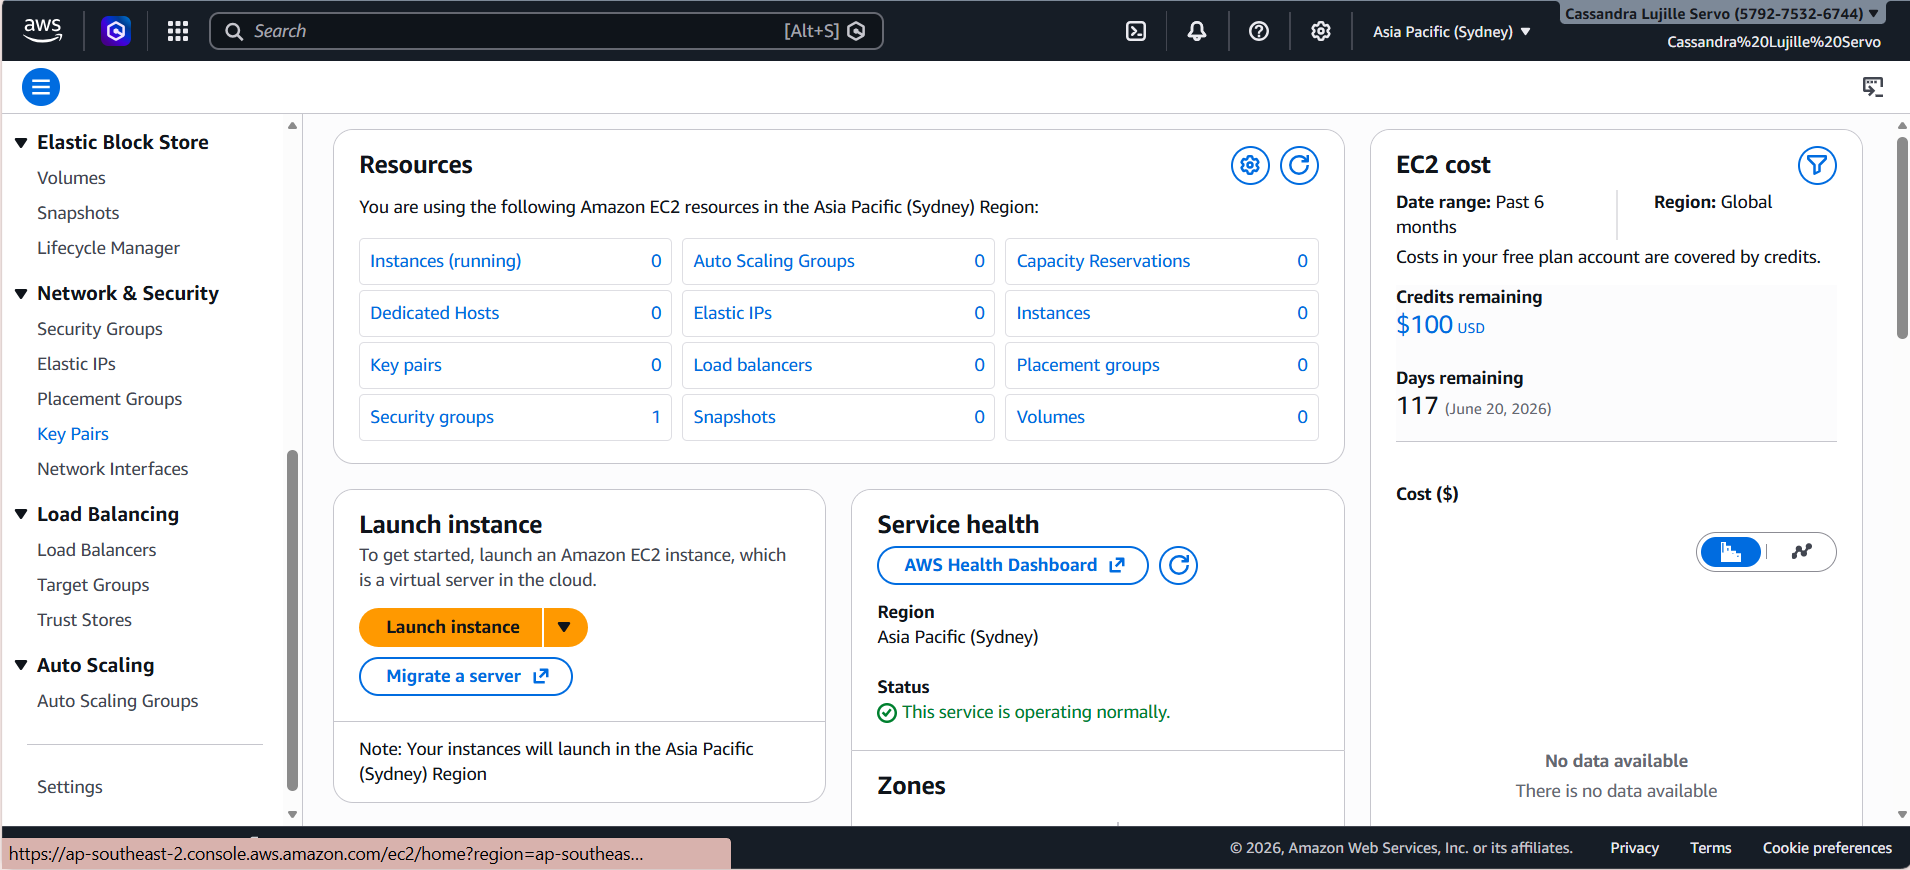
- Open your AWS Management Console.
- In the search bar, type “EC2”. Click on the first result.
- On the left side menu, scroll down and look for “Key Pairs” under the Network & Security section.
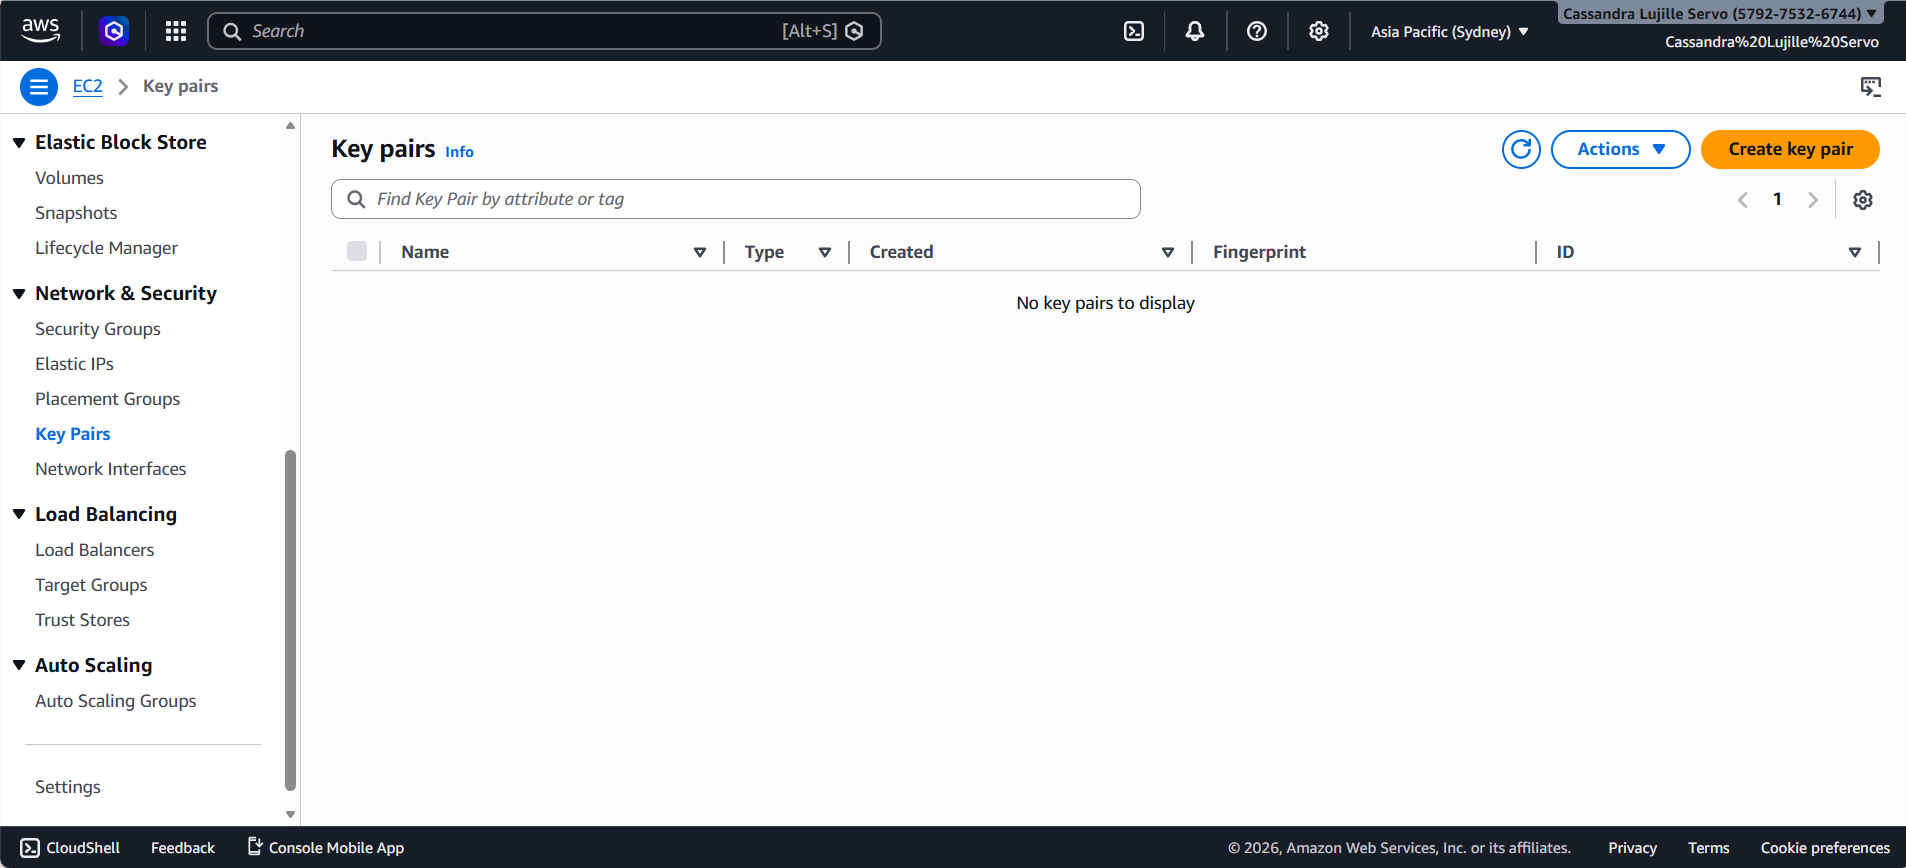
- After clicking on the “Key Pairs”, you should be able to see an orange button on the upper right corner called “Create key pair”. Click on this button.
- You can name it anything you want, as long as you follow the required format. (The name can include up to 255 ASCII characters. It can’t include leading or trailing spaces.)
- For the Key pair type, choose RSA.
- Select the .pem under the Private key file format.
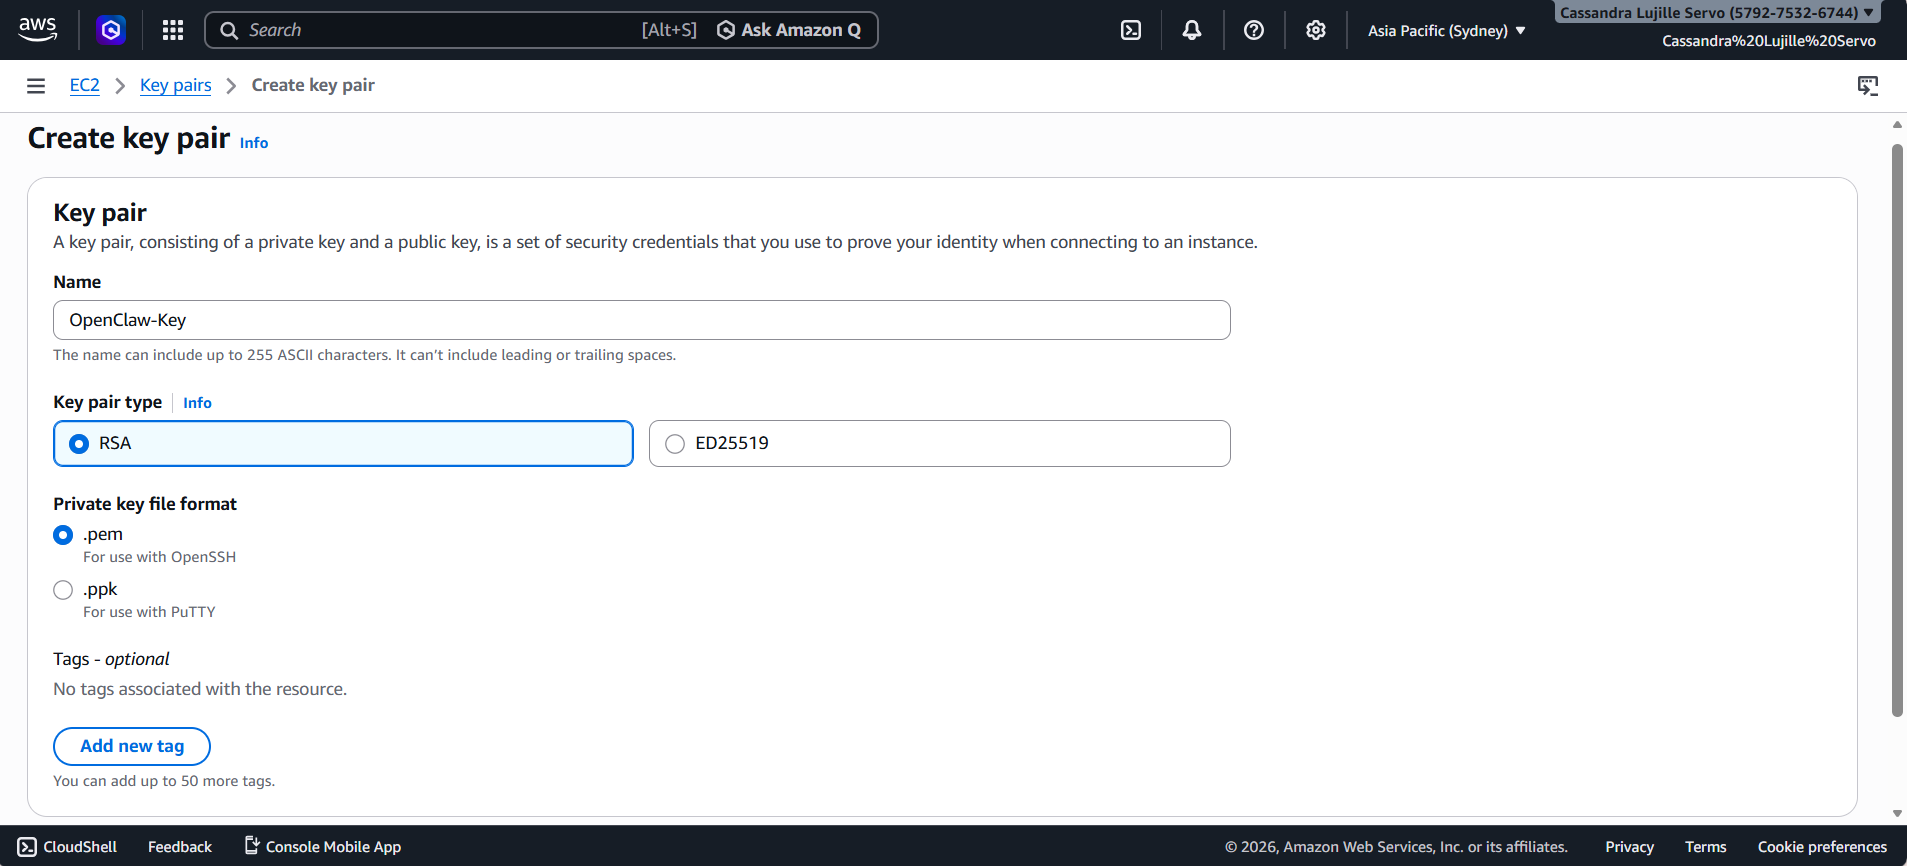
- After, click on the orange button on the lower right corner. This should be called “Create key pair”.
- A file will be automatically downloaded after clicking the button. Do not delete this. Keep it safe as you won’t be able to re-download it.
Step 2: Launching the OpenClaw Infrastructure using CloudFormation
- Now, for the promised 1-Click Deployment! Instead of manually configuring the set-up, you can just click on one of the following links based on your region (make sure it’s the same region as when you created your digital key!) and it’s all set-up.
- After clicking one of the links above, you should see a similar tab such as this:
Asia Pacific (Tokyo) Tab
- The Stack name is usually pre-filled, but feel free to change it to anything you prefer, so long as you follow the format specified. (Stack names can include letters (A-Z and a-z), numbers (0-9), and hyphens.)
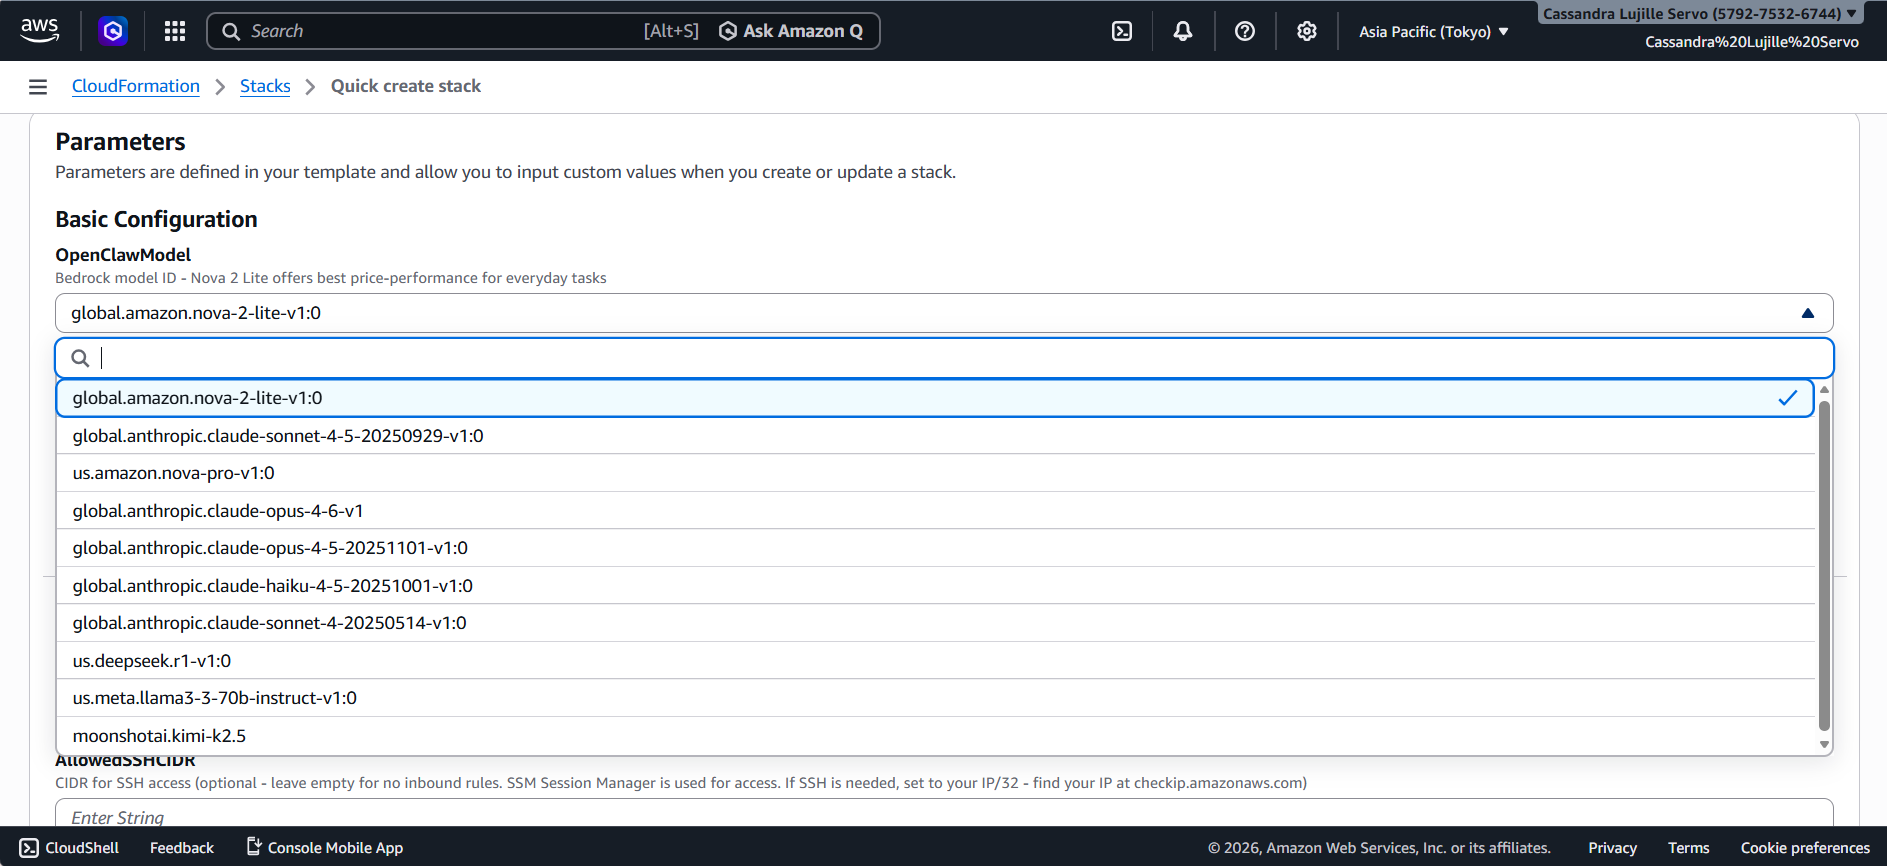
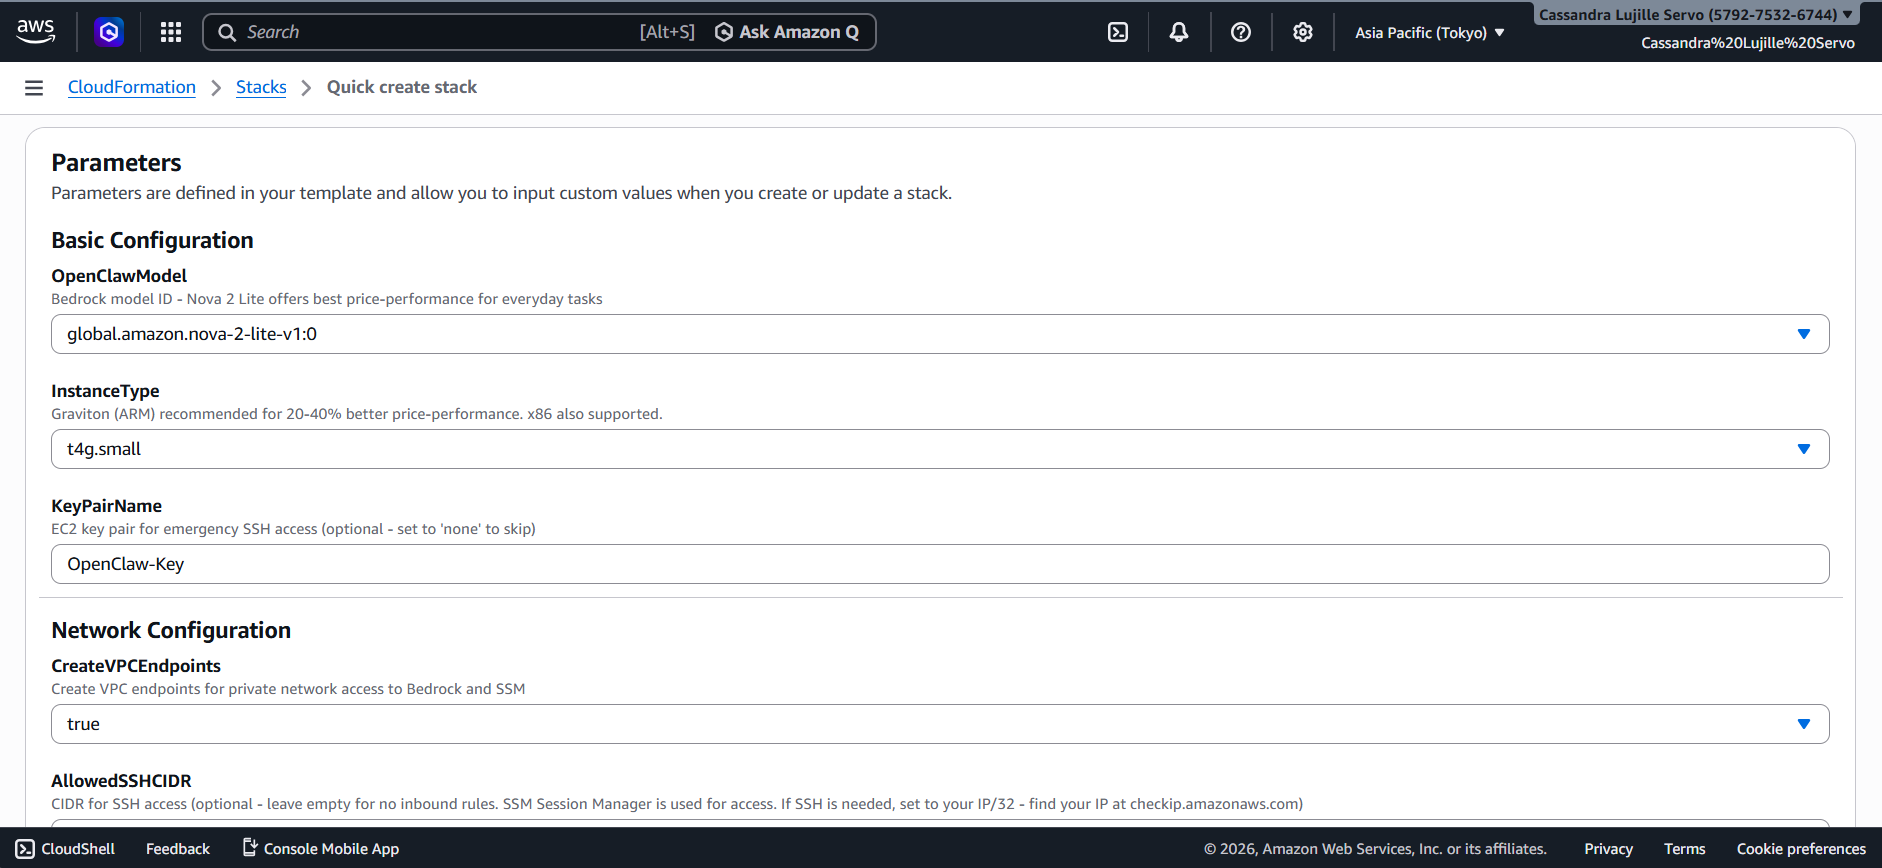
- In Parameters, you can switch the AI model used by clicking on the drop down button under the OpenClawModel part.
- Note that the default selected model (Amazon Nova Lite 2) is already the budget-friendly one!

- Under the InstanceType, select the size you want your instance to be. To save money, you can simply choose the “t4g.small” option.

- As for the KeyPairName, remember the “Digital Key” you created in Step 1? That is what you should input in this field. Take note that this is case-sensitive!
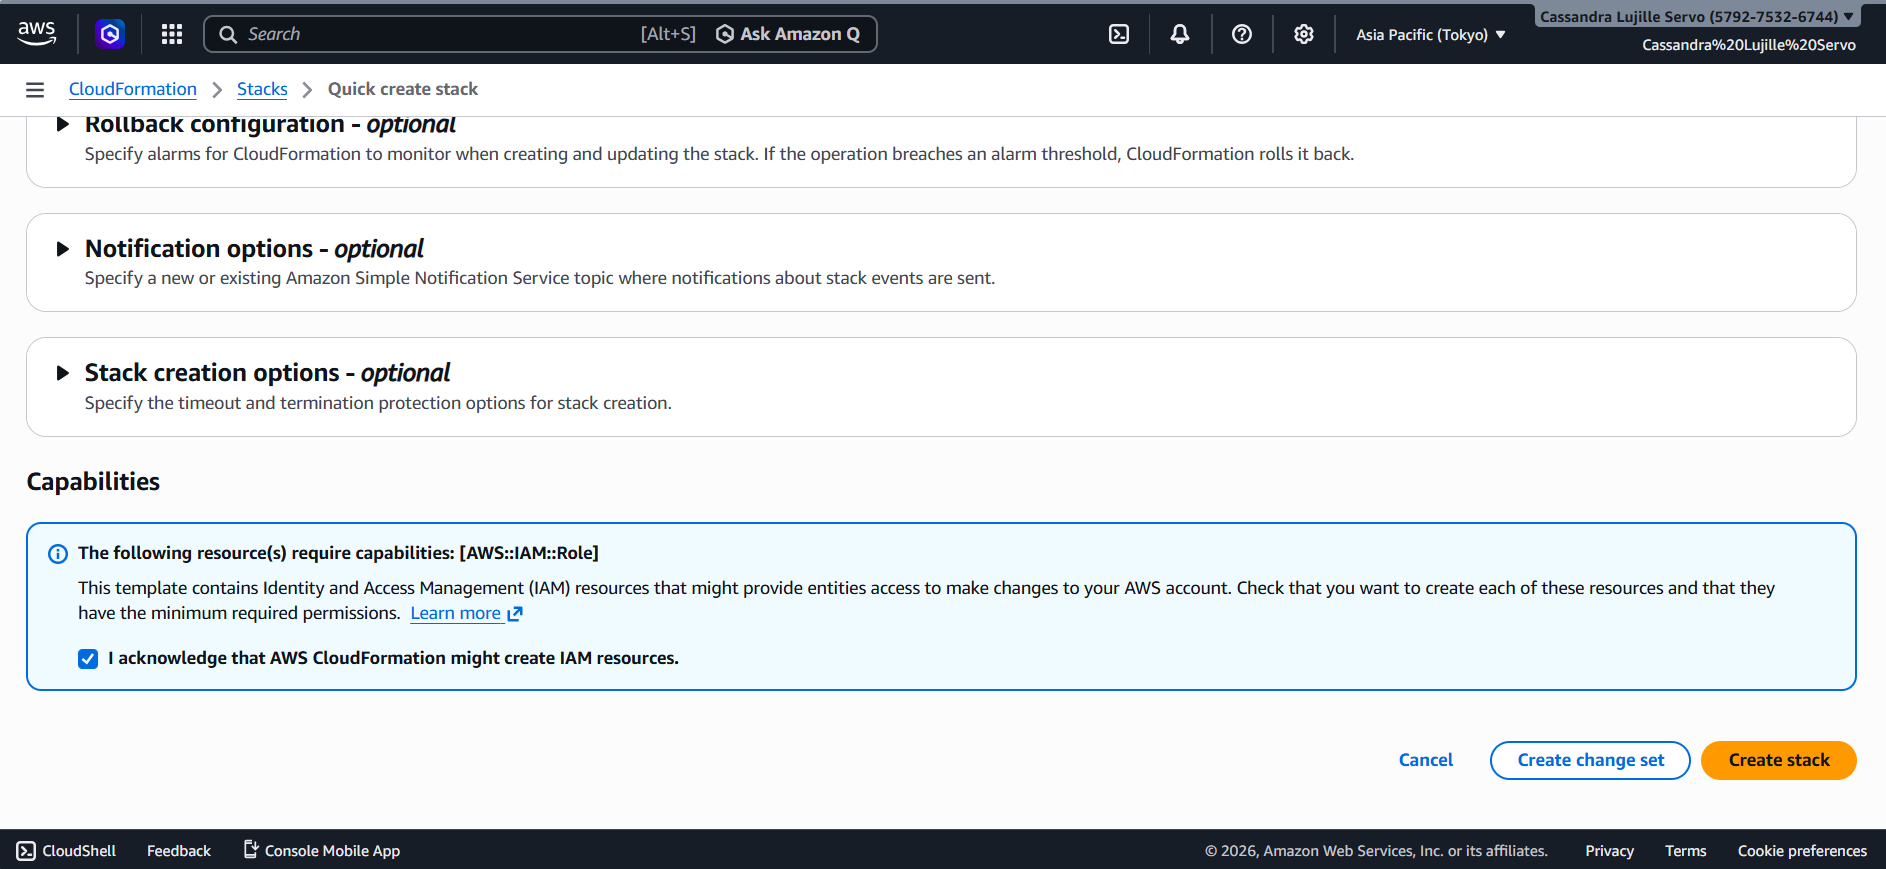
- Scroll down to the bottom and click on the box next to “I acknowledge that AWS CloudFormation might create IAM resources”.
- On the lower right of the screen, another orange button will be present called “Create stack”. Click this and wait for the stack to be completely created.
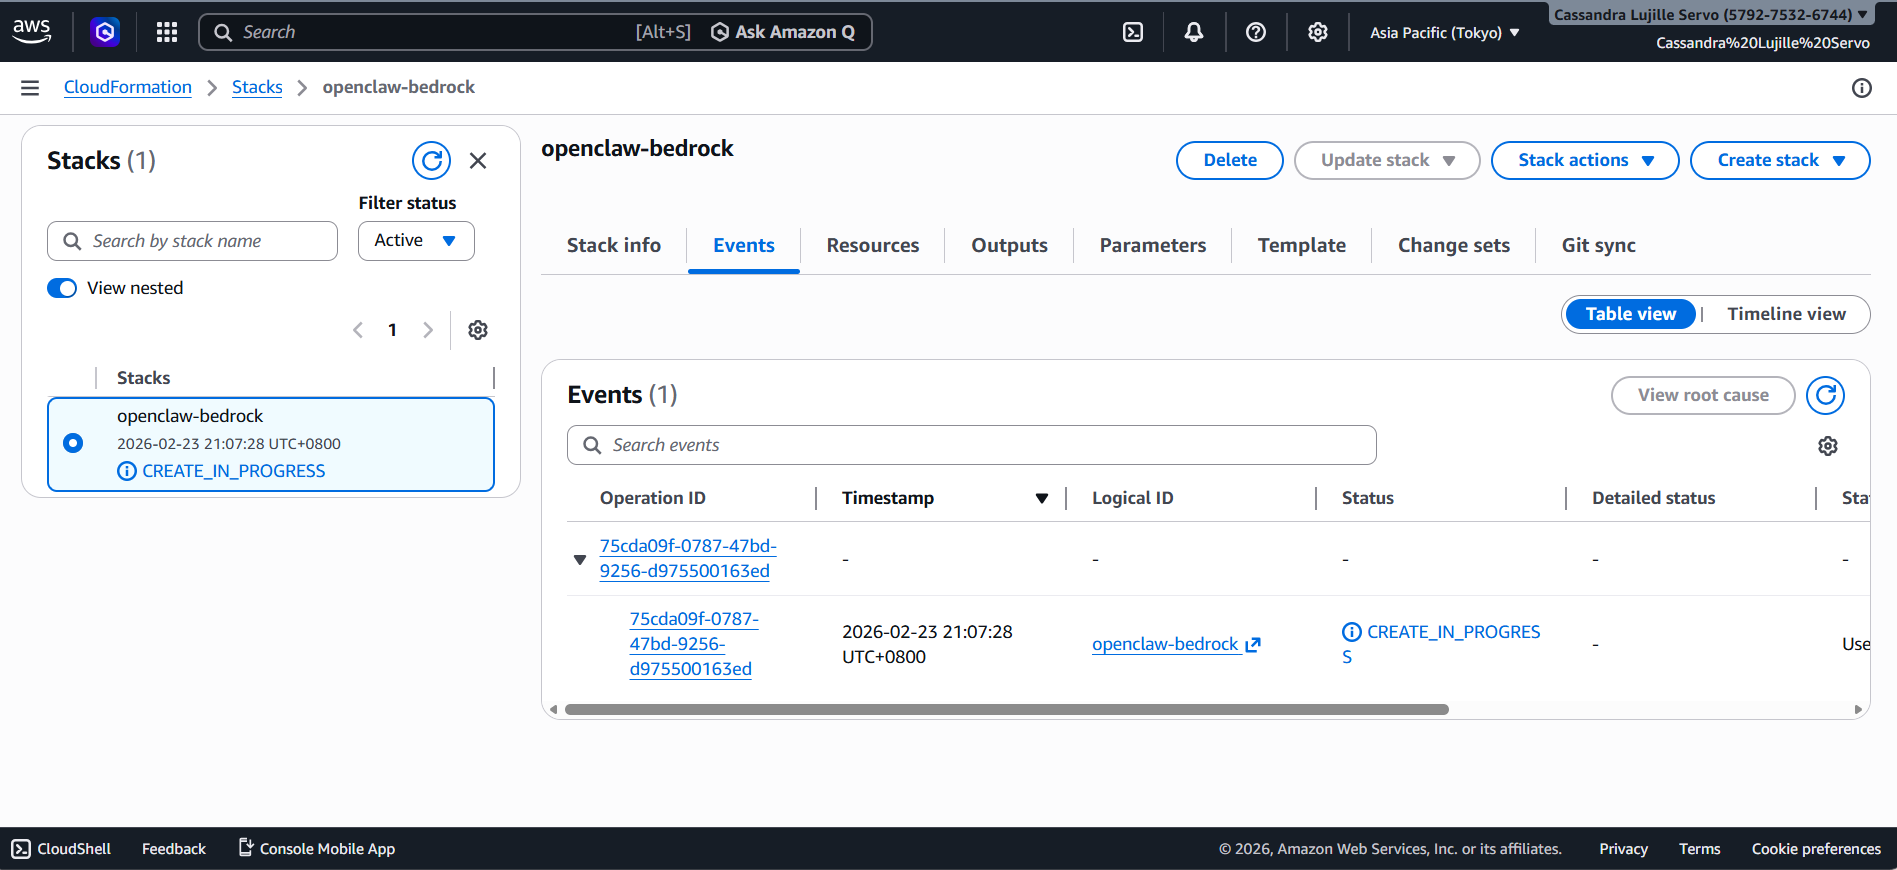
- Upon clicking the “Create stack” button, on the left side of the screen, you should be able to see a CREATE_IN_PROGRESS text. Wait for this to turn to CREATE_COMPLETE. The estimated wait time is around 8 minutes!
- After 8 minutes, that CREATE_IN_PROGRESS should turn to CREATE_COMPLETE!
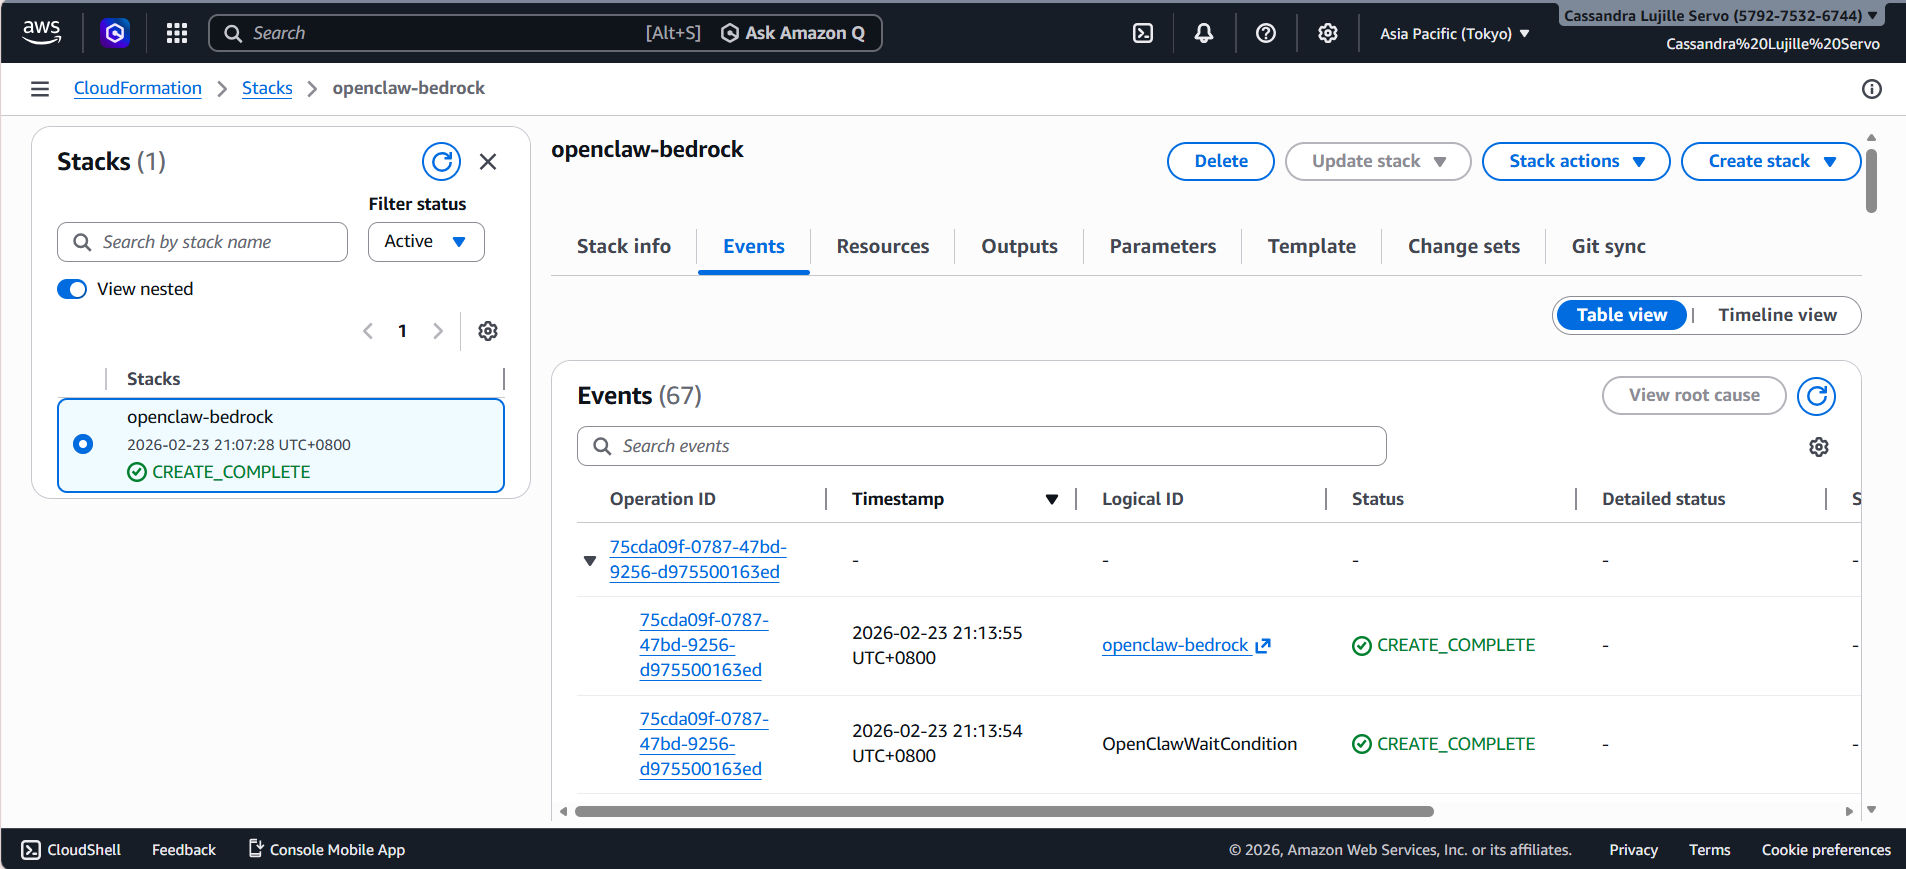
This means that your infrastructure is now “live” and your personal AI assistance is now in the cloud!
Step 3: Accessing Your OpenClaw Dashboard
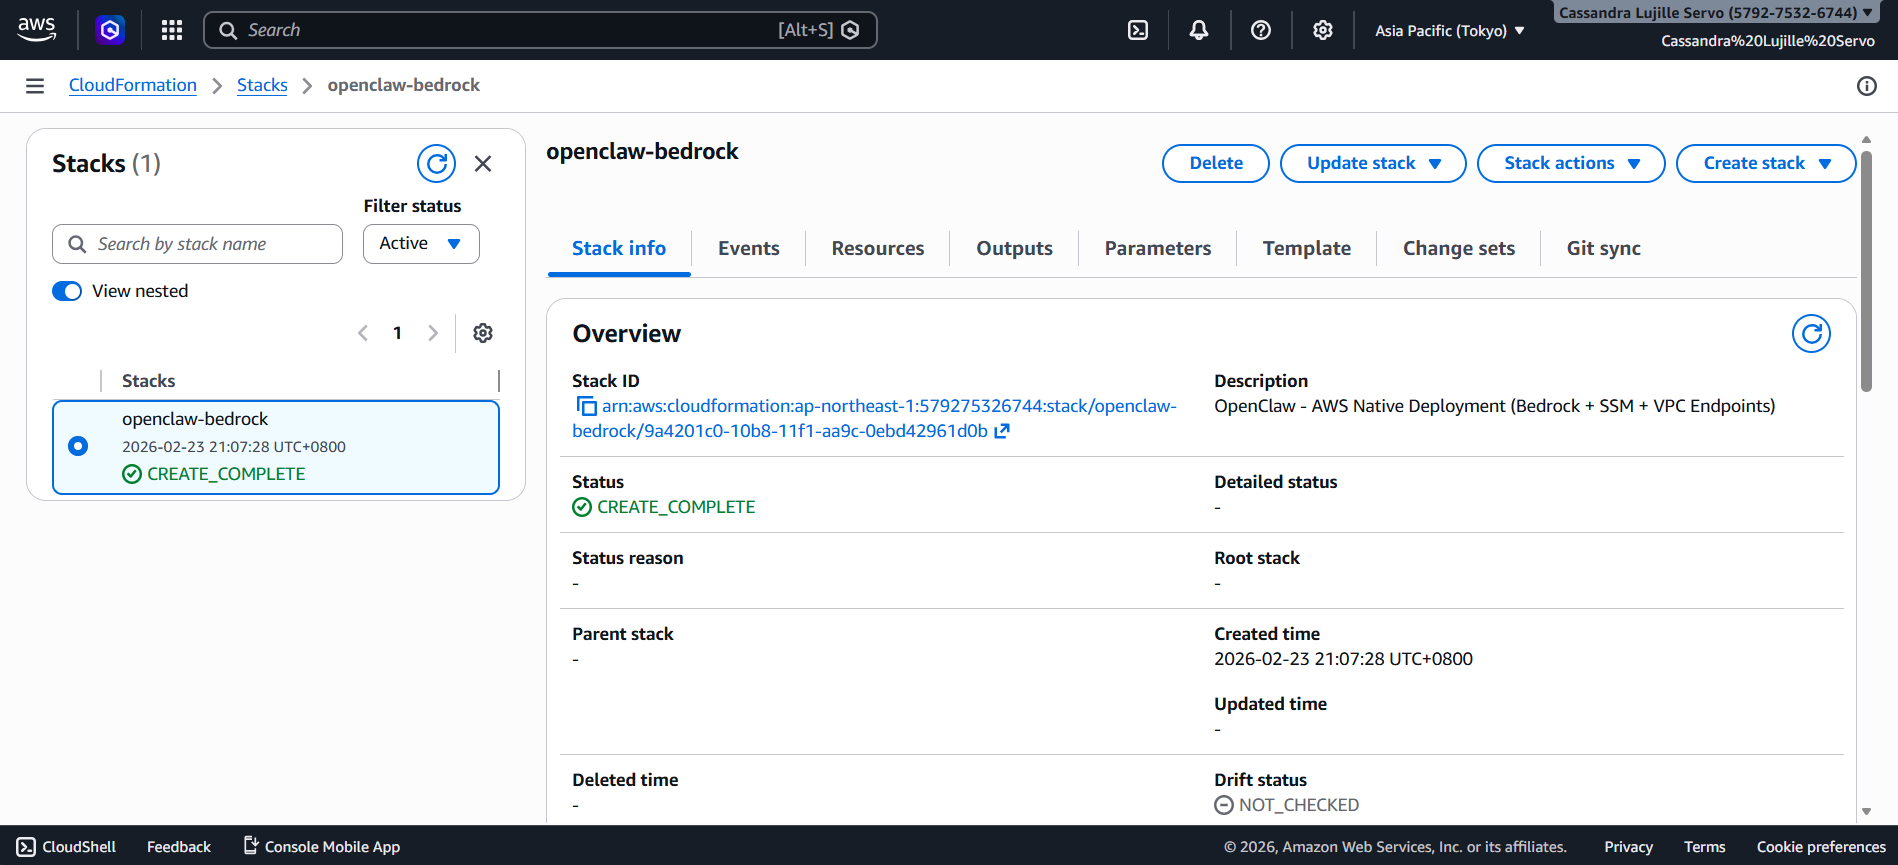
- To actually use Openclaw, click on your Stack name. It should be in blue text and should redirect you to another tab.
- Next, click on the “Outputs” section.

- If you scroll down, you will see Steps 1 until 4, and you can simply follow them to actually start seeing your Openclaw dashboard. Utilize the links and description provided!
For reference:
- Step1InstallSSMPlugin
- Step2PortForwarding
- Step3AccessURL
- Step4StartChatting
Conclusion
Admittedly, Openclaw and its nature of being a personal AI assistant is a huge game-changer for most people. By leveraging Amazon Bedrock’s unified API, we eliminate the headache of managing multiple providers and keys, along with the reduction in costs. All while having the peace of mind that your AI won’t accidentally delete all your local files!
Resources
- Why OpenClaw Needs a Cloud Environment for 24/7 Operation
- What is CloudFormation? – AWS CloudFormation
- IAM roles – AWS Identity and Access Management
- FAQ – OpenClaw
- aws-samples/sample-OpenClaw-on-AWS-with-Bedrock
🌸 25% OFF All Reviewers on our International Women’s Month Sale! Save 10% OFF All Subscriptions Plans & 5% OFF Store Credits/Gift Cards!

Learn AWS with our PlayCloud Hands-On Labs

$2.99 AWS and Azure Exam Study Guide eBooks

New AWS Generative AI Developer Professional Course AIP-C01

Learn GCP By Doing! Try Our GCP PlayCloud

Learn Azure with our Azure PlayCloud

FREE AI and AWS Digital Courses

FREE AWS, Azure, GCP Practice Test Samplers


Subscribe to our YouTube Channel

Follow Us On Linkedin


